
DIY: S2000 Seat Install


Thread Starter
Registered!!
Joined: Jun 2013
Posts: 17
Likes: 1
Rep Power: 0 
DIY: S2000 Seat Install
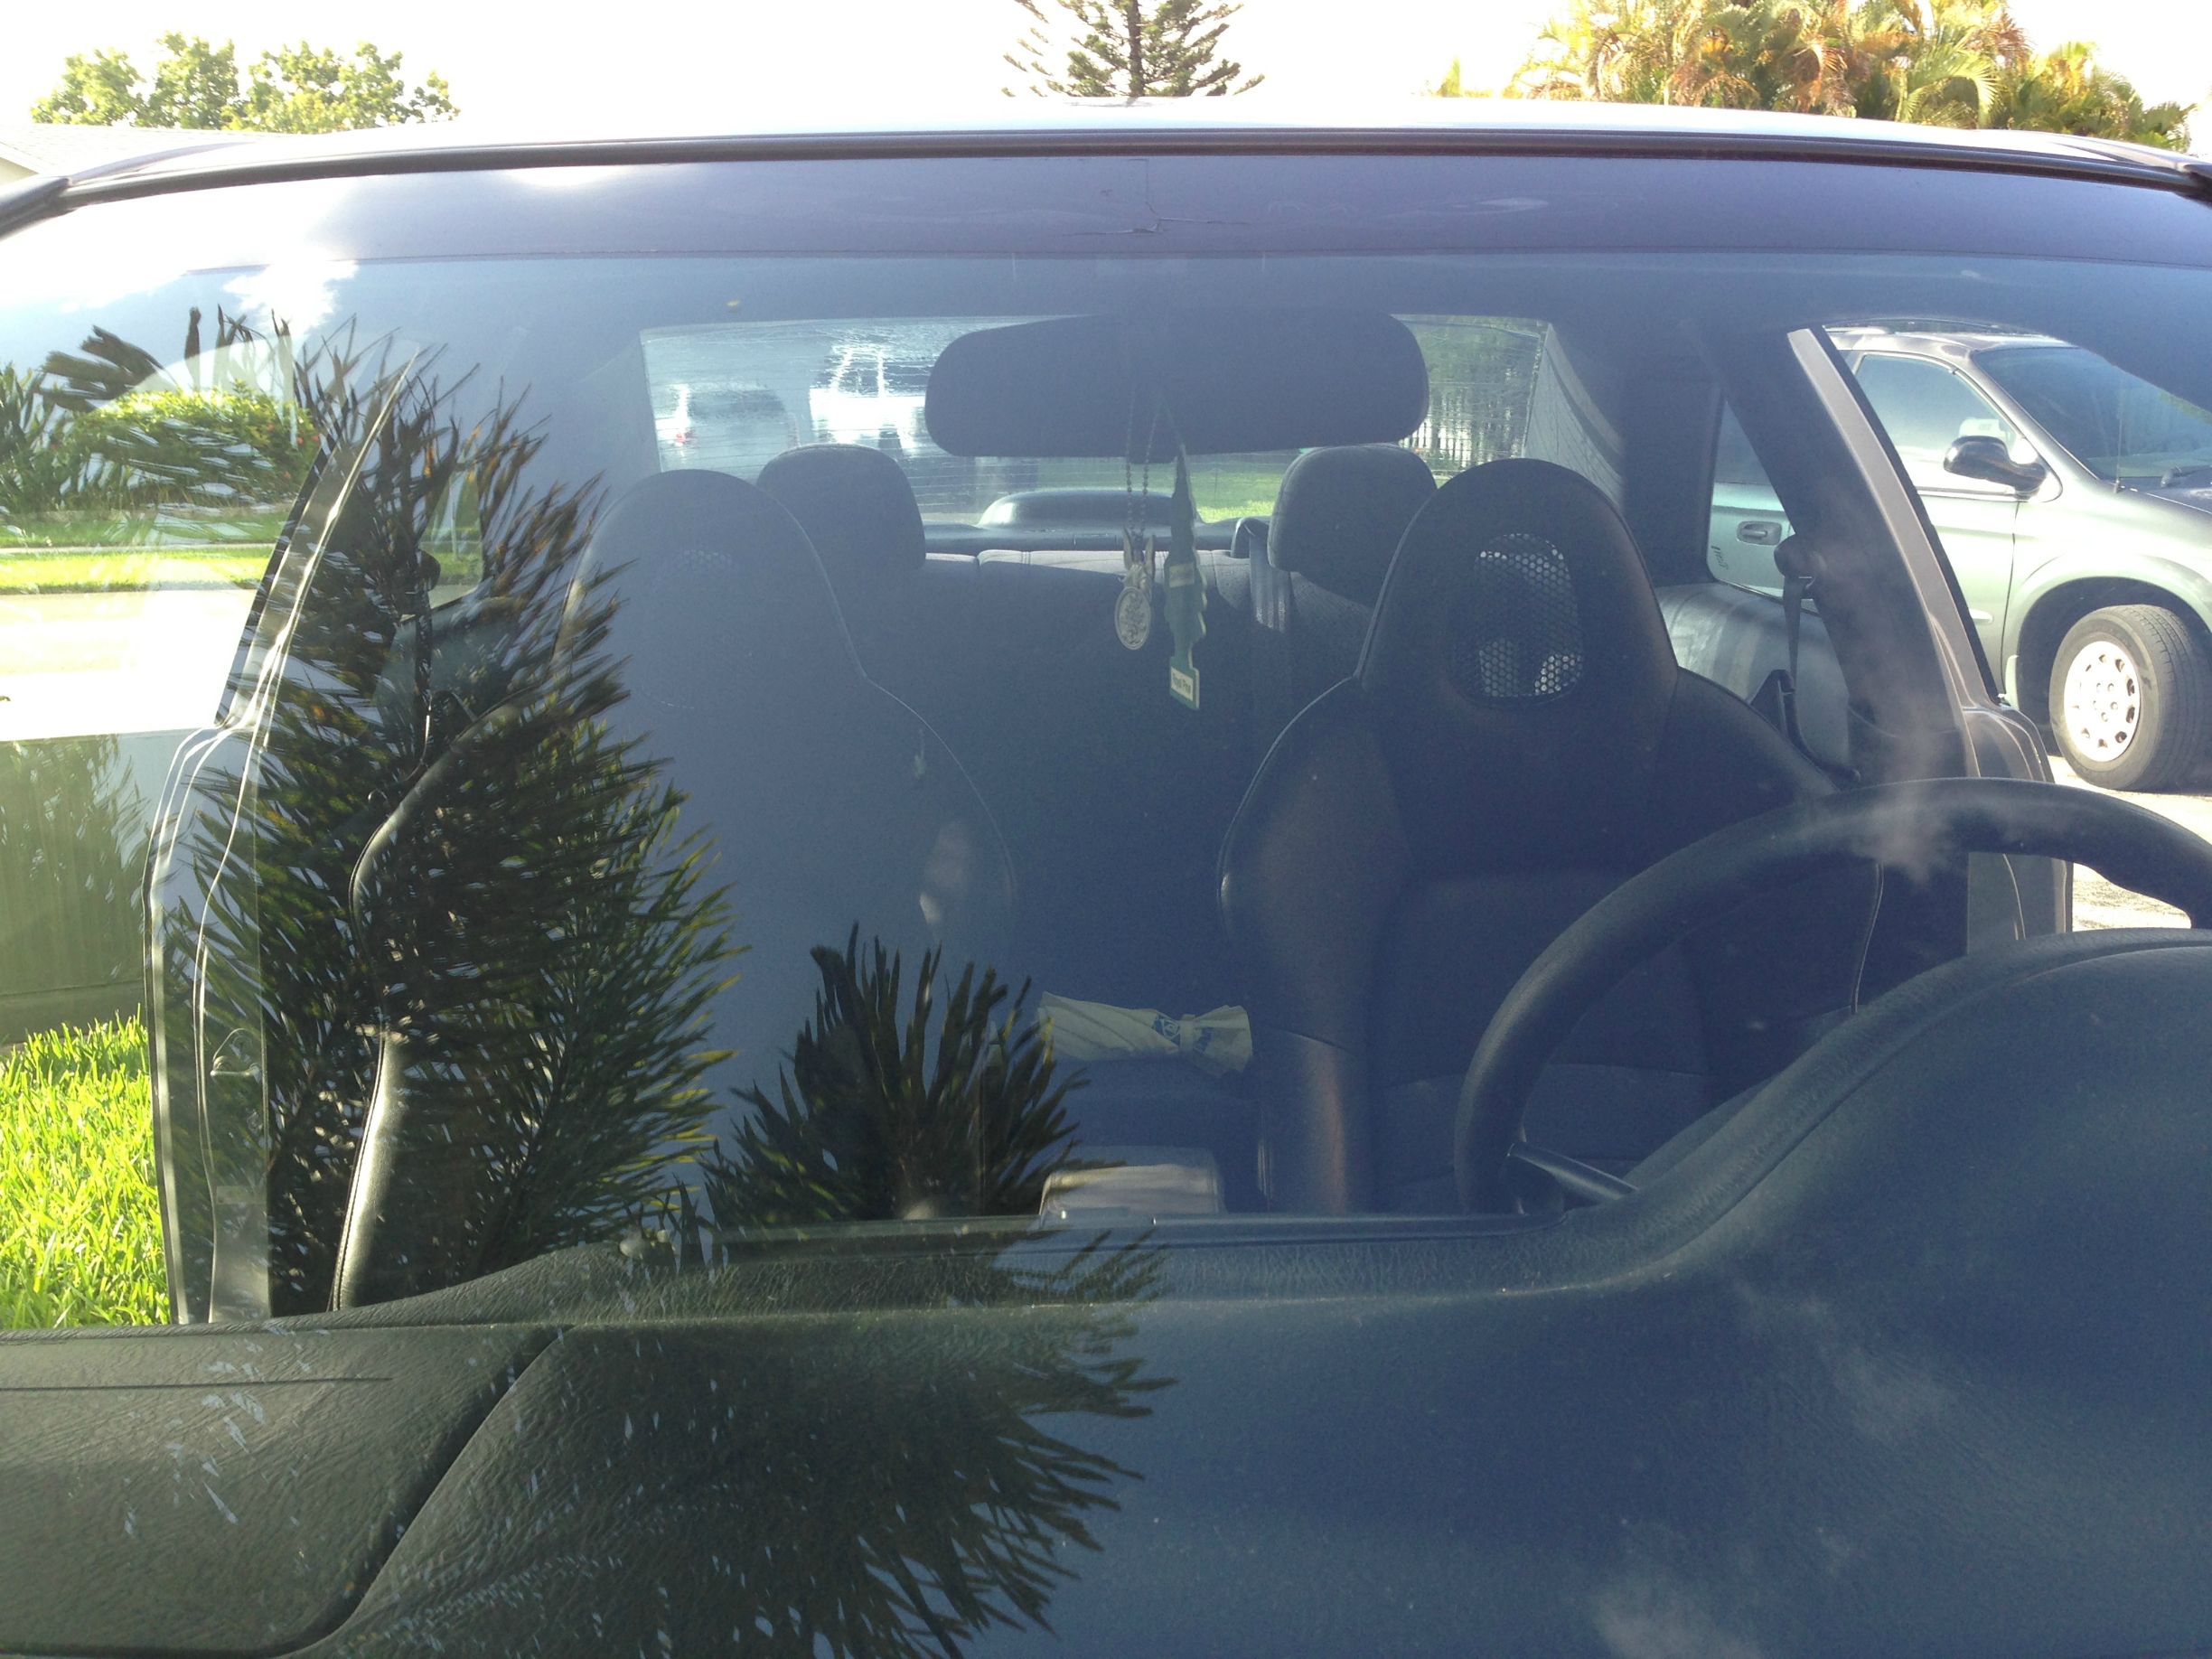
This will be a guide on how to get S2000 AP1 seats into your em2.
A few notes before I begin:
Many people say these seats are too low for our car.
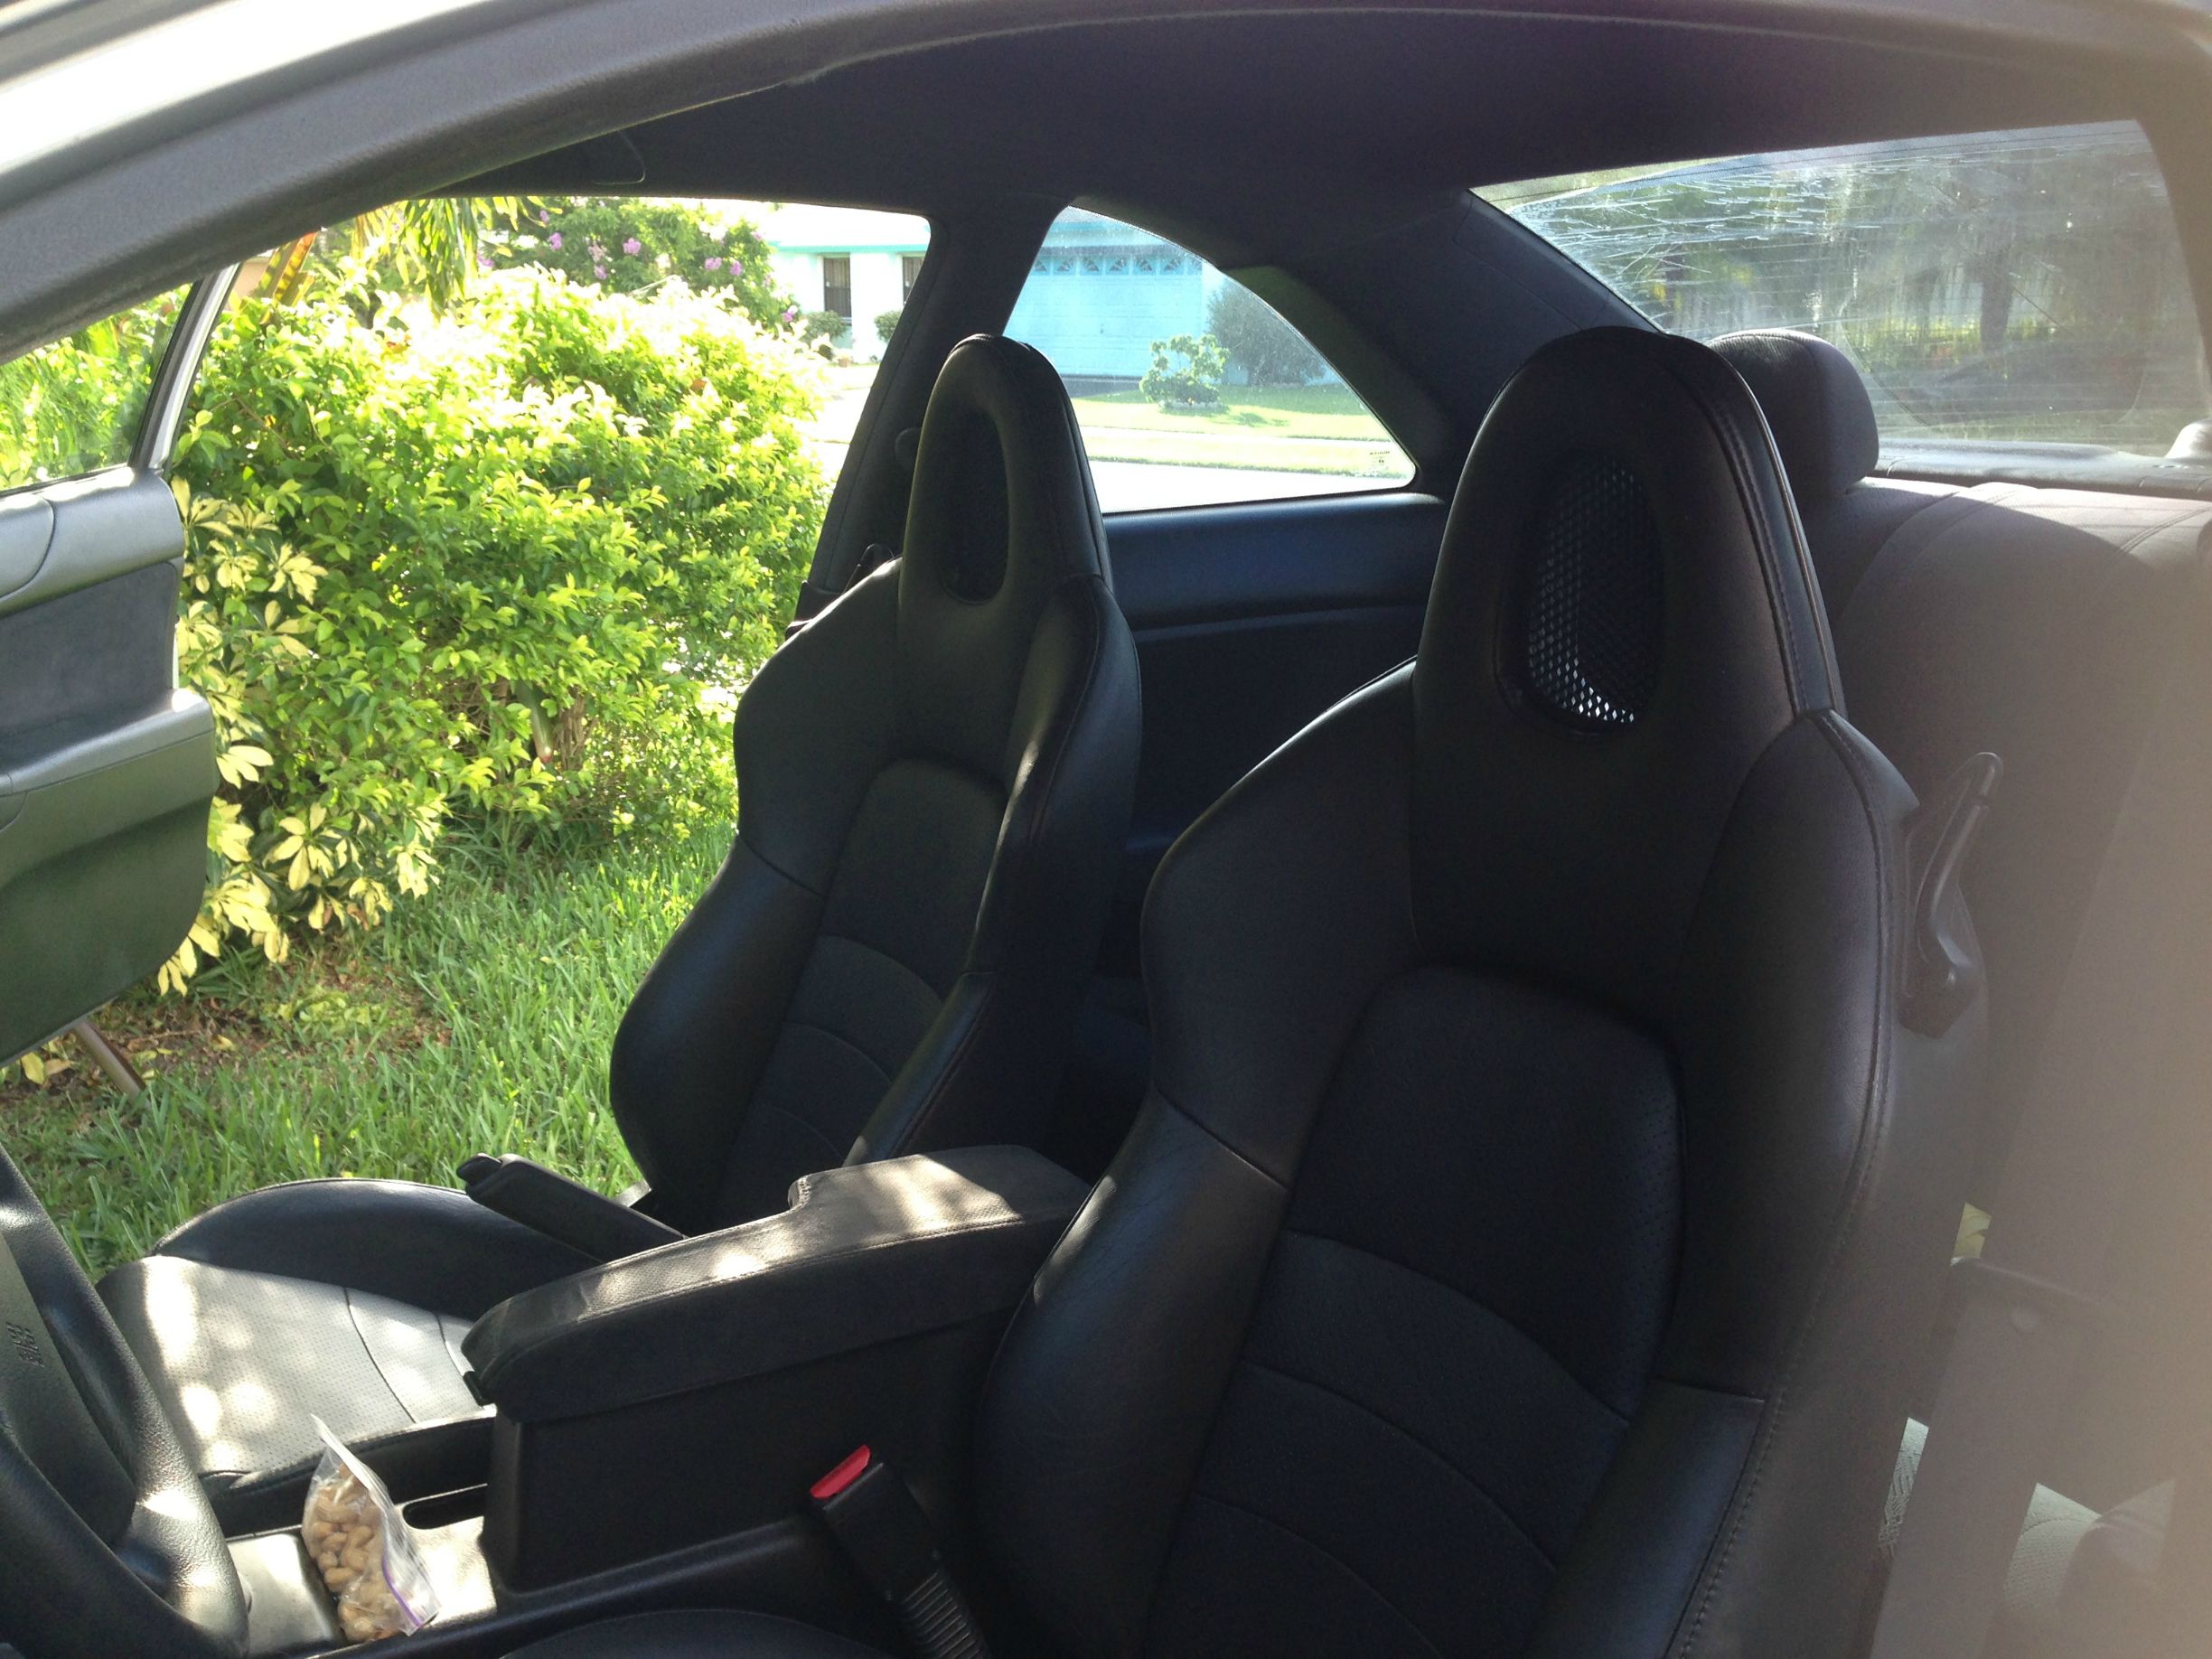
Well i'm 6ft. They are a bit lower than stock, but only at the rear of the seat. The fronts are pretty much the same height. I lost about 1ft of view distance in the front of my car, from sitting a bit lower, but it does not impede on the ability to drive the car.
The s2000 seatbelts do not work with our buckles. But I will tell you how to fix this.
If you are going to use this method, I recomend some high grade steel due to the fact that the seat should be as safe as stock seats.
Materials;
High Grade Steel Scrap/Sheet
1.25mm washer x12
1.25mm nut x6
40mm x 1.25mm bolt x2
10mm x 1.25mm bolt x2
30mm x 1.25mm bolt x2
Something to cut and drill high grade steel. (You need something made for steel. I broke 2 drill bits, and ruined a grinding pad)
Socket wrench
17mm wrench and socket
10mm wrench and socket
Now the guide;
MEASURE TWICE CUT ONCE. Steel is very hard to cut unless you have access to a workshop, make it easier on yourself and get the right measurements.
On the passenger seat facing the front;
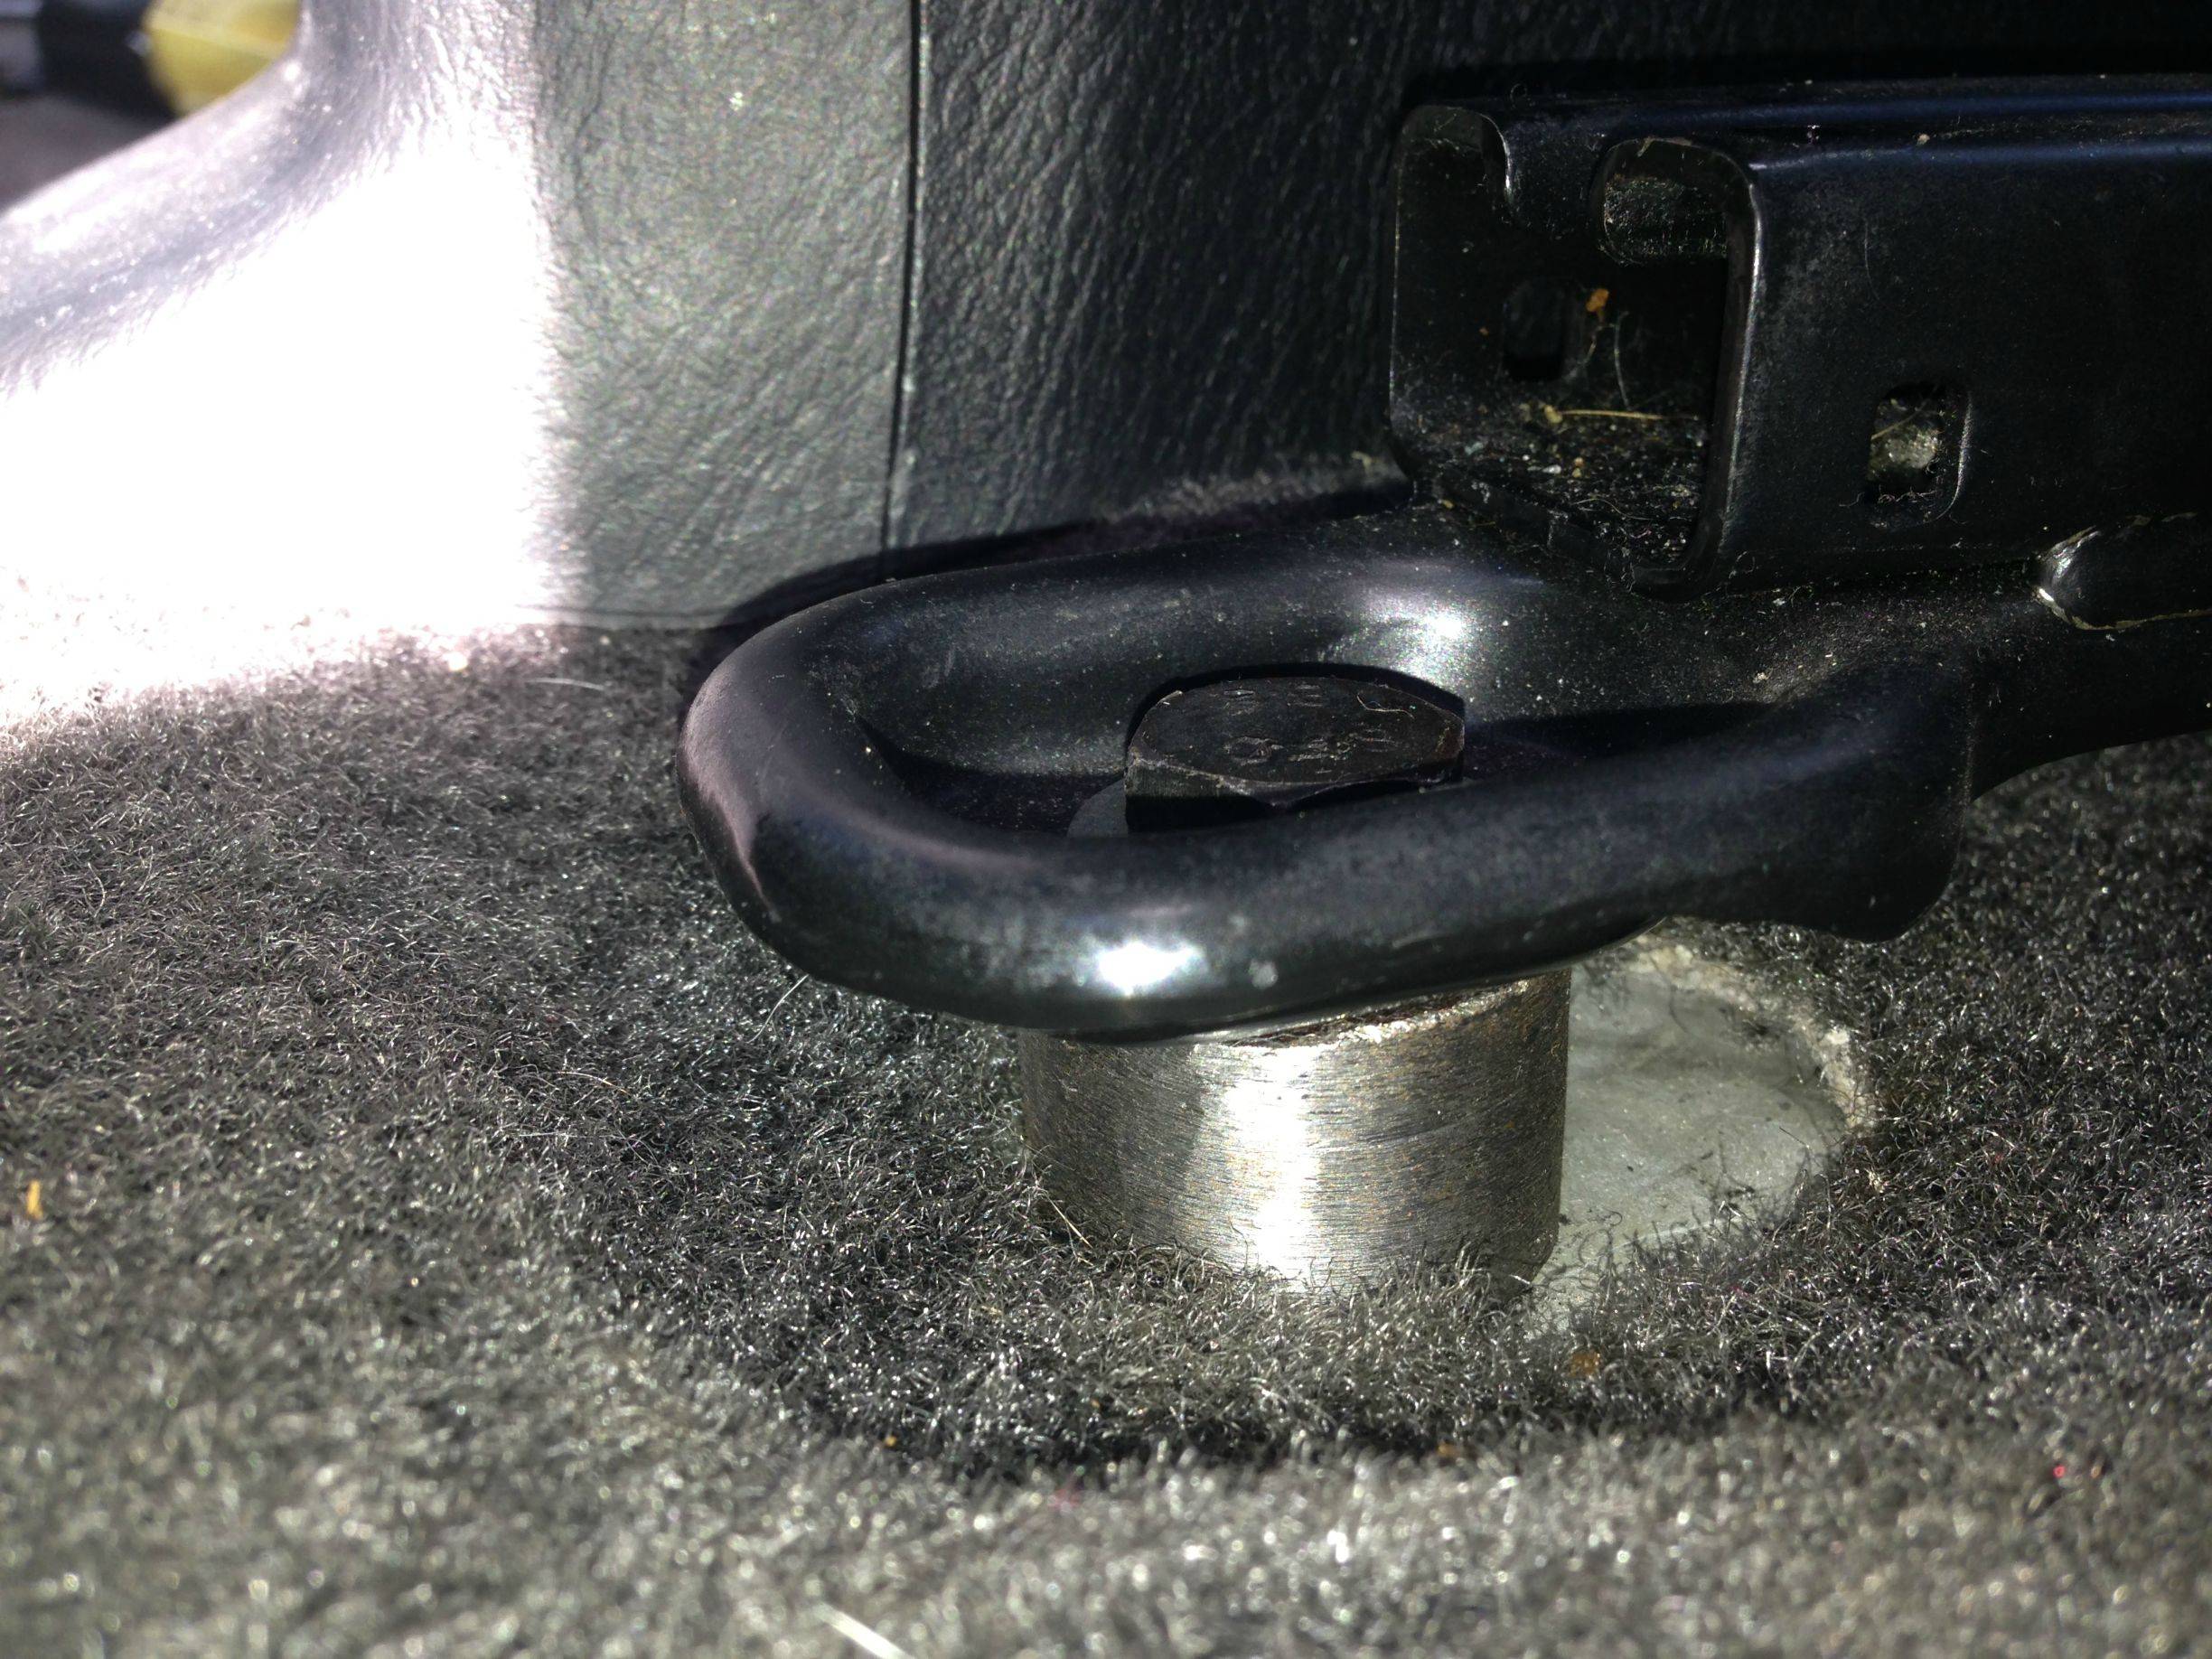
The back left requires a lift of 1.25in on a piece of steel to rest easy. Use the 40mm x 1.25mm here to reach the mount point.
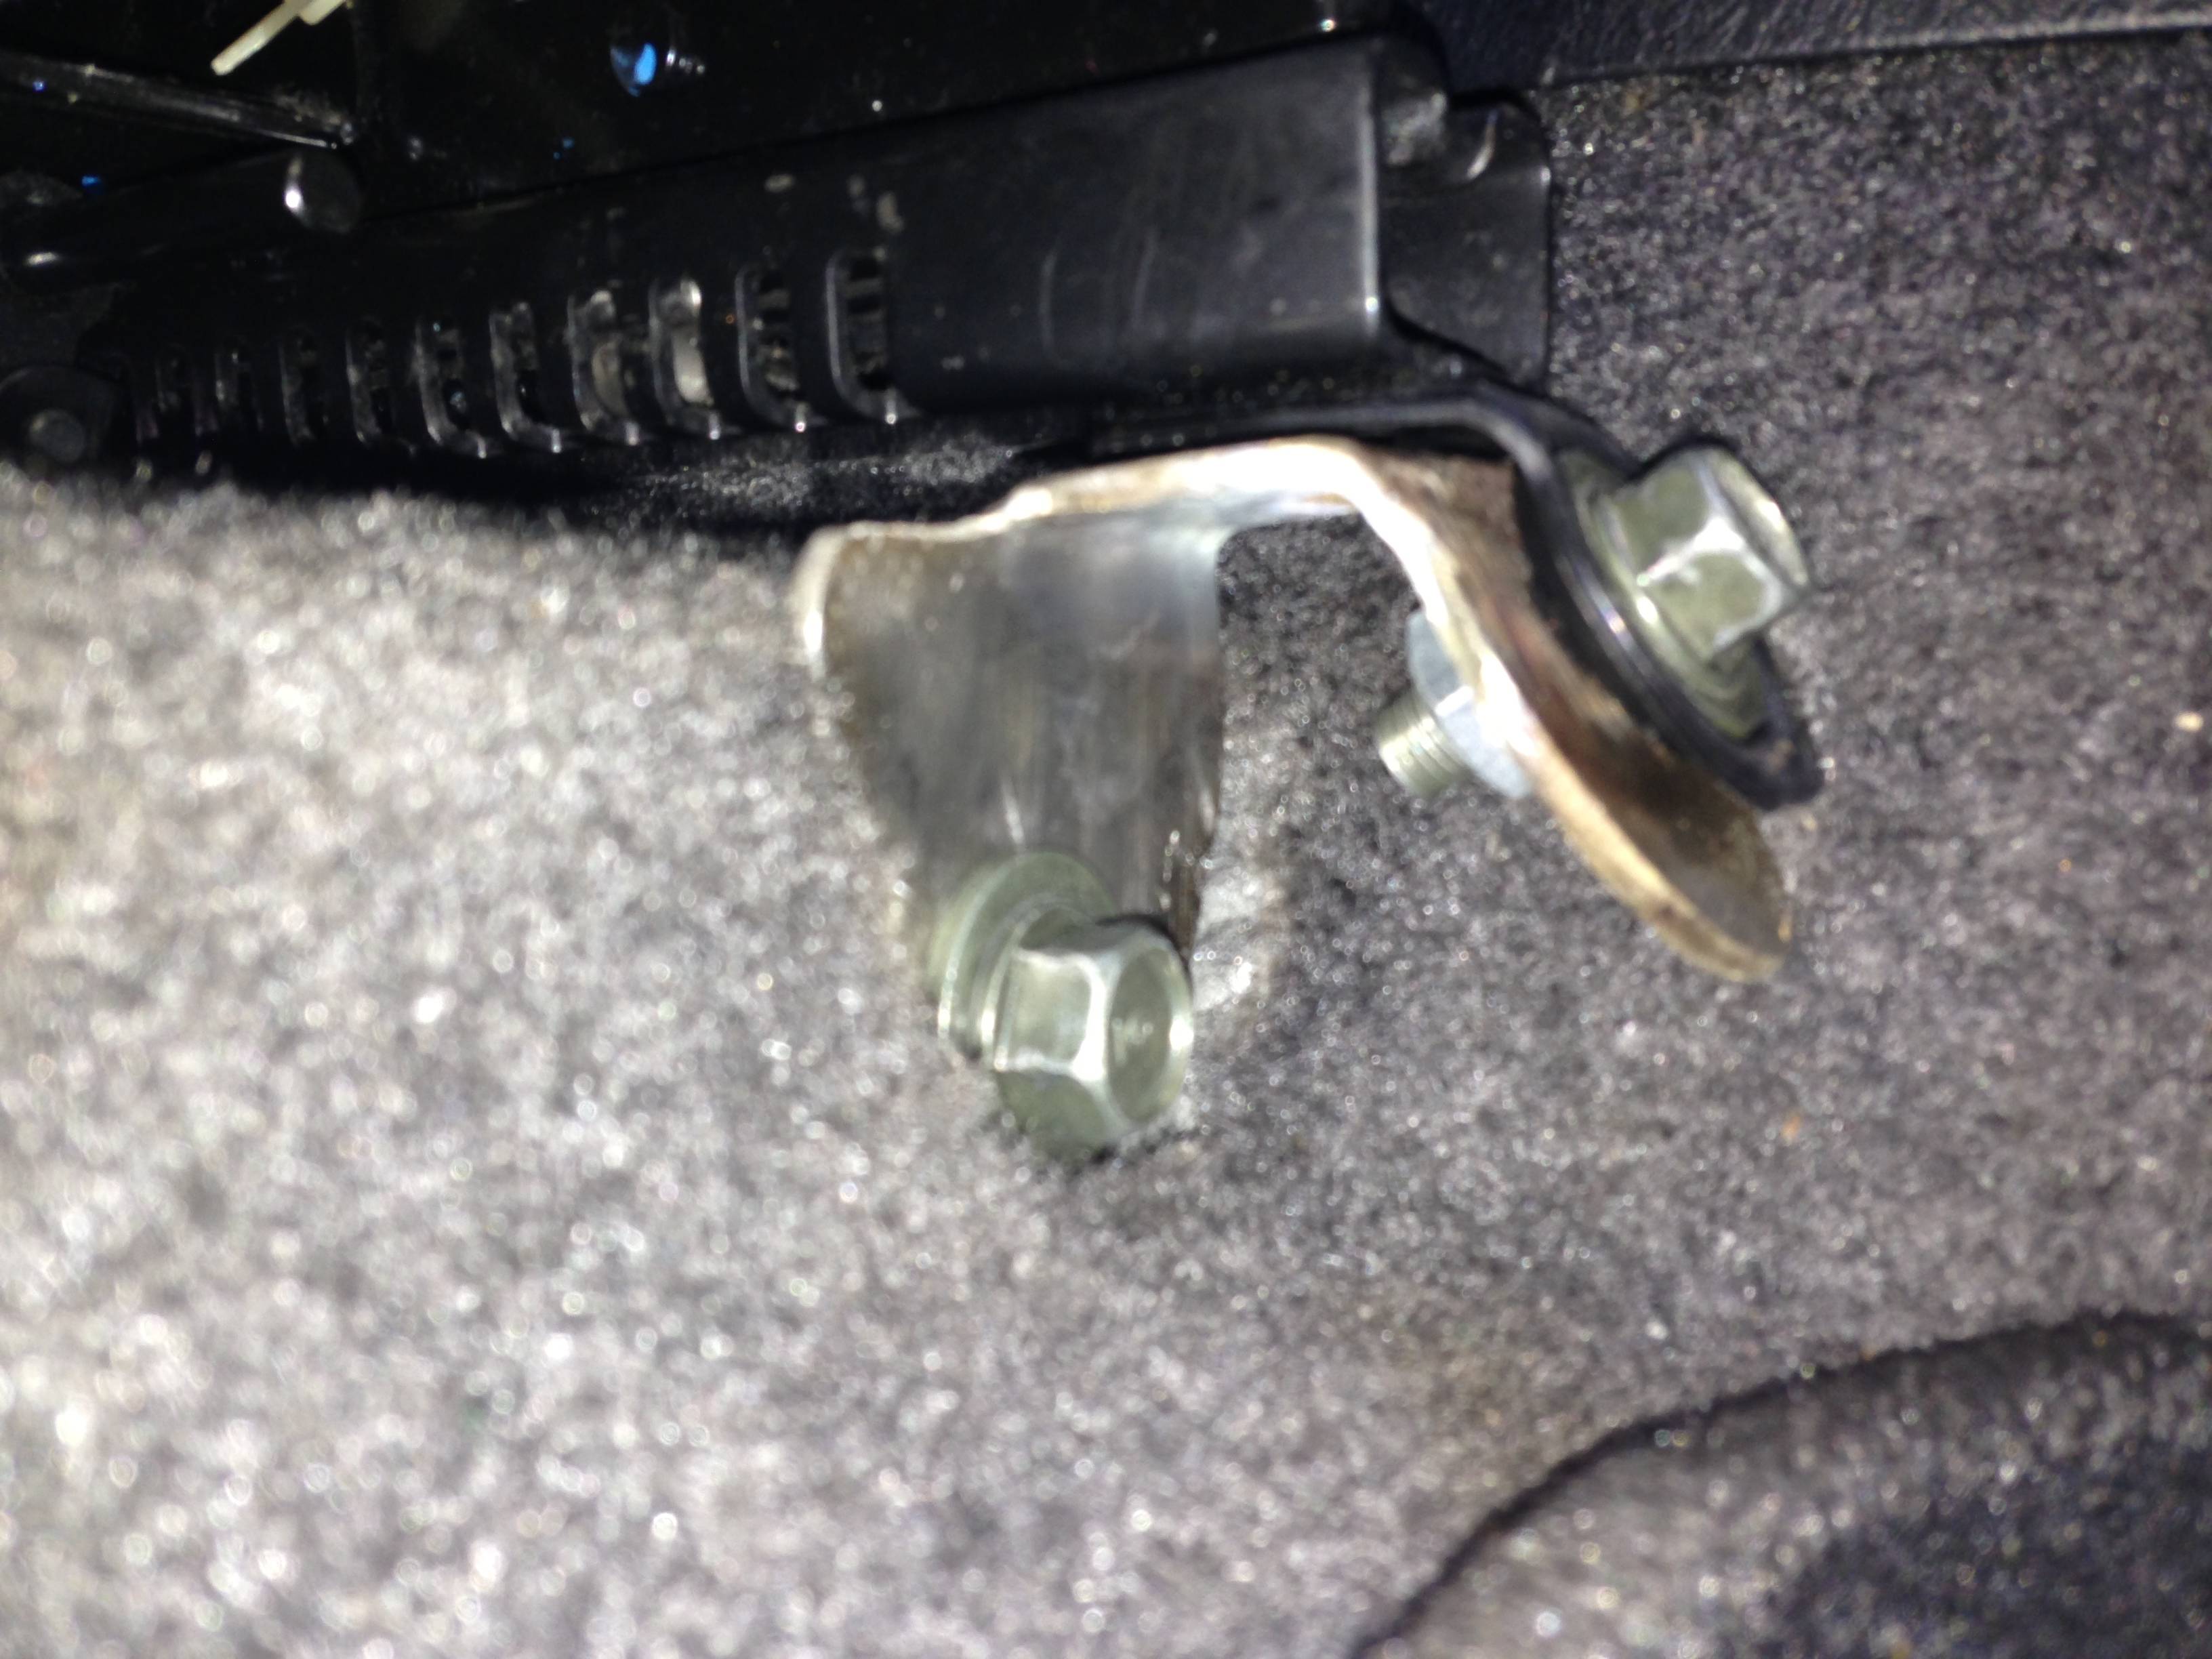
The rest of the mount points require brackets made of your steel.
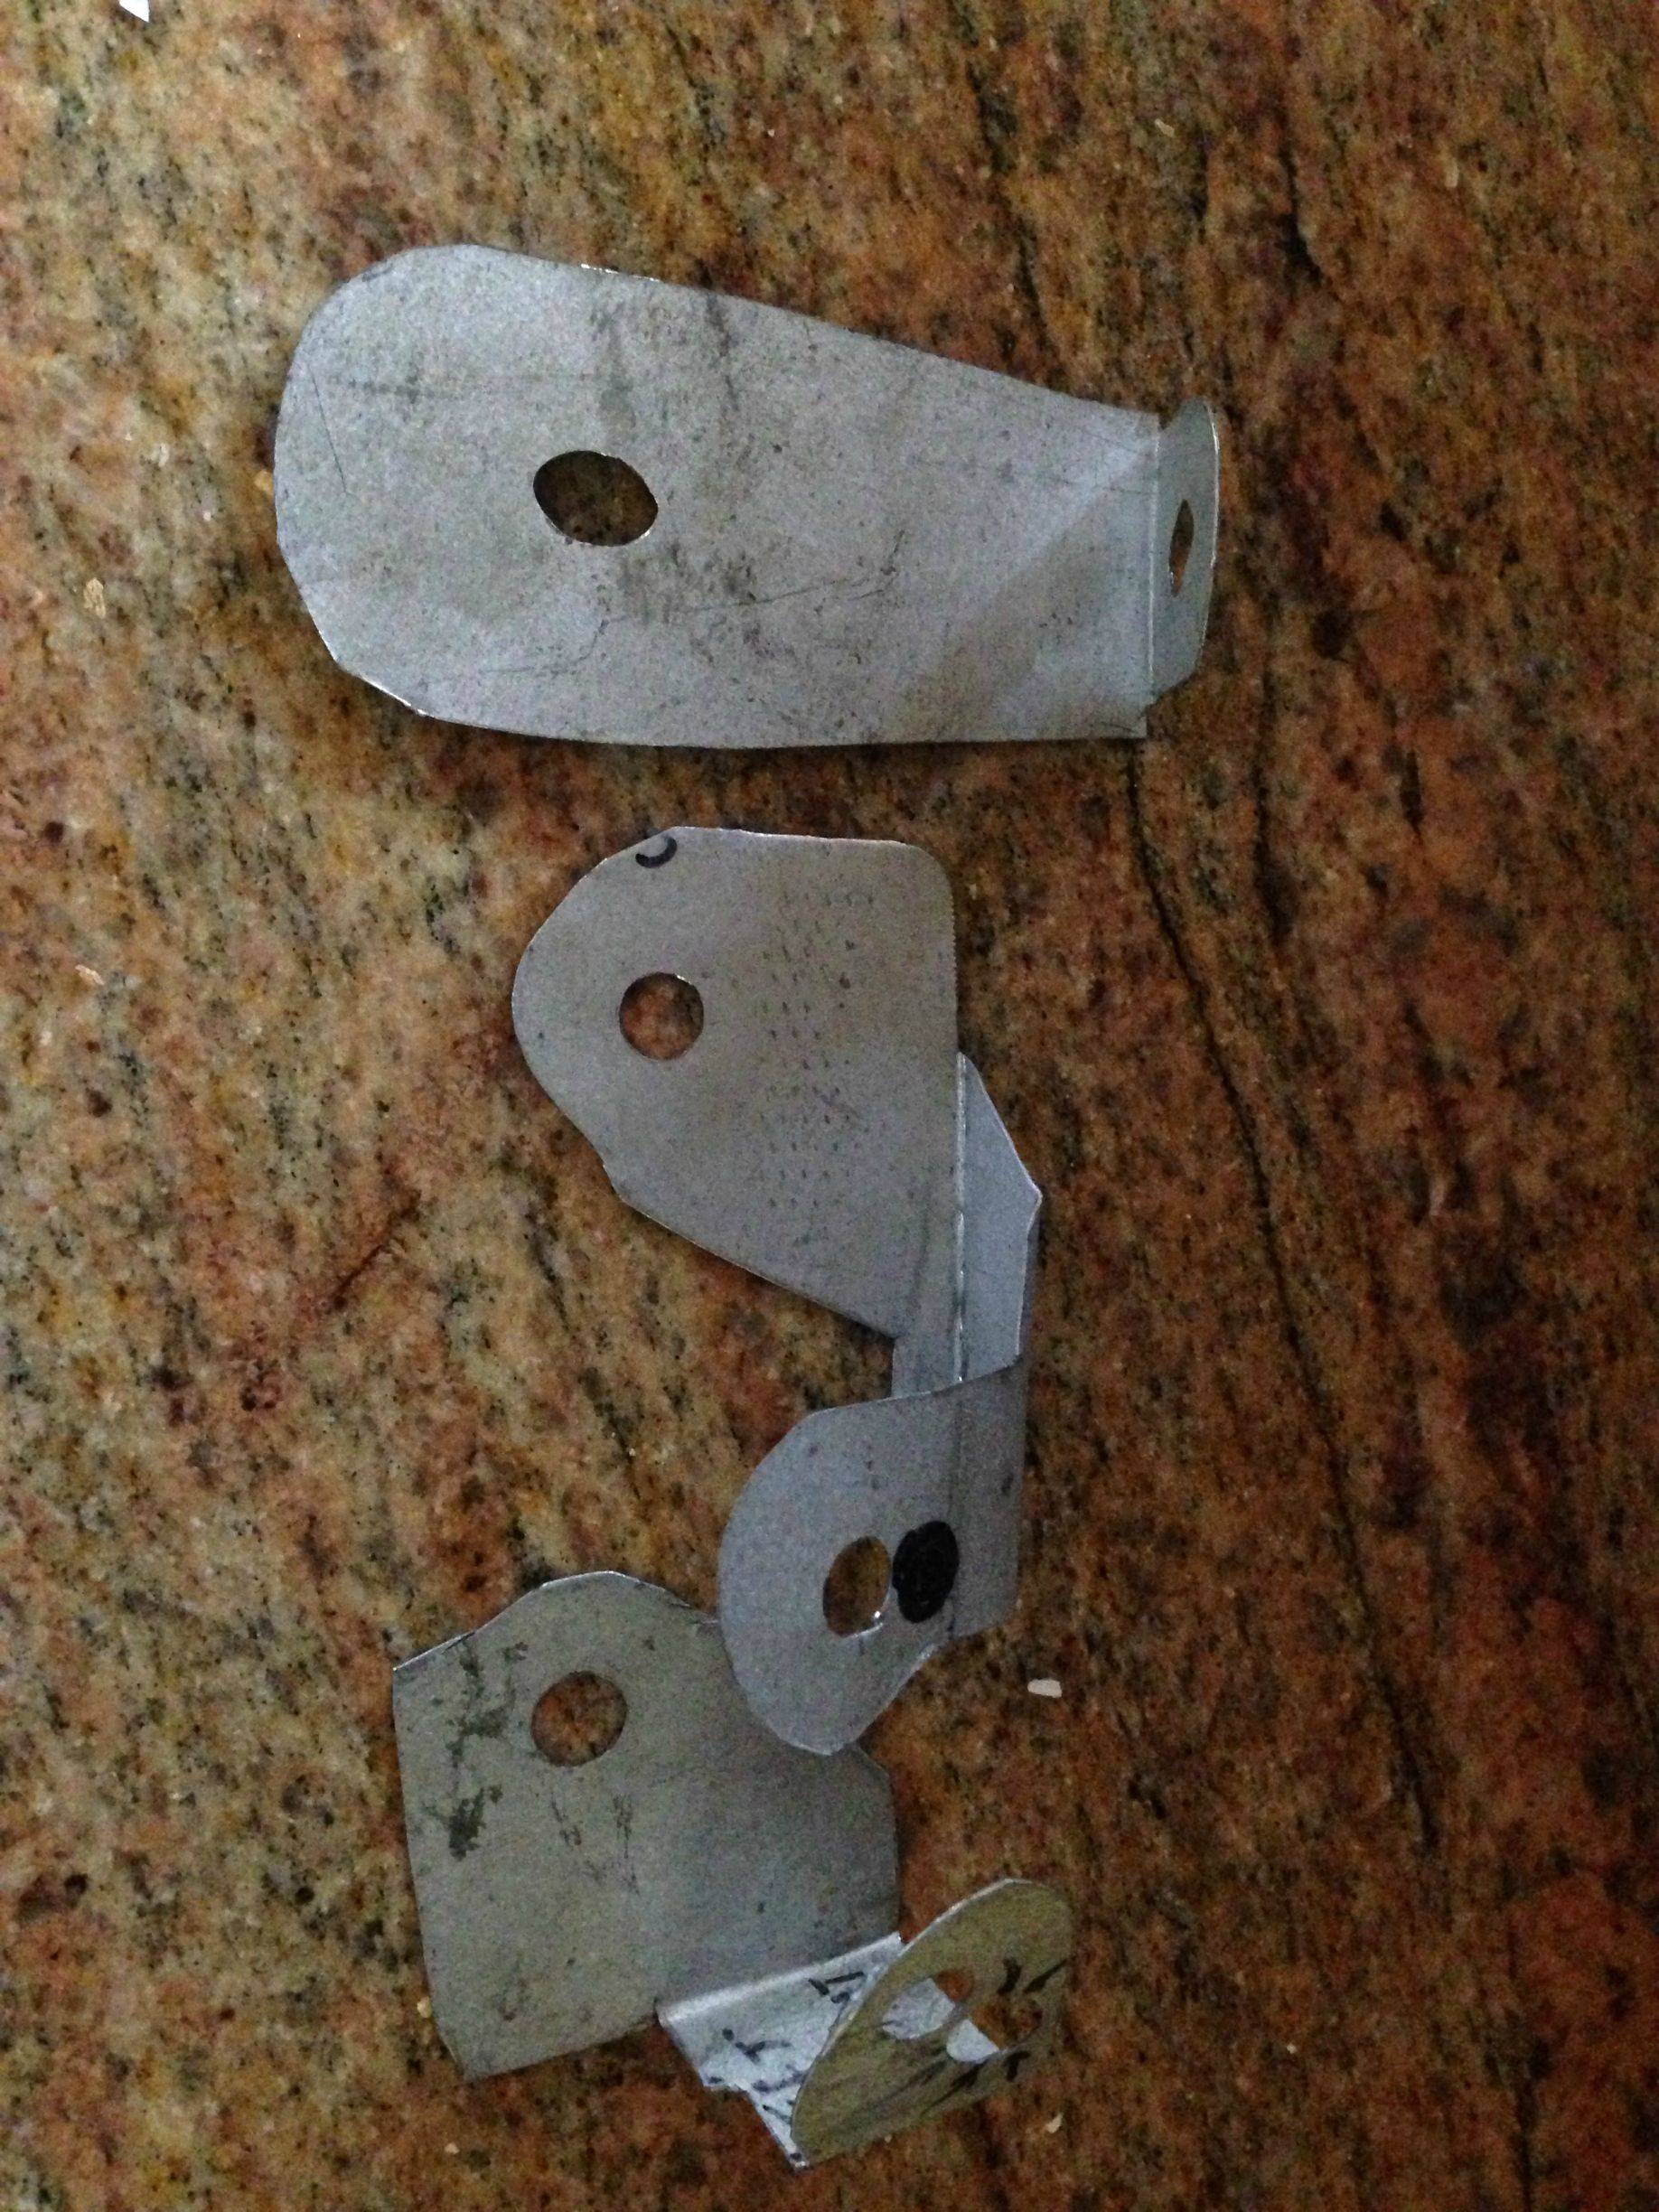
I recommend getting your measurements and cutting out makeshift brackets out of aluminum.
The back right bracket requires the 10mm x 1.25mm to clear the floor and nut with washer.

All of the brackets bolt into the car first, use the OEM screws where you want and use one of the 30mm x 1.25mm for which ever hole you have left over. Make sure you put washers on both sides.
The front left bracket gets close too the center console so make sure you leave enough free space so you have enough clearance.
Then the last is the front right bracket.

Due to the fact that the seat belts do not fit, what you have to do is to remove the seat belt from the stock seats and swap them with the seat belt on the s2000 seats.
There is a 10mm bolt holding both the seat belts in place.
On the stock seats at the back of the seat belt device there is a metal tab. Simple bend this tab back 90 degrees to fit in the s2000 seat and use a zip tie around the felt to secure the seat belt device in place. Then replace the 10mm bolt to ultimately secure it as if it were OEM.
THIS ALLOWS YOU TO KEEP THE SRS SYSTEM IN PLACE! SINCE MY AP1 SEATS DID NOT HAVE ONE.
Then do the same thing for the drivers side. The brackets will be similar, just reverse folds, except for the rear ones.
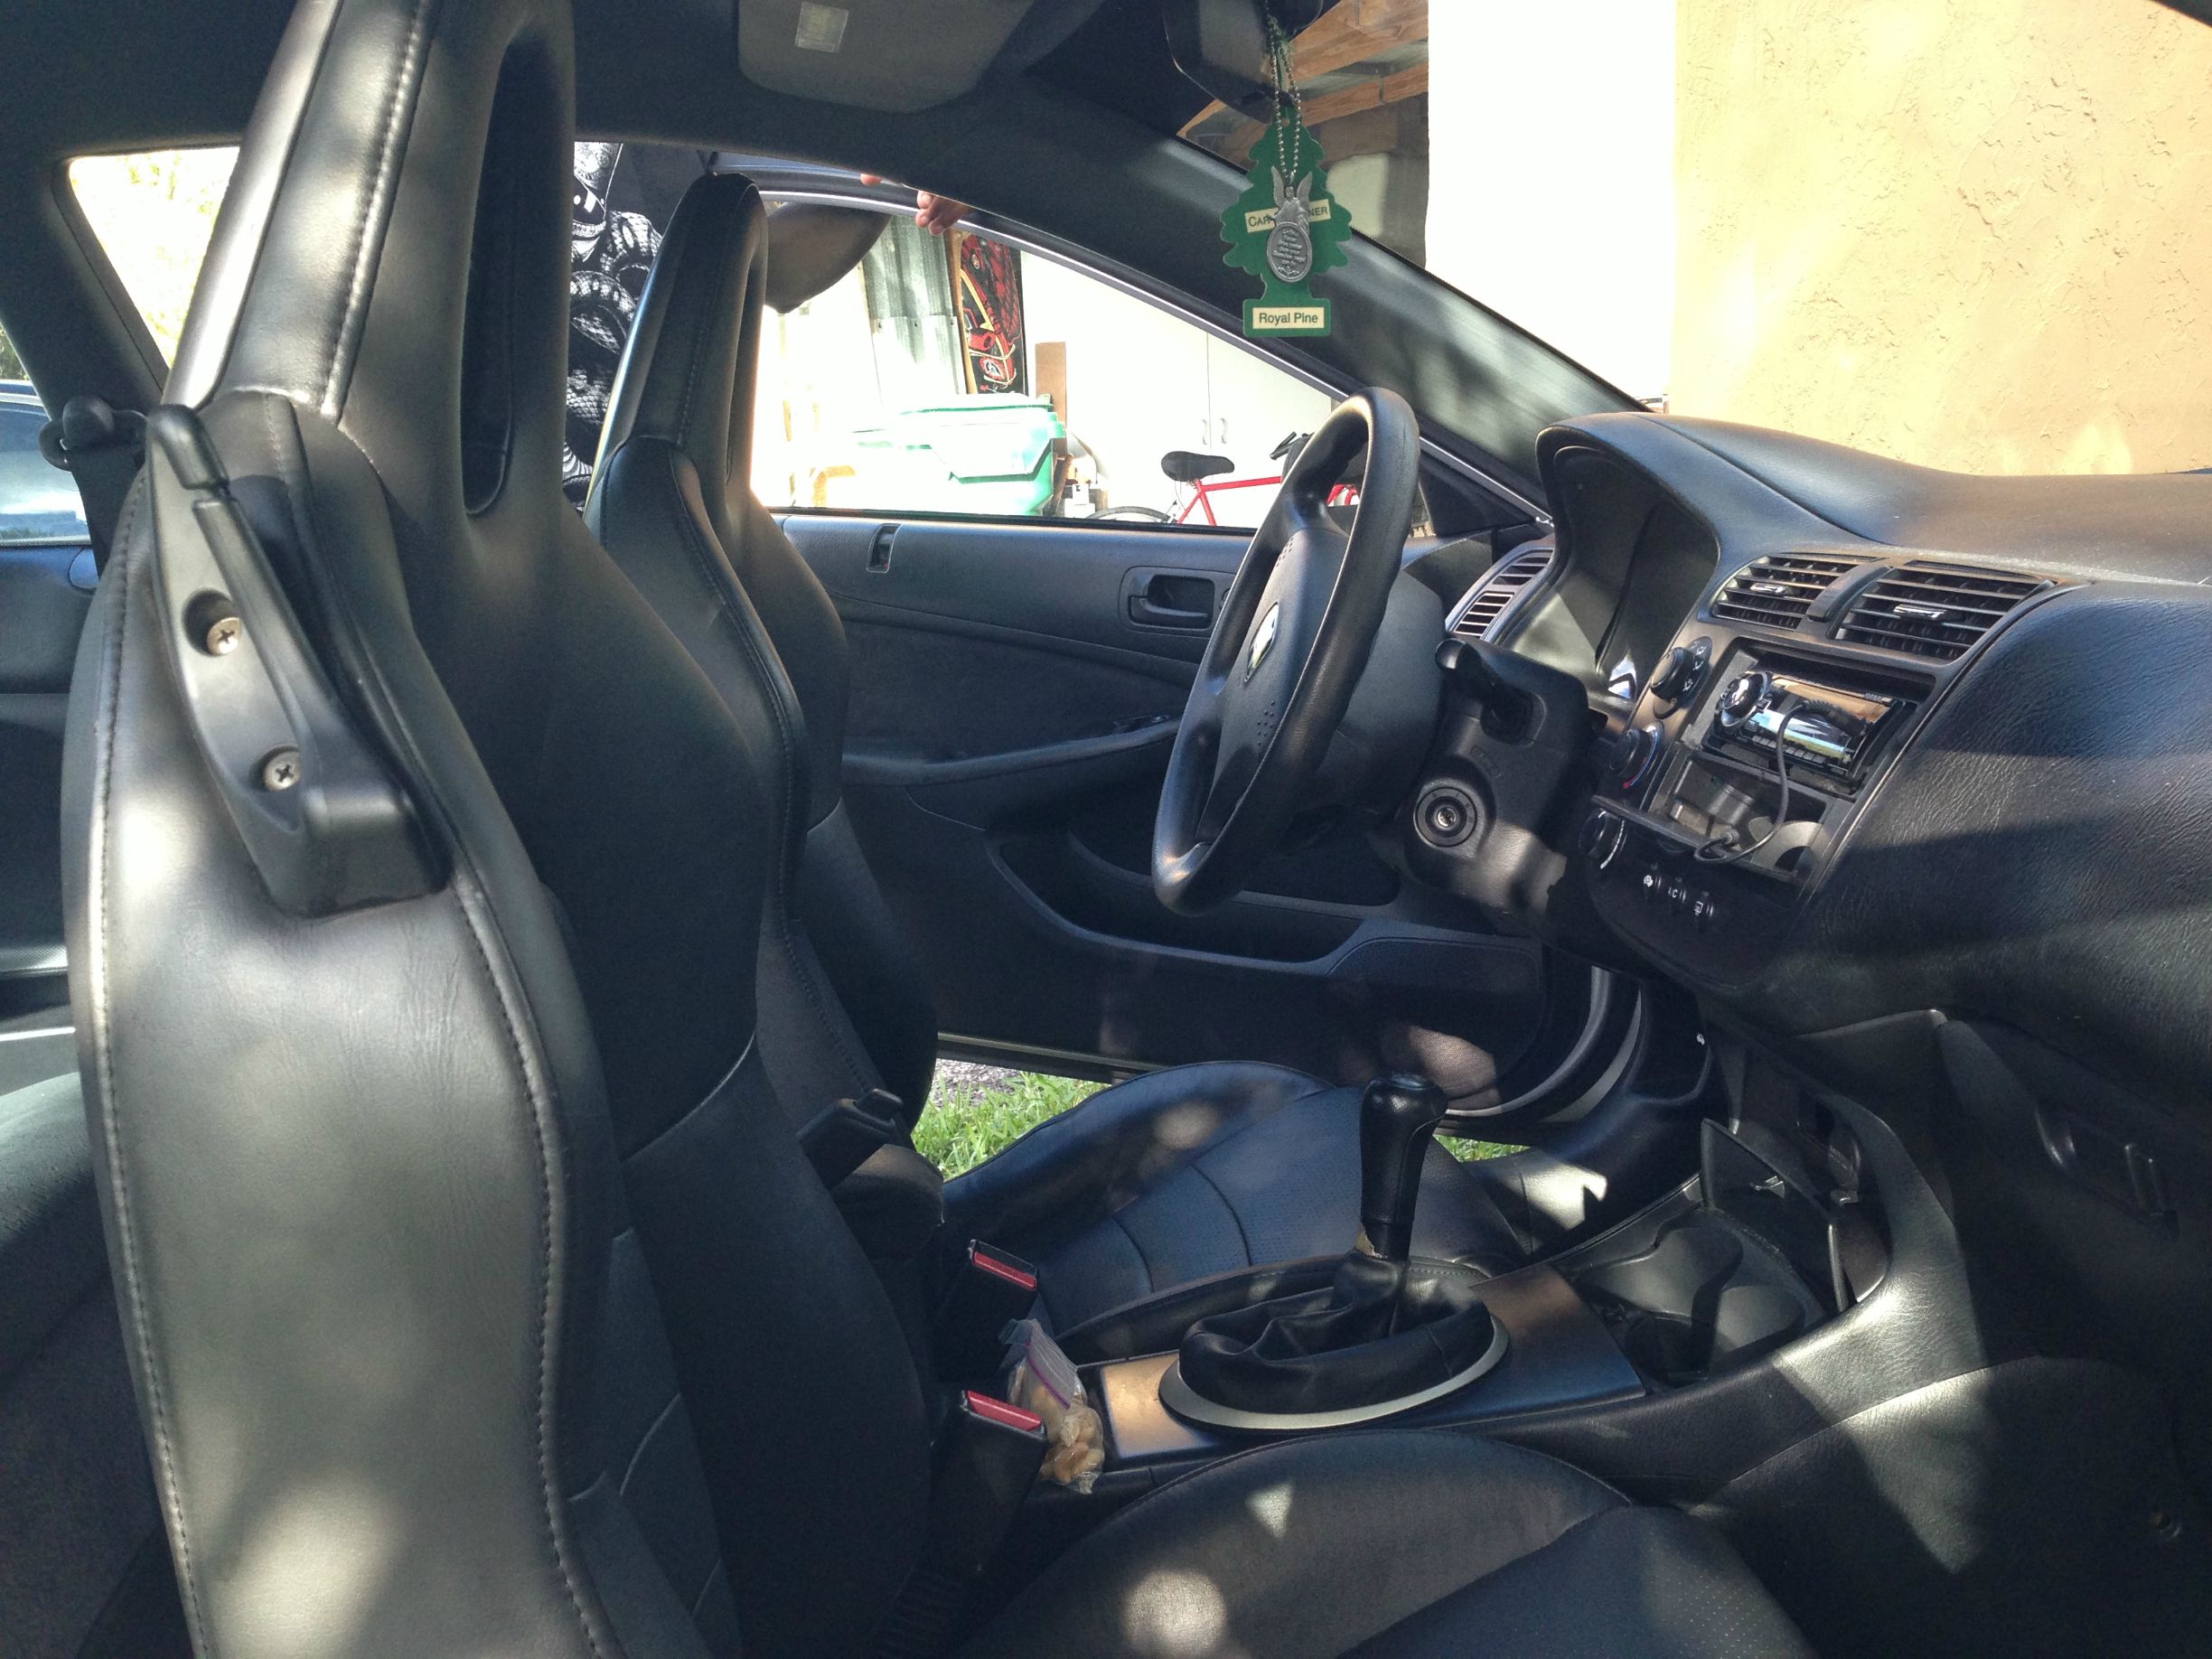
At the end, you should finally have s2000 seats in your em2.
If you have any questions or comments, feel free to post, and I will gladly help you out.
A few notes before I begin:
Many people say these seats are too low for our car.
Well i'm 6ft. They are a bit lower than stock, but only at the rear of the seat. The fronts are pretty much the same height. I lost about 1ft of view distance in the front of my car, from sitting a bit lower, but it does not impede on the ability to drive the car.
The s2000 seatbelts do not work with our buckles. But I will tell you how to fix this.
If you are going to use this method, I recomend some high grade steel due to the fact that the seat should be as safe as stock seats.
Materials;
High Grade Steel Scrap/Sheet
1.25mm washer x12
1.25mm nut x6
40mm x 1.25mm bolt x2
10mm x 1.25mm bolt x2
30mm x 1.25mm bolt x2
Something to cut and drill high grade steel. (You need something made for steel. I broke 2 drill bits, and ruined a grinding pad)
Socket wrench
17mm wrench and socket
10mm wrench and socket
Now the guide;
MEASURE TWICE CUT ONCE. Steel is very hard to cut unless you have access to a workshop, make it easier on yourself and get the right measurements.
On the passenger seat facing the front;
The back left requires a lift of 1.25in on a piece of steel to rest easy. Use the 40mm x 1.25mm here to reach the mount point.
The rest of the mount points require brackets made of your steel.
I recommend getting your measurements and cutting out makeshift brackets out of aluminum.
The back right bracket requires the 10mm x 1.25mm to clear the floor and nut with washer.
All of the brackets bolt into the car first, use the OEM screws where you want and use one of the 30mm x 1.25mm for which ever hole you have left over. Make sure you put washers on both sides.
The front left bracket gets close too the center console so make sure you leave enough free space so you have enough clearance.
Then the last is the front right bracket.
Due to the fact that the seat belts do not fit, what you have to do is to remove the seat belt from the stock seats and swap them with the seat belt on the s2000 seats.
There is a 10mm bolt holding both the seat belts in place.
On the stock seats at the back of the seat belt device there is a metal tab. Simple bend this tab back 90 degrees to fit in the s2000 seat and use a zip tie around the felt to secure the seat belt device in place. Then replace the 10mm bolt to ultimately secure it as if it were OEM.
THIS ALLOWS YOU TO KEEP THE SRS SYSTEM IN PLACE! SINCE MY AP1 SEATS DID NOT HAVE ONE.
Then do the same thing for the drivers side. The brackets will be similar, just reverse folds, except for the rear ones.
At the end, you should finally have s2000 seats in your em2.
If you have any questions or comments, feel free to post, and I will gladly help you out.
Last edited by TenToesDown; Jun 26, 2013 at 12:11 AM.
Thread Starter
Registered!!
Joined: Jun 2013
Posts: 17
Likes: 1
Rep Power: 0 Re: DIY: S2000 Seat Install
There are other ways, but I wanted to keep the seats in as good as a condition as possible, in case I ever had to sell them.
Doing it this way, all I would have to do is swap to seat belts back to get them to stock.

Thread Starter
Registered!!
Joined: Jun 2013
Posts: 17
Likes: 1
Rep Power: 0 Re: DIY: S2000 Seat Install
And the zip tie is to keep the srs pretensioner on the seat belt from moving up and down. The actual seat belt are attached in the same way as the EM2 one.
Also jringo, I might be willing to make another set, but I will look into laser cutting the steel. It would save me so much more time.
Last edited by TenToesDown; Jun 27, 2013 at 08:01 PM.
Registered!!
Joined: Apr 2010
Posts: 76
Likes: 0
From: Jamestown NY
Rep Power: 0 
Re: DIY: S2000 Seat Install
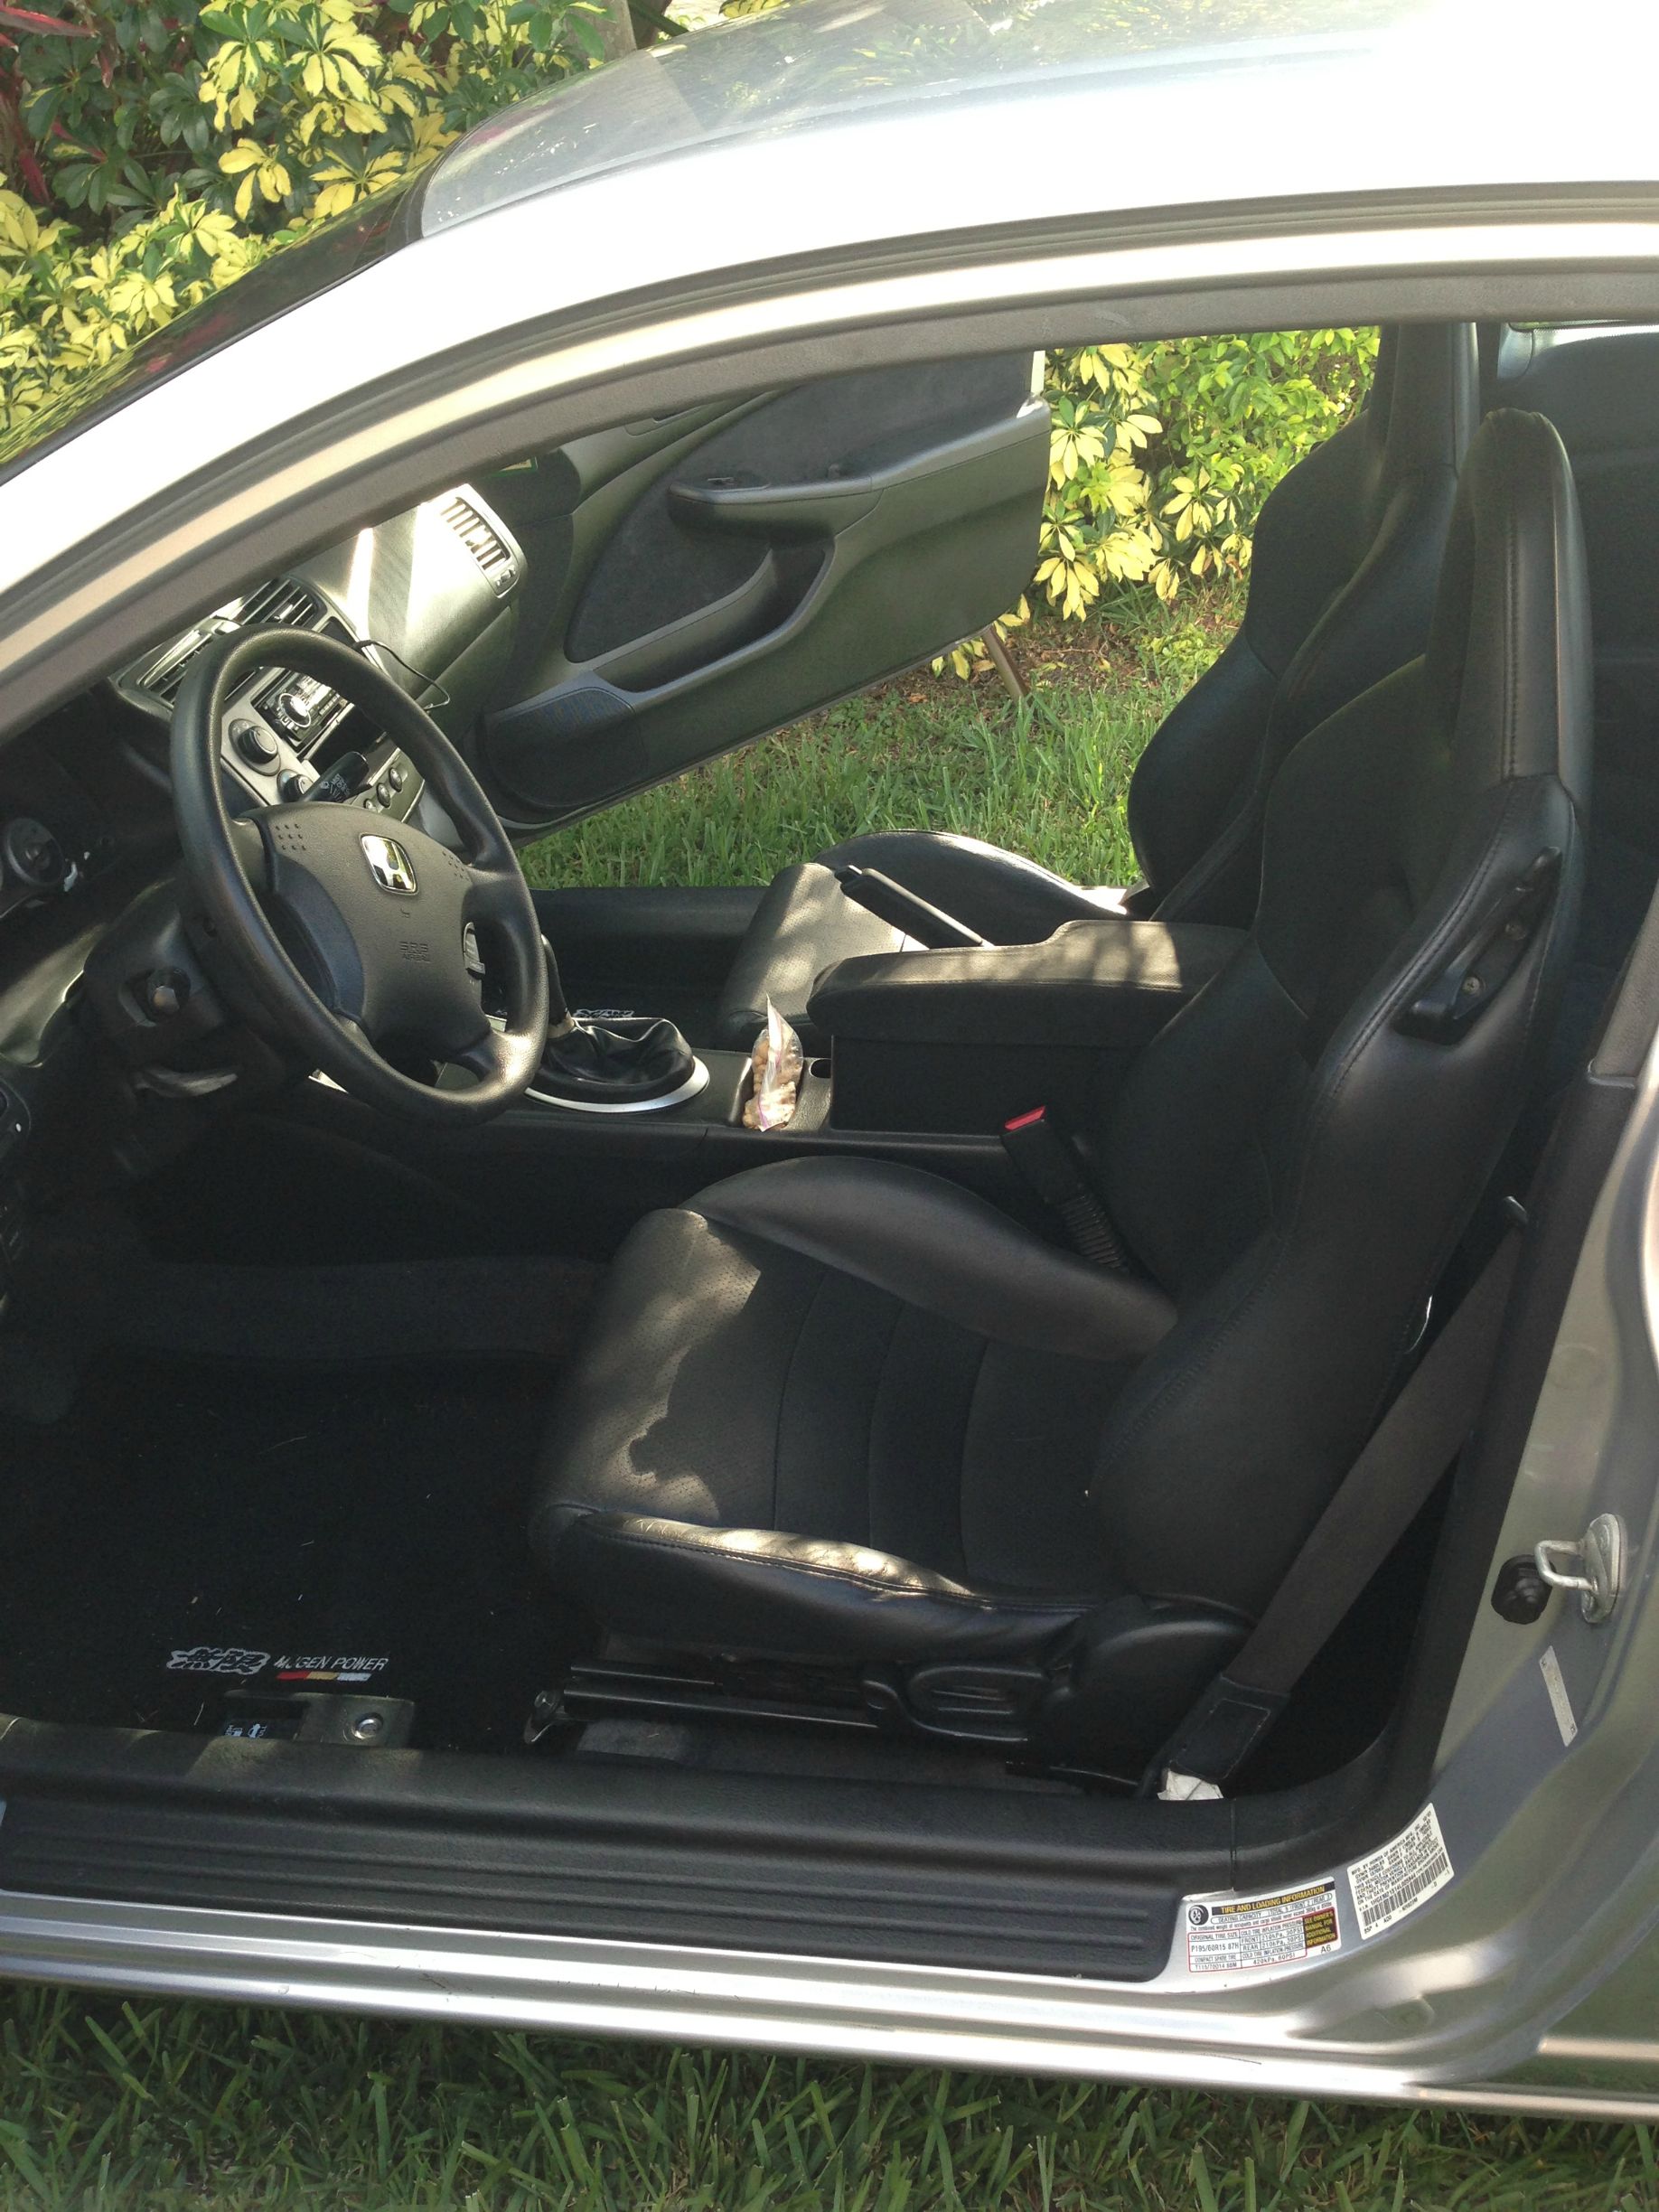
Lol, the aluminum brackets where just for practice to get the right measurements. The actual brackets you see in the picture is high SAE grade steel.
And the zip tie is to keep the srs pretensioner on the seat belt from moving up and down. The actual seat belt are attached in the same way as the EM2 one.
Also jringo, I might be willing to make another set, but I will look into laser cutting the steel. It would save me so much more time.
And the zip tie is to keep the srs pretensioner on the seat belt from moving up and down. The actual seat belt are attached in the same way as the EM2 one.
Also jringo, I might be willing to make another set, but I will look into laser cutting the steel. It would save me so much more time.
hey let me know i am interested if price is right . amazing job
Joined: Aug 2003
Posts: 21,620
Likes: 1,252
From: Las Vegas, NV
Rep Power: 512 
Re: DIY: S2000 Seat Install
Quite nifty, but I don't know how I feel about the brackets as they are. I know it's SAE grade steel and all, but how they hold up with dynamic stresses of car vibrations and (assuming) 150+lbs weight after a while.
I just feel like they'd be safer with some of the scrap metal welded perpendicular to how the brackets are bent. Thinking about the metal microscopically, you've introduced a "pre-existing flaw" by bending the metal, making it more prone to breakage. But maybe I'm just thinking too technically about it. (Referencing your aluminum template picture) I'm not so much worried about the first bracket, because it seems to be resting on the floor, but the other two which are more "load bearing" are the ones I'd add additional support to.
I just feel like they'd be safer with some of the scrap metal welded perpendicular to how the brackets are bent. Thinking about the metal microscopically, you've introduced a "pre-existing flaw" by bending the metal, making it more prone to breakage. But maybe I'm just thinking too technically about it. (Referencing your aluminum template picture) I'm not so much worried about the first bracket, because it seems to be resting on the floor, but the other two which are more "load bearing" are the ones I'd add additional support to.
Thread Starter
Registered!!
Joined: Jun 2013
Posts: 17
Likes: 1
Rep Power: 0 Re: DIY: S2000 Seat Install
Quite nifty, but I don't know how I feel about the brackets as they are. I know it's SAE grade steel and all, but how they hold up with dynamic stresses of car vibrations and (assuming) 150+lbs weight after a while.
I just feel like they'd be safer with some of the scrap metal welded perpendicular to how the brackets are bent. Thinking about the metal microscopically, you've introduced a "pre-existing flaw" by bending the metal, making it more prone to breakage. But maybe I'm just thinking too technically about it. (Referencing your aluminum template picture) I'm not so much worried about the first bracket, because it seems to be resting on the floor, but the other two which are more "load bearing" are the ones I'd add additional support to.
I just feel like they'd be safer with some of the scrap metal welded perpendicular to how the brackets are bent. Thinking about the metal microscopically, you've introduced a "pre-existing flaw" by bending the metal, making it more prone to breakage. But maybe I'm just thinking too technically about it. (Referencing your aluminum template picture) I'm not so much worried about the first bracket, because it seems to be resting on the floor, but the other two which are more "load bearing" are the ones I'd add additional support to.
You mentioned some very real issues. For example I was thinking about putting a cross member between the front two brackets, but since the seats dip in the rear and 50-60% of the load is shifted back and the rest is divided between the two front ones.
What I do plan on doing is making the front brackets complete, without a break. That way the load is more evenly distributed. All I would have to do is weld the ends of the brackets together.
However, for the moment, I feel that the brackets are safe enough to drive in. I had my dad check them out for me before I drove in them. He works for the DOT, and knows a bit about car safety and the forces that act upon it in the event of an crash for example.
"Come to terms with your slow *** whip"
Joined: Feb 2011
Posts: 765
Likes: 1
From: Texas
Rep Power: 193 Re: DIY: S2000 Seat Install
I'd be kinda scared to drive with those just because of the brutal forces experienced during a crash, forces that are able to bend much thicker gauges of steel like the frame. But i admit it does look awesome lol
Joined: Dec 2008
Posts: 15,177
Likes: 1,605
From: TN
Rep Power: 367 Re: DIY: S2000 Seat Install


Thread
Thread Starter
Honda Civic Forum
Replies
Last Post
Bill in San Jos
Mechanical Problems/Vehicle Issues and Fix-it Forum
1
Jul 10, 2015 12:32 PM
ballmich
Mechanical Problems/Vehicle Issues and Fix-it Forum
0
Jul 9, 2015 11:59 AM
fvckbg
Mechanical Problems/Vehicle Issues and Fix-it Forum
4
Jul 7, 2015 07:08 PM


