When you click on links to various merchants on this site and make a purchase, this can result in this site earning a commission. Affiliate programs and affiliations include, but are not limited to, the eBay Partner Network.
Today kids, I installed an OEM Homelink module in my car so I don't have to carry around a garage door opener. Greatest thing about it? It looks OEM. Why? We're using OEM parts. The overhead unit in the 2016-2017 Accord, 2009-2015 Pilot, and 2014-2017 Oddyssey is built exactly the same as the 10thgen Civic, except they get a fancy pants garage door opener and a sunglasses holder. The Accord is the only one that comes in graphite black, however, so if you have a black interior (like me and many other 10thgen owners), you'll have to shell out the extra cash for the Accord's Homelink module. If you don't care about color (or you want to have contrasting colors, which, actually doesn't look terrible), you can get the entire overhead module (map lights and all) for cheap on ebay (about 75-90 bucks). Just the Homelink module for the Accord goes for at least $170 plus shipping. If you get the entire console, you're going to be harvesting the homelink part and swapping it over to your map light. Because of the sunglasses holder, you can't just swap in the entire console. Also, dunno why you can't use the new microphone assembly. Probably the plug that goes into it, if I had to guess. The DIY guide I used stated to not use it and swap over your mic. The unit I bought came mic-less, so that was a non-issue for me.
Whichever console you get, make sure it looks like this:
and not like this:
Estimated time: 15-30 minutes
Parts needed:
A Homelink module harvested from one of the aforementioned Honda models listed above
For the graphite black module from the Accord, you'll want to purchase part number 36650-T2A-A11ZH
Wire, or easier yet, male to female breadboard jumper wires. 6" should do you well.
Tools Needed:
Flathead screwdriver (or other prying tool)
Phillips head screwdriver
[optional] Zip ties and side cutters (for cable management purposes
How it do:
Remove the map light console from your car and bring it inside. You'll need to transplant stuff, and why not in the comfort of your dwelling space. The instructions for how to remove it are in step 1 of my map light door mode hack DIY.
Remove the microphone assembly from the console by depressing the 6 clips on the border of the assembly. It should push right through once all 6 clips are released.
This is what you should be looking at now. Put that aside and grab the assembly you just took off this console.
Remove the microphone itself from the assembly by removing these two screws. Should lift right out.
Meet the module you're swapping in. I bought this guy pre-wired, so yours probably won't have the wires sticking out like mine does. Swap the microphone into this unit (big opening above the microphone screen portion). As per usual, I suck and forgot to take a pic of this part, but it's pretty intuitive how to install it.
Insert the new assembly (microphone and homelink module) into the map light. With the map lights forward and the Homelink module to the rear, the garage door opener part should be on the passenger side. (See next step for a picture of what it'll look like)
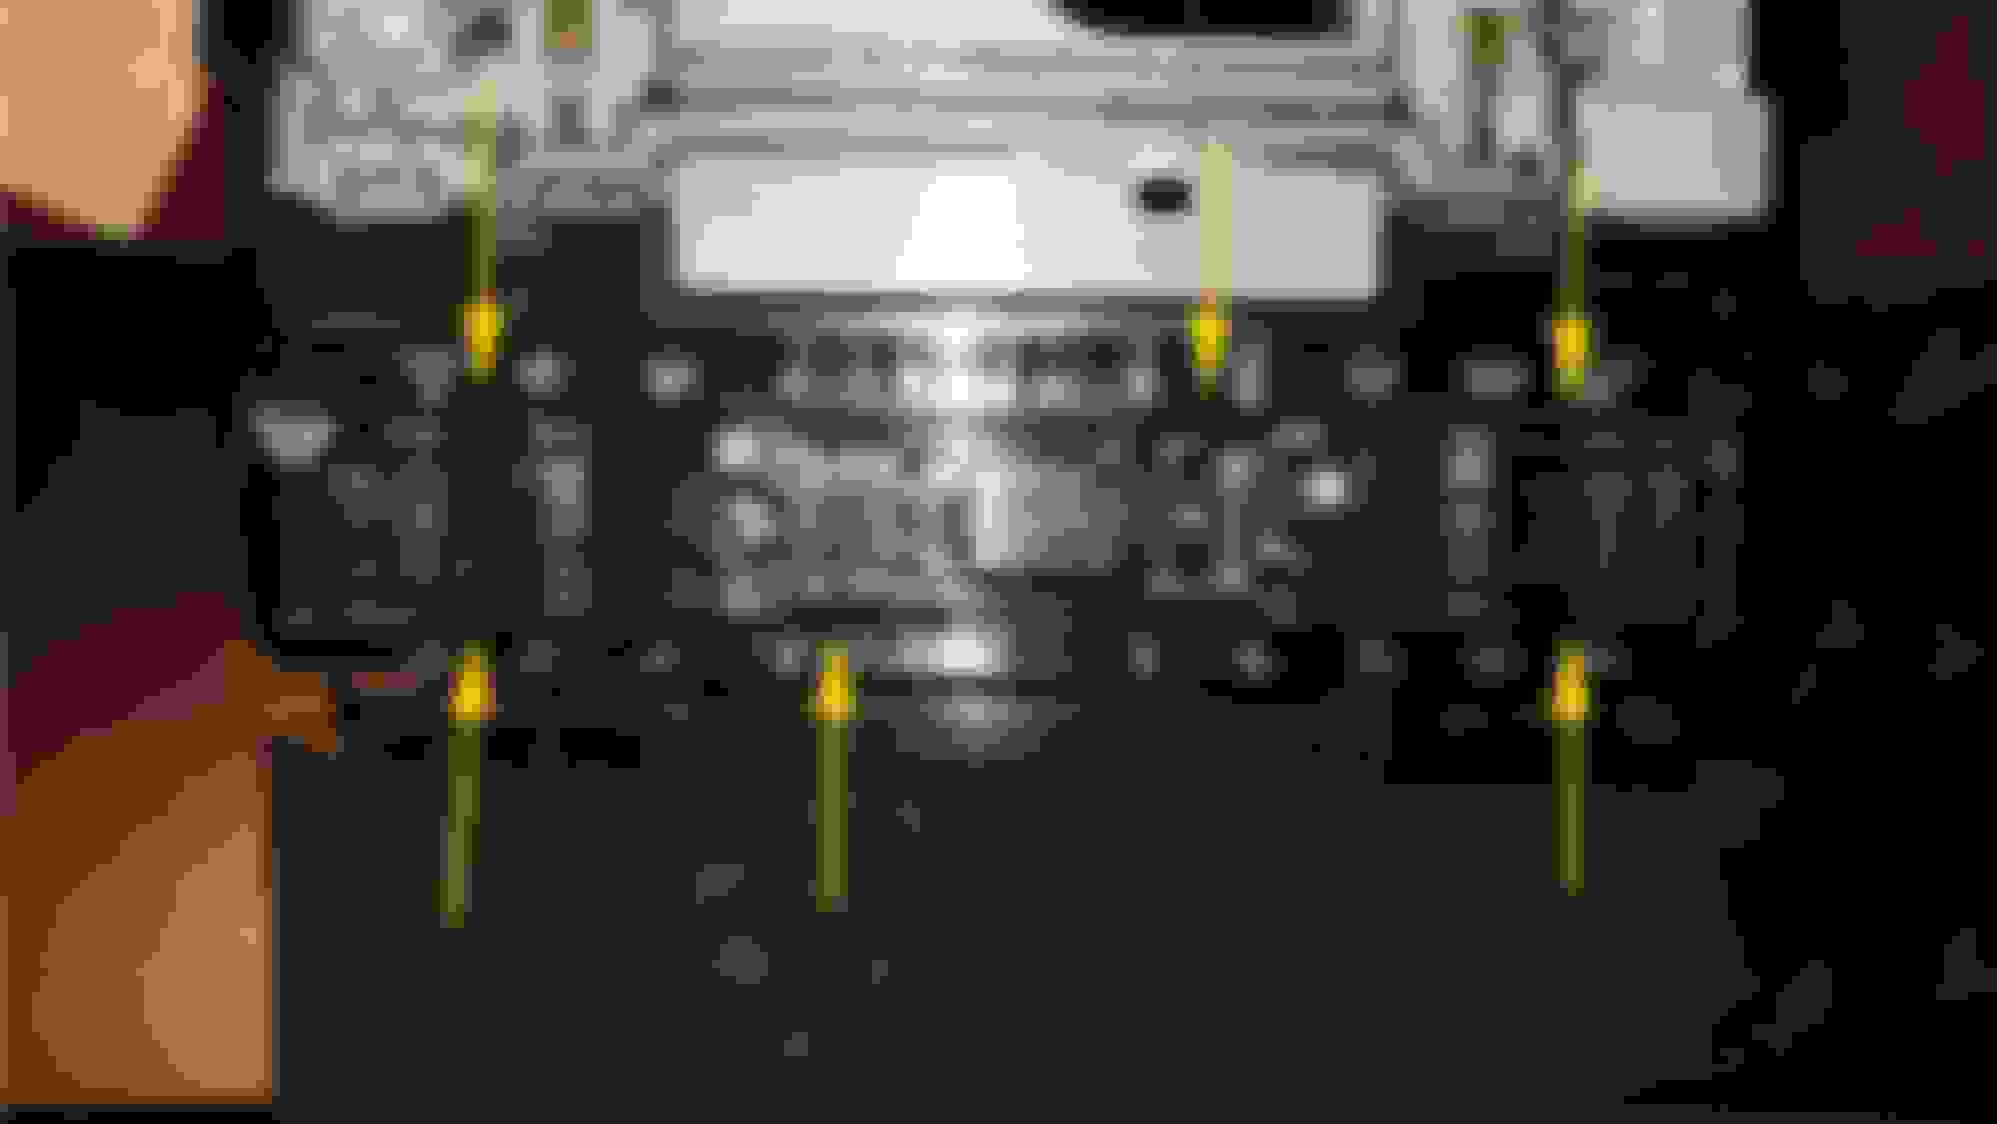
Now the wiring. Keep in mind this picture has the assembly oriented backwards. When installed in the car, it'll be flipped 180. On the Homelink module, there are 5 pins.
Blue: Variable +12VDC for illumination
Black: Ground
(Not used)
Grey: +12VDC for button illumination (on with headlights)
Red: +12VDC
Pins 5 and 2 will connect to Bar 2 and 3, respectively. If you went the jumper wire route, just wedge the pin between the metal bar and the plastic (it'll be a tight fit) to make a connection. That will provide the constant-on +12VDC (and ground, respectively) needed for the Homelink module. If you wish to have the Homelink module on only when the key is in acc/on mode, you'll have to find a +12VDC line that suits your power condition using a multimeter and connect pin 5 to it. The OEM way is to have it constant on (as depicted in this DIY). Don't worry about pin 1 and 4 just yet. That'll get wired into a harness in the car. For kicks and giggles, I applied 12VDC (I have a thingy with 8-D-cell batteries that I use as a desktop 12VDC power supply) to bar 2 and 3 (positive and negative, respectively) and pushed a garage door button. The house icon on the button side should illuminate when you hit a button. If it does, you have it wired up properly. Just be absolutely sure that you have bar 2 connected to pin 5 and bar 3 connected to pin 2.
Bring the newly assembled map light unit to the car. Find the small plug that connects to the forward-most port on the map light console. This is power for the accent light in the console. Connect pin 1 to the blue wire, and pin 4 to the grey wire.
Zip tie or electrical tape it in place. Plug everything else in (yes, even with your microphone positioned inches to the left, it'll still reach).
Enjoy your new garage door opener! Look at it, doesn't it look OEM AF?
edit 2: Here are some general programming instructions.
For absolute first time installs, press and hold buttons 1 and 3 for at least 20 seconds. Release when the HomeLink button begins to rapidly flash. This will clear any previously stored programming.
Programming buttons:
Simultaneously press the HomeLink button you wish to program and your garage remote button. The HomeLink button should go from slow to rapid blinking. Release both buttons.
Press the HomeLink button you programmed. If it is solid, you're done. The button should now open your garage.
If it blinks rapidly then turns solid, your garage has a rolling code, and you will need to perform the following steps:
Locate the learn button on your garage door opener motor and press it once. ***CAUTION: PRESSING AND HOLDING THIS BUTTON WILL LIKELY ERASE ALL PROGRAMMED REMOTES***
Within 30 seconds, press the programmed HomeLink button for 2 seconds and release. If the garage door activates, programming is complete. This is the step that required me to repeat over and over again until it worked. At long last, it did, but it took a while. At a few points, I got fed up and started the process over again.
If it doesn't open your garage door, de-program and try again.
To de-program any button:
Press and hold the button you wish to de-program for at least 20 seconds. The HomeLink button should be rapidly blinking to indicate that de-programming is complete.
Follow the steps above to re-program this button.
I should add, for any of you that live in gated communities, I was able to use this procedure to train my overhead console to work with the gate. Thankfully, the apartment complex I was in didn't have a rolling code on the gate
If you're more into watching videos of how to program, this is the one I've been using:
Mine is a rolling code, too, and I think that's where I had issues. I ended up hooking up the red and black wires to my 12VDC power supply, sitting right under the garage door opener and programming it like that. About **** myself with glee when it worked. Reinstalled it, and drove out to the middle of the street and it still opened the garage door.