
How To - Fix Headlight Haze


Registered!!
Joined: Oct 2010
Posts: 44
Likes: 0
From: Montreal, Canada
Rep Power: 0 

Registered!!
Joined: Apr 2010
Posts: 140
Likes: 0
From: Ontario, Canada
Rep Power: 198 
Re: How To - Fix Headlight Haze
The 3M headlight restoration kit is AWESOME. I can second that. It costs a bit more, i think like 20 bucks? But im pretty sure you can use it on at least 3 sets of headlights depending how bad they are. Plus its all drill bit based so its ALOT faster and easier on the hands/wrists.

CivicChick2001
Joined: May 2011
Posts: 718
Likes: 0
Rep Power: 192 
Re: How To - Fix Headlight Haze
what exactly do you do? apply it to the paper towel and rub it in? or rub it in to the light first, then use the towel to wipe it off? ive never heard of this before.. and also, do you let it sit? or just put on, then wipe off? thanks for any advice.. ( new to this forum thing )
CivicChick2001
Joined: May 2011
Posts: 718
Likes: 0
Rep Power: 192 Re: How To - Fix Headlight Haze
Hmm.. Well makes sense.. Guess it's worth a shot. It's free so that's a plus and if it doesn't work, I'll go pick up the other stuff that was talked about. Thanks for gettin back to me. Didnt know if anyone would lol.. But yeah I'll try this.. 

Registered!!
Joined: Apr 2010
Posts: 502
Likes: 1
From: Missouri
Rep Power: 201 Re: How To - Fix Headlight Haze
I fixed my headlight haze for about 5 minutes time and free. We have a air buffer at work. Used it and some 3m finesse it and polished my headlights up like new ones. No sanding or anything. The only collateral damage was slinging some polishing compound up on the windows. Windex and towels and crystal clear headlights!

Joined: Sep 2002
Posts: 51,241
Likes: 20
From: NV
Rep Power: 812 Re: How To - Fix Headlight Haze
well that "factory seal" uv protection layer is what caused the problem in the first place. notice that all the damaged lights are from oem lamps that have never been cleaned or protected. the best way is to keep them from going bad in the first place by protecting new lenses with a sealant like wolfgang plastik surface sealer. its pretty much like a wax for plastics you apply every month or two to protect from yellowing. now if yours are messed already, you will have to likely sand the lights to remove the oxidized layer and then polish it to a clear shine. it will never be perfect like new, but close enough. then you still need to use protectant or it will oxidize again over time. it is just the nature of keeping a car outside. sun will damage paint too if its not waxed and taken care of.

Registered!!
Joined: May 2010
Posts: 26
Likes: 0
Rep Power: 0 Re: How To - Fix Headlight Haze
Dont know if this is in the right section so mods please move if needed.
ALSO I AM NOT RESPONSIBLE FOR ANY DAMAGED HEADLIGHTS THIS IS JUST A GUIDE.
Tools needed
1. microfiber cloths
2. Meguiars Plastic-x
3. Bucket with a little car wash.
4. 800 grit 1500 grit and 2000 grit sand paper. You can go up to 3000 grit if wanted.
5. Buffer (optional)
6. Blue painters tape.


Here is a before pics of the headlights before i started. The car is my gf's 2001 VW Jetta 1.8T


Before you get started go ahead and put about a table spoon of car wash into the bucket with a gallon of water. Take sheets of sand paper and put then in the bucket and allow them to soak for about 5-10min.
While the sand paper is soaking. start off by masking around the headlights to prevent any paint from being scratched.
Should look like this when finished.

After you have the lights masked off take some soapy water and clean off the headlight. Once clean take your lowest grit sand paper in my case it was 800 grit then start sanding in one direction either up and down or left to right. DO NOT SAND IN A CIRCULAR MOTION. After the 800 grit paper the light should look really hazy and scuffed up.
800 grit

After you are finished with the 800 grit do the same thing with the 1500 but go in a different direction. If you went left to right go up and down.
1500 grit

Once your finished with the 1500 do the same thing with the 2000 and again go in a different direction.
2000 grit

Once you are done sanding take a buffer and apply some Meguiars Plastic-x to the headlight. If you do not have a buffer you can do this step by hand it will take longer but you will get similar results. I only buffed each headlight for about 5min you can get better results by buffing them longer but yeah of course i got lazy. If your using a buffer do not apply to much pressure and dont stay in one area to long because to much heat will cause the headlight to warp.
Once your done buffing take some wax and put a coat on to protect the headlights from hazing up later on.
Here are pics after using the Plastic-x the buffer and wax.
Before


After


If anyone has any questions please feel free to ask.

Joined: Aug 2003
Posts: 21,620
Likes: 1,252
From: Las Vegas, NV
Rep Power: 512 Re: How To - Fix Headlight Haze
Sanding and finishing with a uv-protective clear coat spray is a cheap alternative to completely replacing your headlights, though. Did mine and my girlfriend's last weekend
hers:
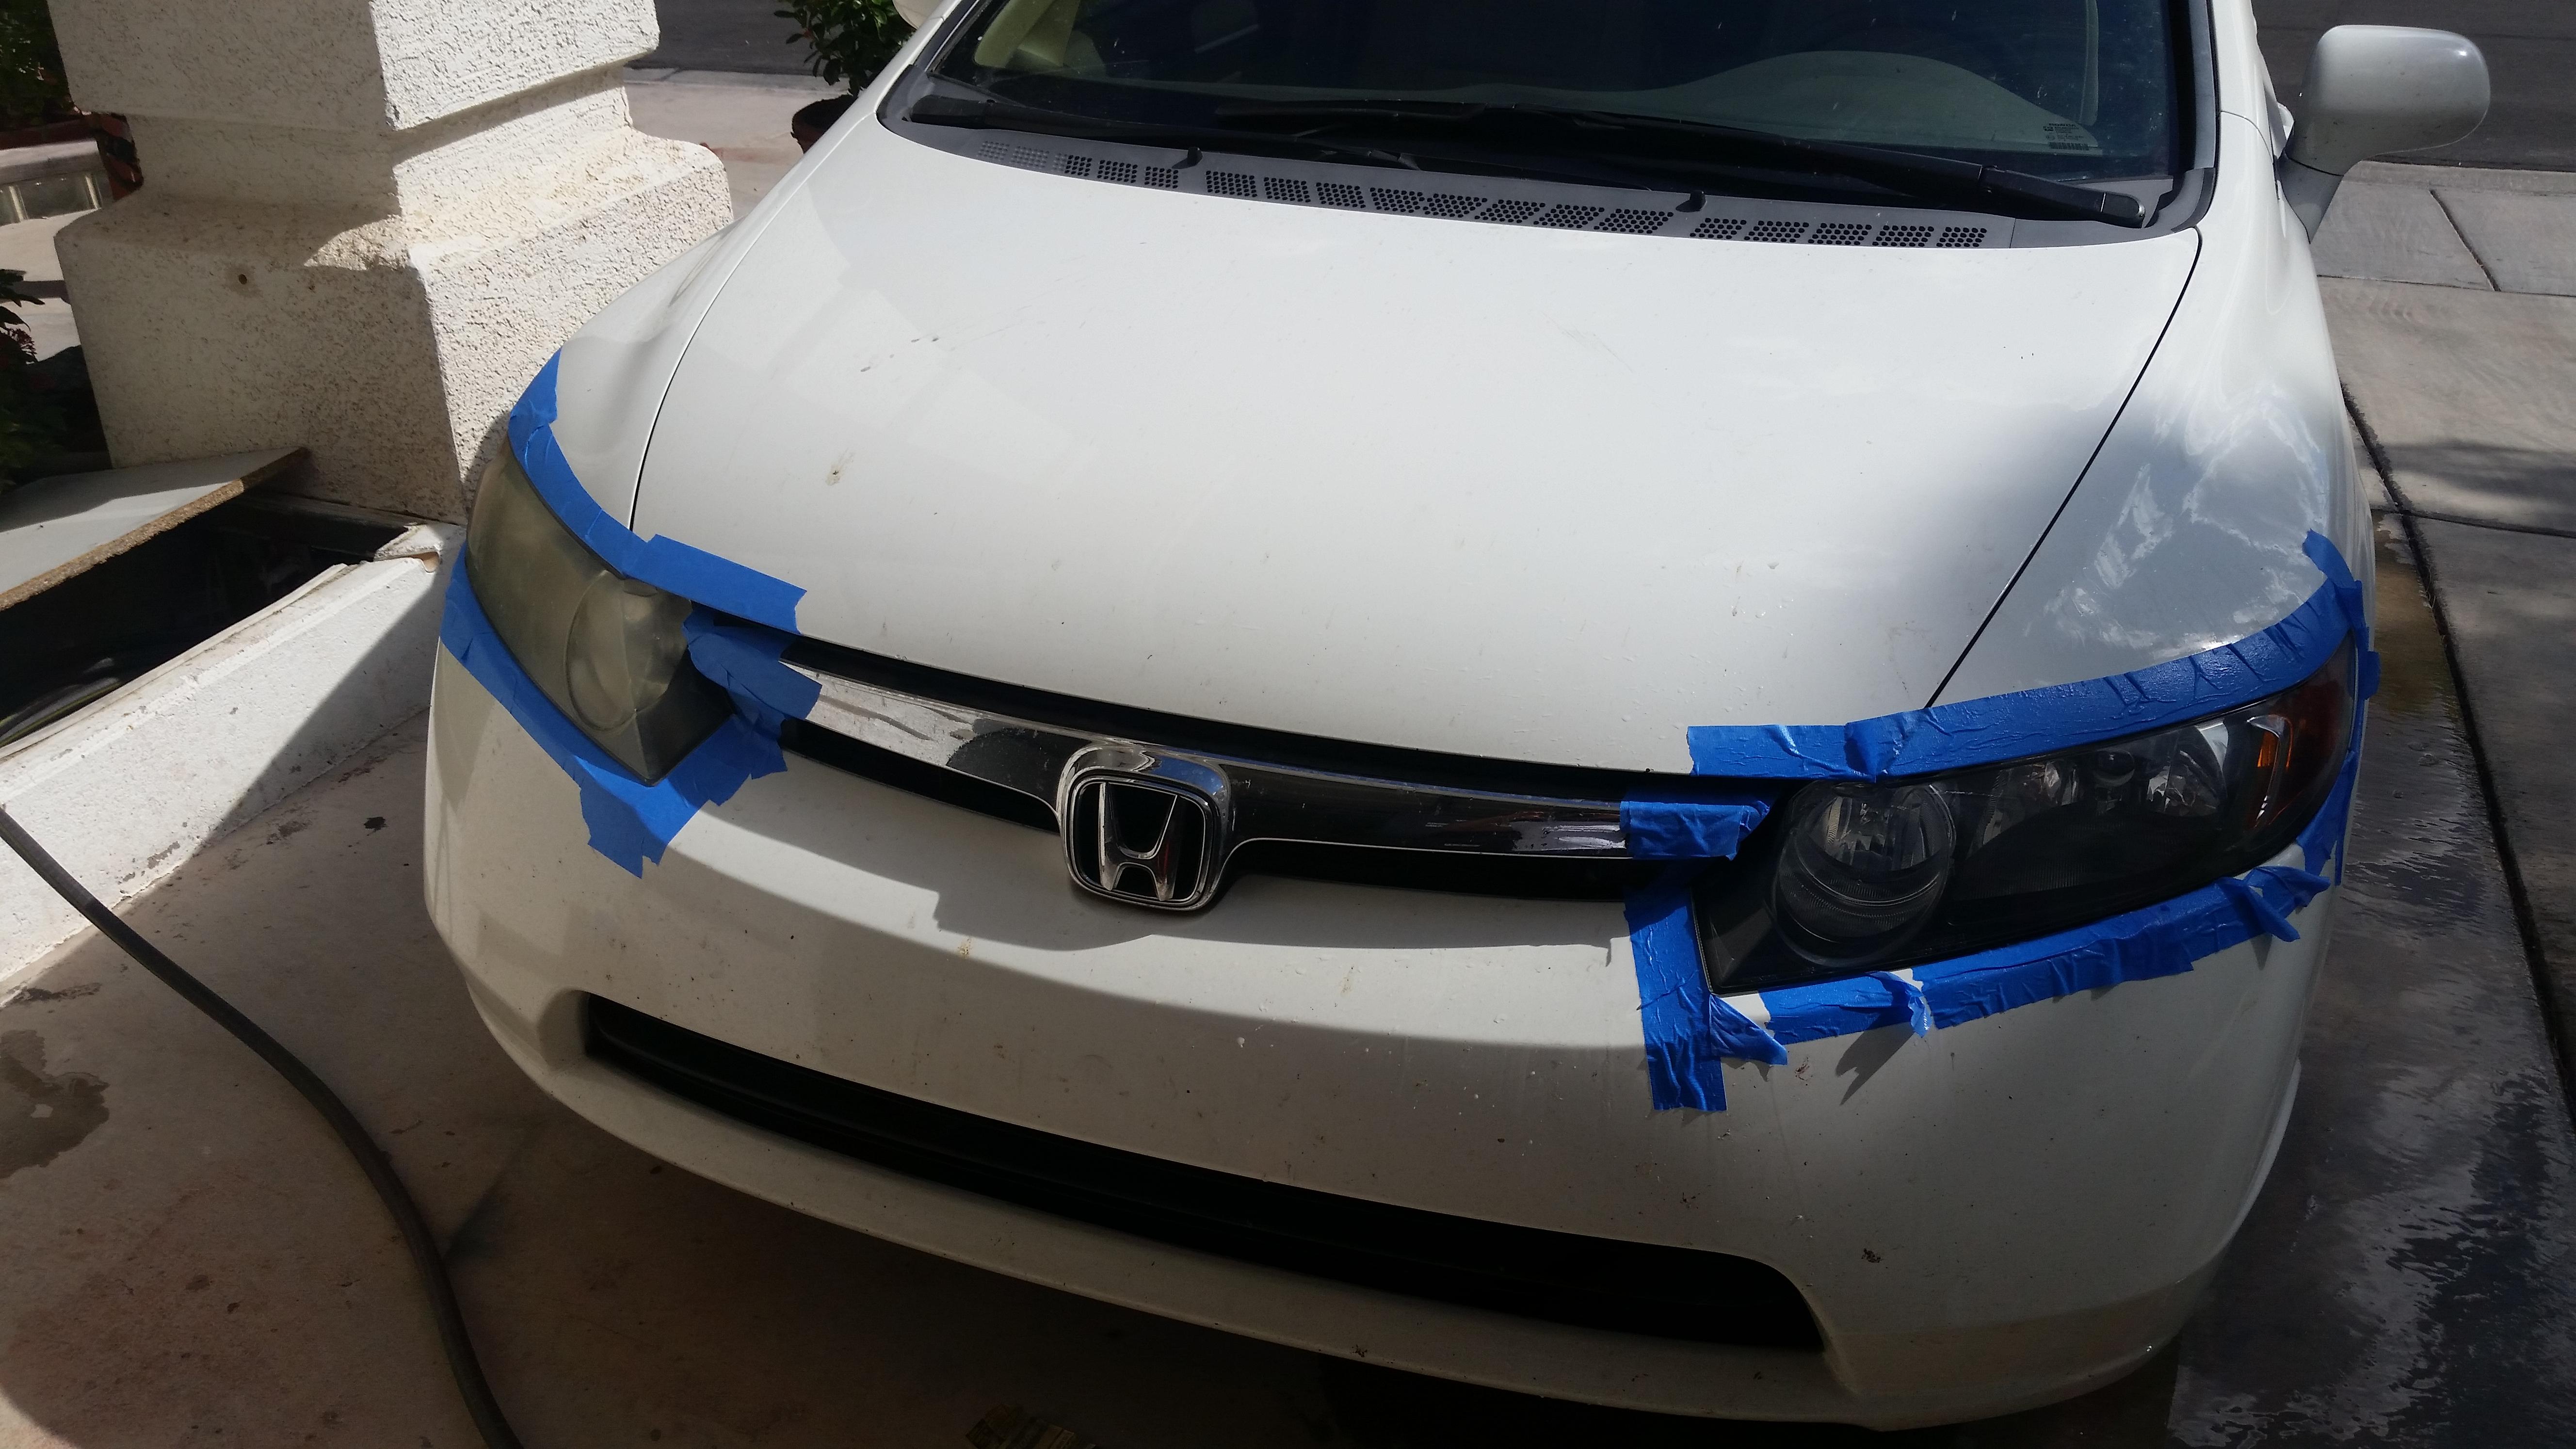
mine:
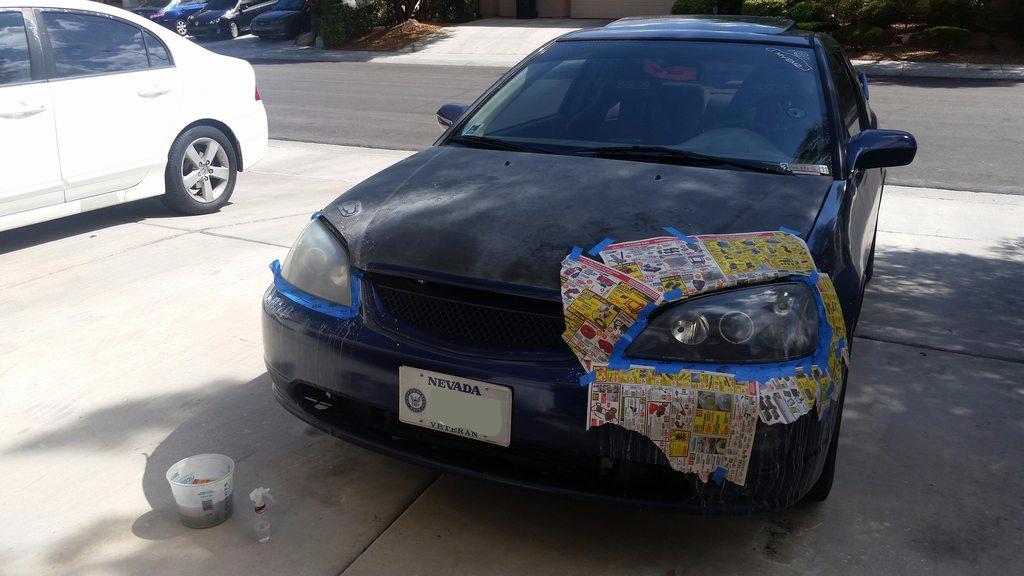
I think it cost me... $10 to do both of our headlights, and I have plenty of materials left over. I'm pretty sure I have enough materials to sand down my carbon fiber hood and spray a couple coats of clear to restore it. If not, another $4 for a can of the clear coat should do
hers:
mine:
I think it cost me... $10 to do both of our headlights, and I have plenty of materials left over. I'm pretty sure I have enough materials to sand down my carbon fiber hood and spray a couple coats of clear to restore it. If not, another $4 for a can of the clear coat should do
Registered!!
Joined: Jul 2014
Posts: 572
Likes: 0
From: Hampton Roads Virginia
Rep Power: 150 Re: How To - Fix Headlight Haze
My 2007 Civic were quite dark and glazed. Spent a few hours cleaning them up last year and they came out fairly well but they are still quite dark brown looking. Now they are not so fogged over but they are even darker, almost like the heat and sun has baked them a little too over-done.
I polished and buffed a small area. I can get it smooth and clear again but the dark brown appears to be all the way thru.
Think it may be time for new assemblies? Any thoughts?
I see them on Ebay for about $90 each. Think they will be OK or should I bite the bullet and get them from College Honda when they do the free shipping before Christmas?
Civic has about 106K and I had planned on keeping it another 100 K or till it drops.
Joined: Aug 2003
Posts: 21,620
Likes: 1,252
From: Las Vegas, NV
Rep Power: 512 Re: How To - Fix Headlight Haze
What did you use to clean them up? My girlfriend's headlights were just like that, with a crusty layer on the top that severely diminished light output. I wetsanded with 400 grit to get that crap off, then followed up with 1000 -> 1500 -> 2000 -> 2500 grit, then finished it off with a few layers of UV protective clear, applied over the course of a few hour to make it last. Worked like a charm

Thread
Thread Starter
Honda Civic Forum
Replies
Last Post
usajags84
6th Generation Civic 1996 - 2000
15
Aug 19, 2015 03:12 AM
intensity
Mechanical Problems/Vehicle Issues and Fix-it Forum
1
May 12, 2015 10:43 PM

