
The db7 project build.

Thread Starter
Low and slow!
Joined: Jan 2010
Posts: 1,628
Likes: 1
From: Marion, NC
Rep Power: 216 
The db7 project build.
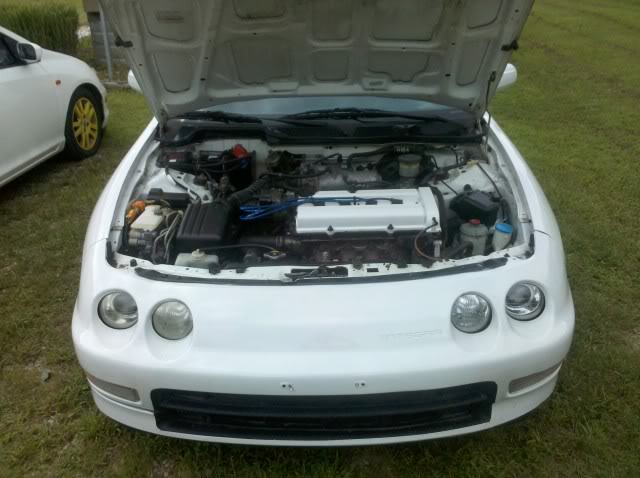
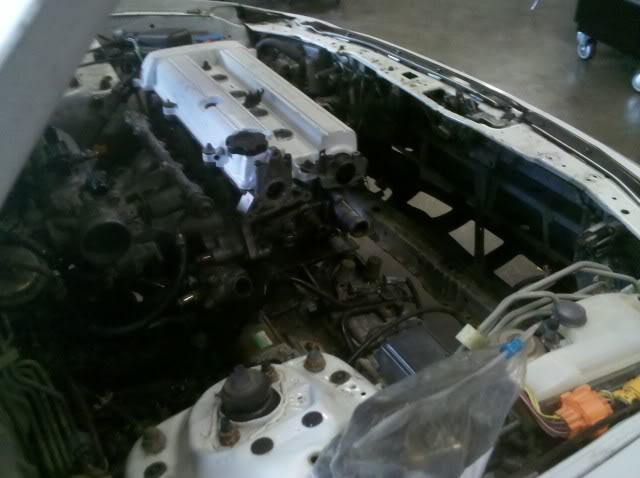
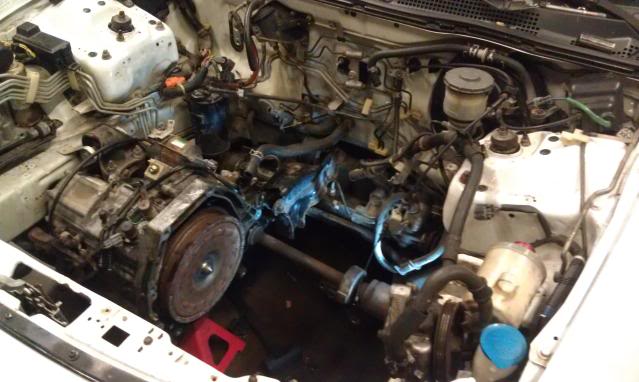
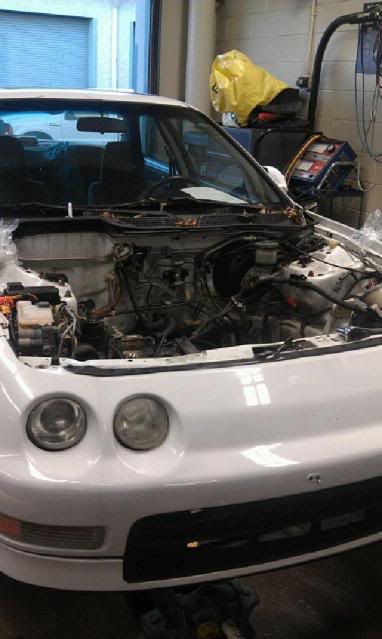
As most of you that know me I have not been posting for a good while and not as much as i use to. Now I own a 97 integrate ls 4 door db7 that's auto and is our family car. We bought it for cheap and didn't have a problem till it overheated. We find out it has a bad headgasket and I changed it. Worked ran fine but water in the oil still. Found out block was cracked so I went a head and rebuilt her motor. During the head gasket fix I rebuilt the head with resurface, valve seals and etc. But now onto the motor build I have been doing, I have tons of pics and stuff so bare with me. I will get them all up.


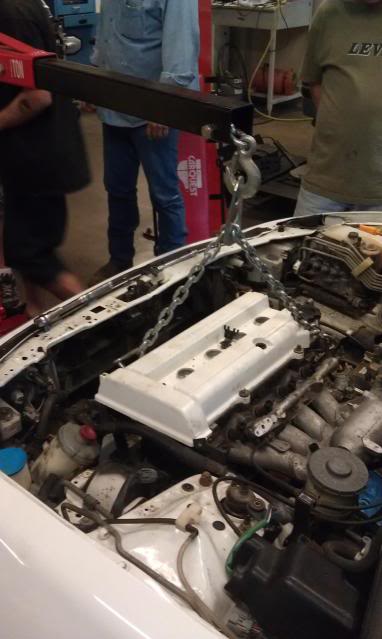
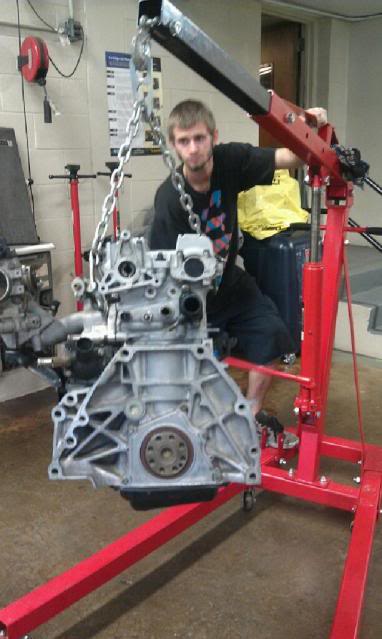
Got it hooked up to the hoist.
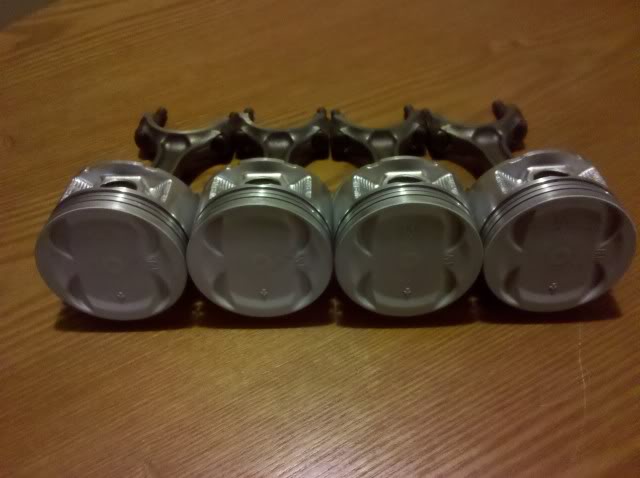
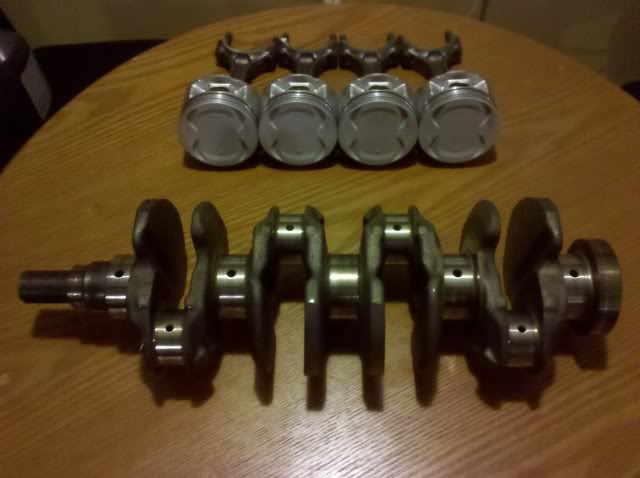
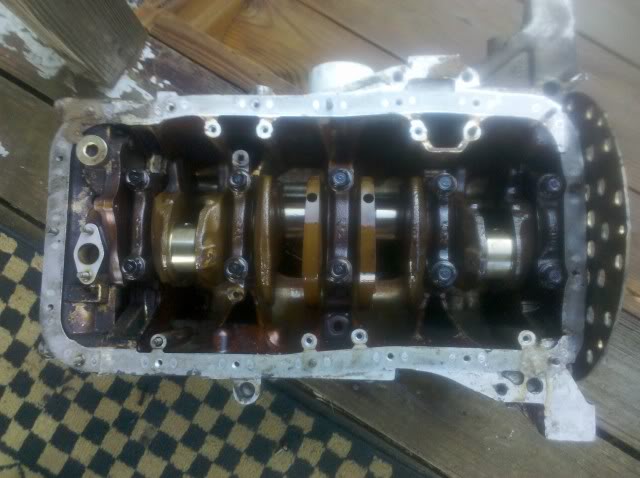
Now I got to tearing the block apart and got it apart and started to clean all the parts. Put all bolts and parts in the parts cleaner and got them nice and clean looking brand new. Also got the pistons and sand blasted the tops of them and amazing results.
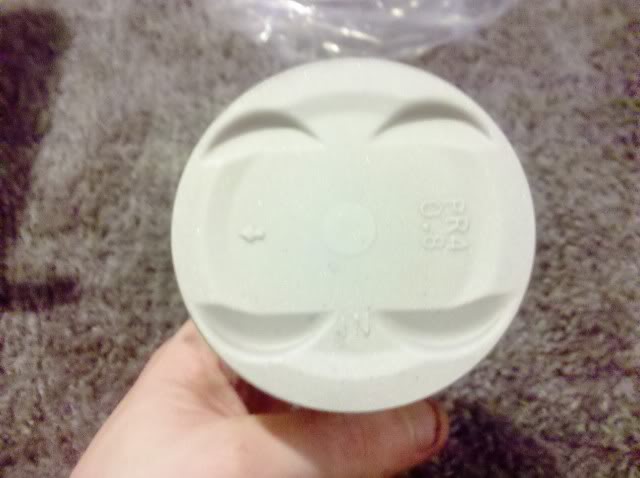
Got pics of all the pistons cleaned and crank cleaned.
Got it hooked up to the hoist.
Now I got to tearing the block apart and got it apart and started to clean all the parts. Put all bolts and parts in the parts cleaner and got them nice and clean looking brand new. Also got the pistons and sand blasted the tops of them and amazing results.
Got pics of all the pistons cleaned and crank cleaned.
Thread Starter
Low and slow!
Joined: Jan 2010
Posts: 1,628
Likes: 1
From: Marion, NC
Rep Power: 216 Re: The db7 project build.
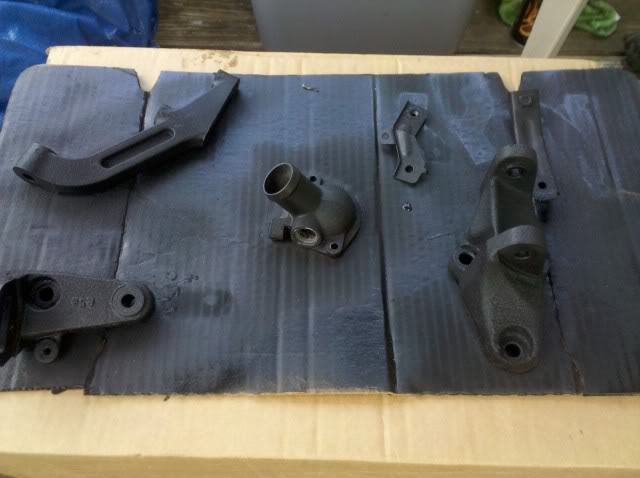
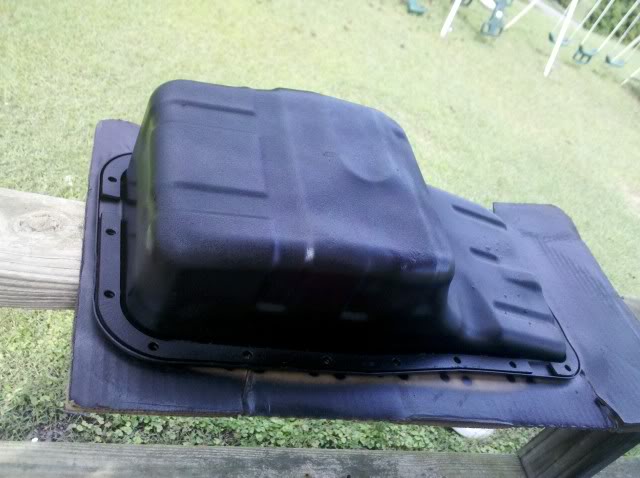
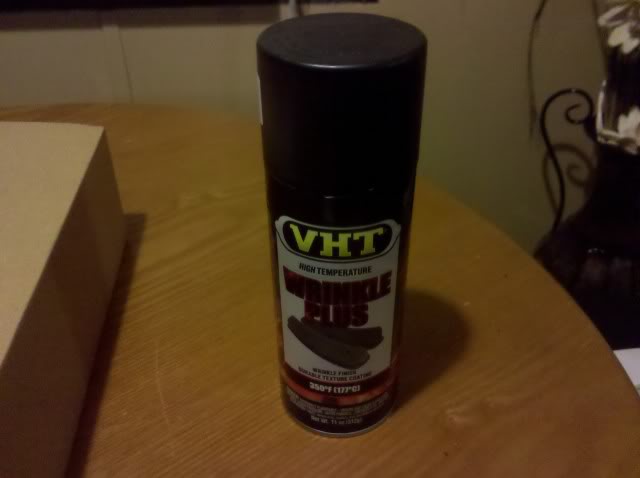
So after I got all parts and brackets clean and everything I decided I want to paint some of the brackets and parts. I decided to paint them wrinkle black. Here are some of the parts.

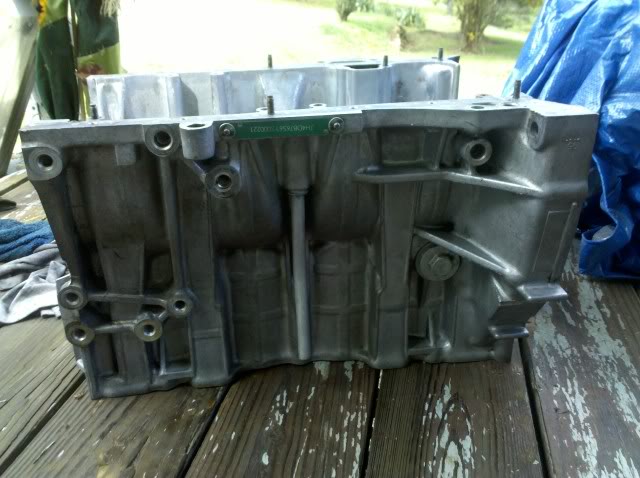
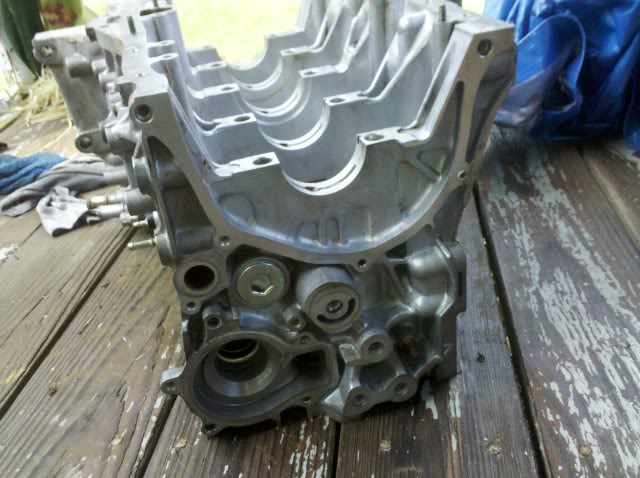
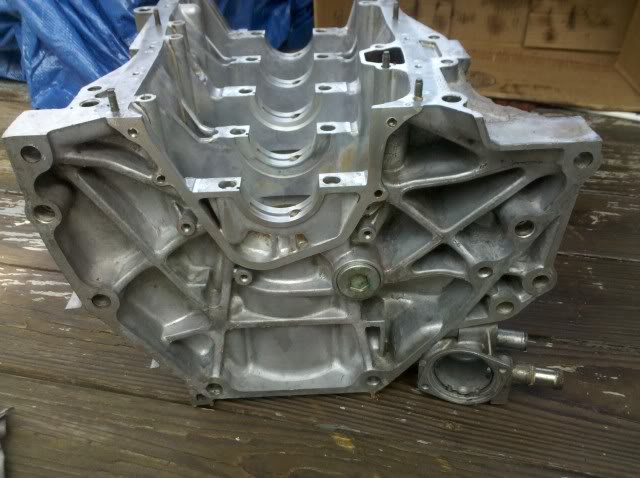
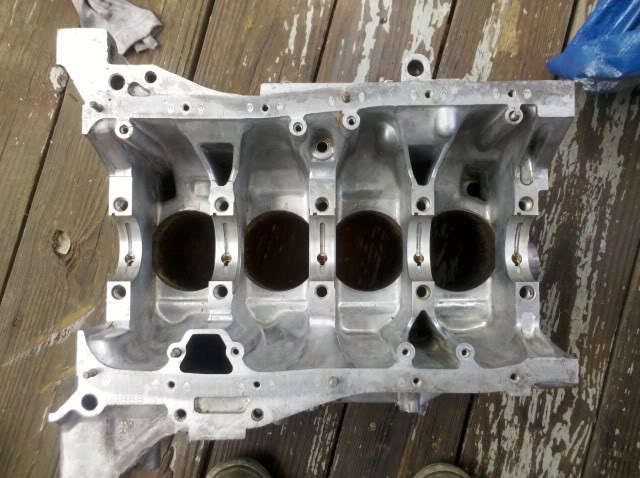
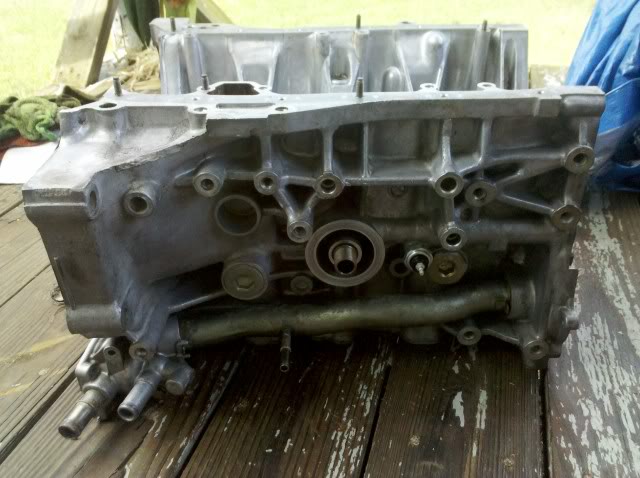
Went and picked up the new short block.
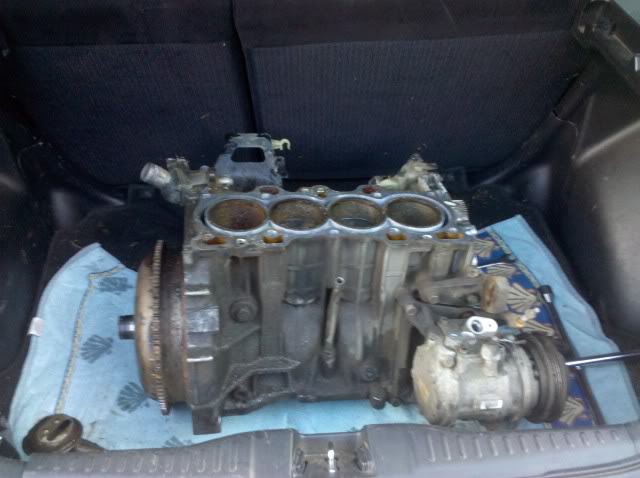
And started the tearing apart of this one as well.
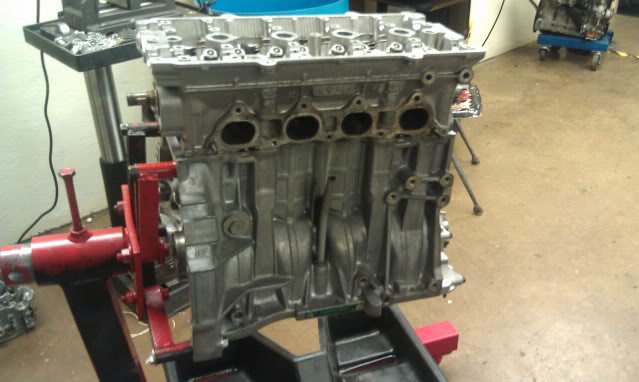
Now this block was dirty as **** and so I got a lot of degreaser and a toothbrush to clean it and here is the end result.
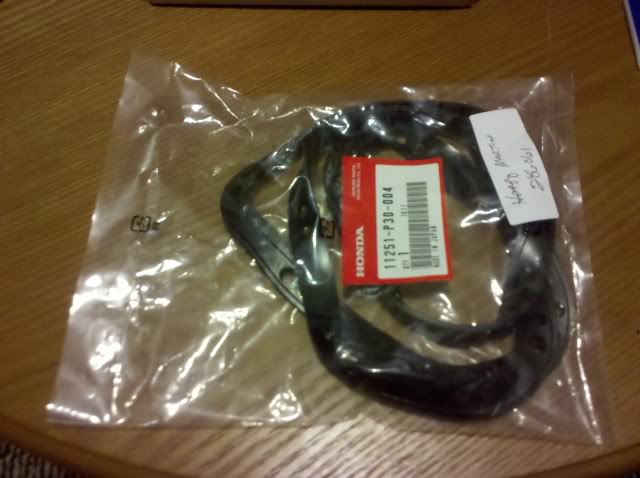
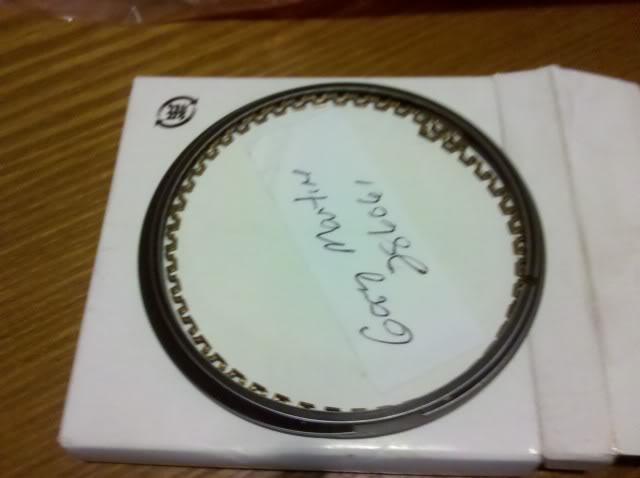
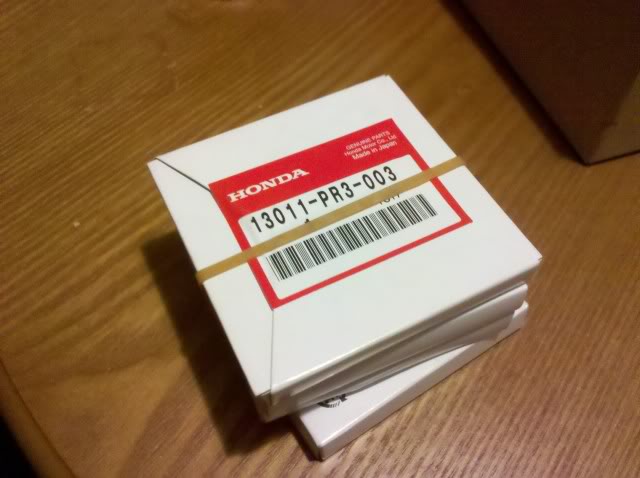
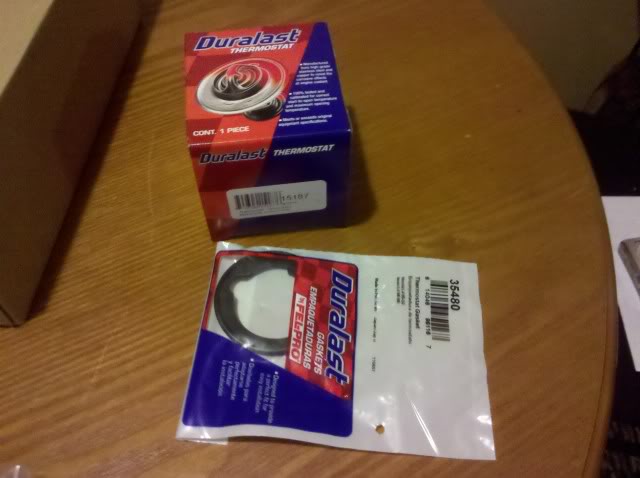
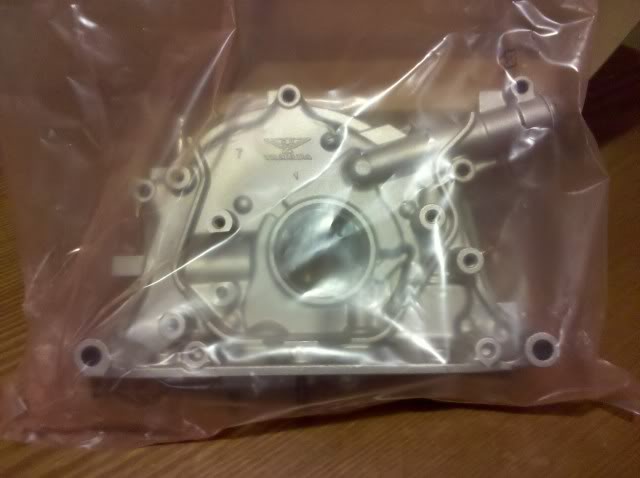
Got some parts from honda, picked up piston rings, oil pan gasket, oil pump, rear main seal, and oil filter. Also picked up more paint and thermostat with gasket.
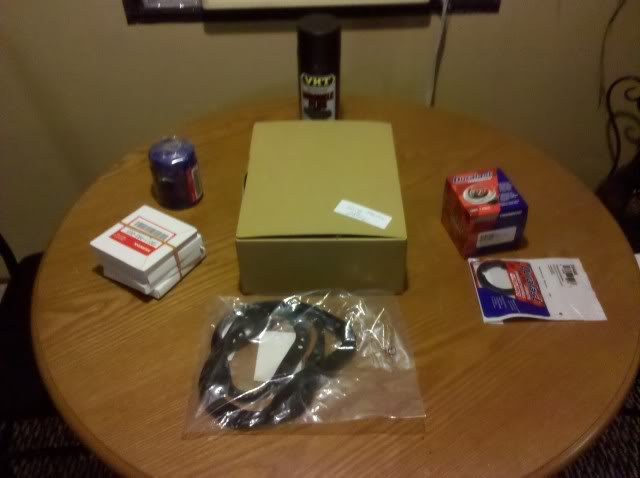
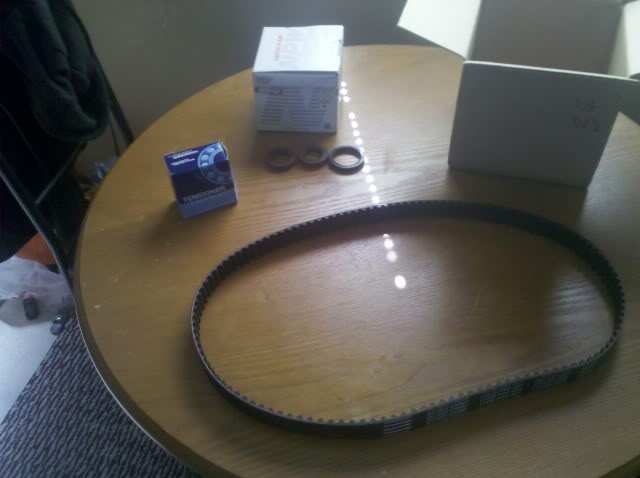
Also got timing belt kit in the mail.
Next I got to honing the new block, I started off and got some of it done but I was using a cordless drill and the battery died on me.
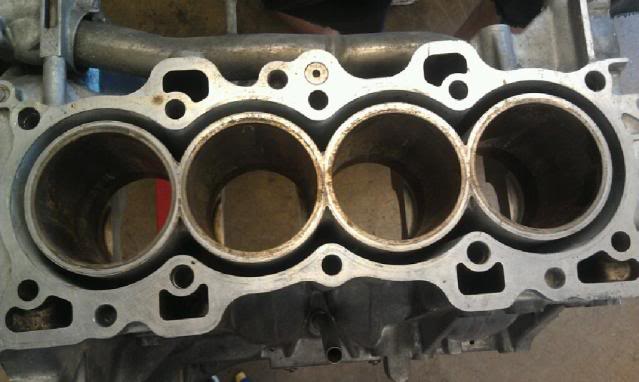
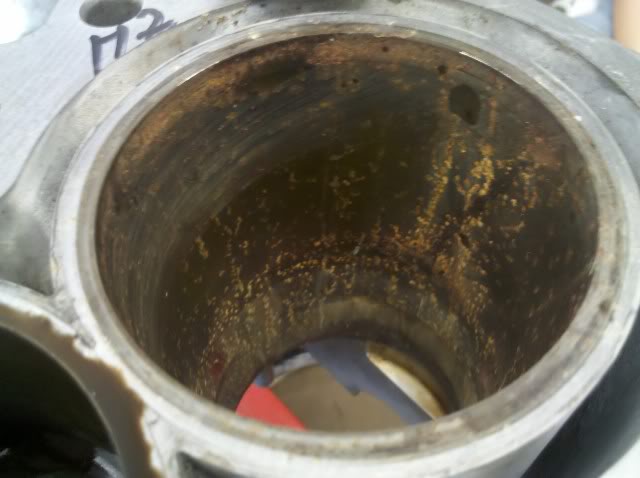
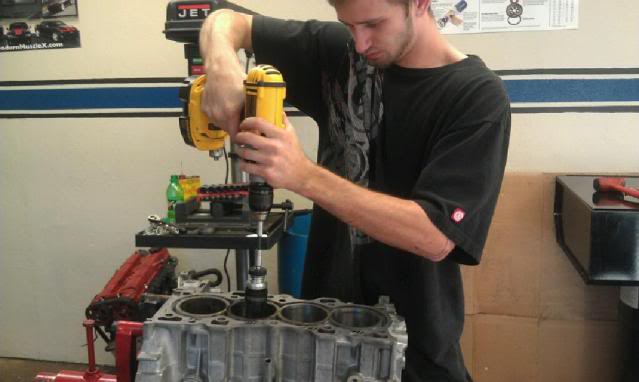
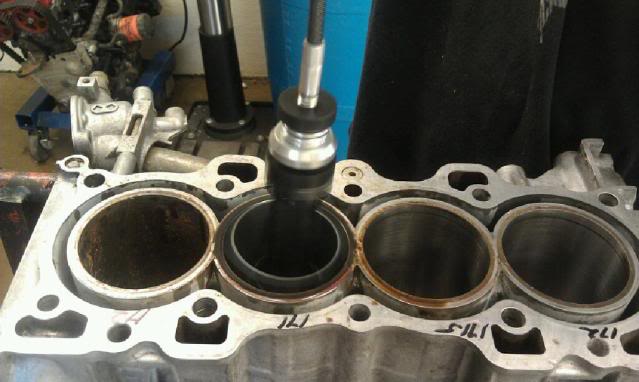
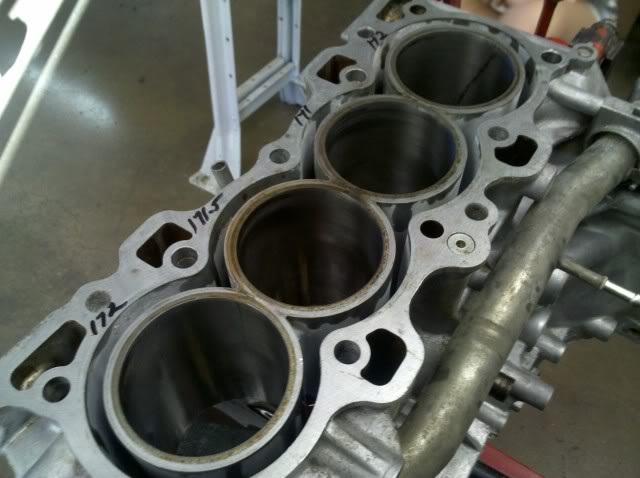
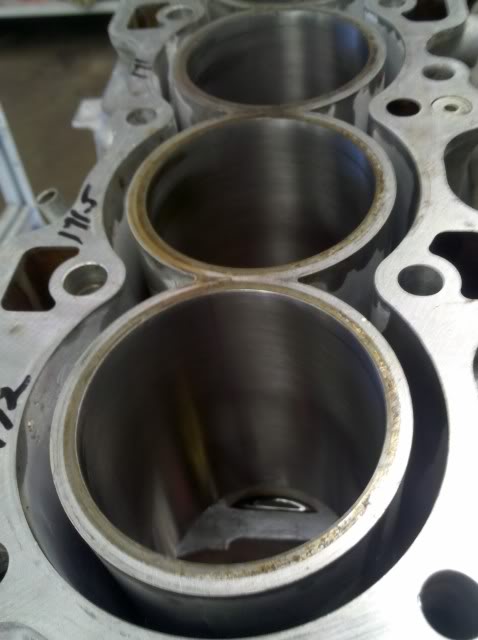
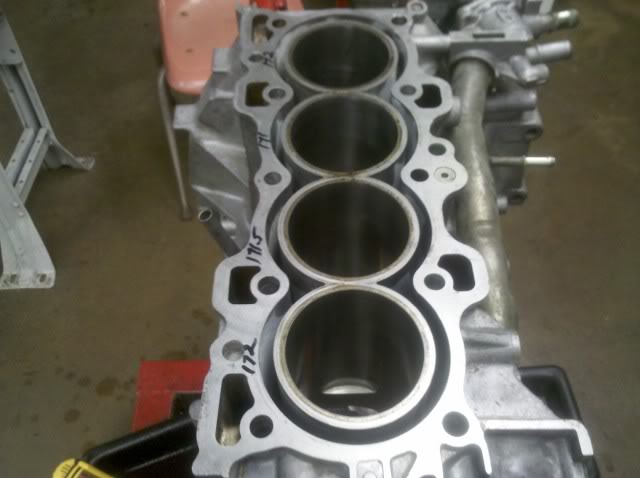
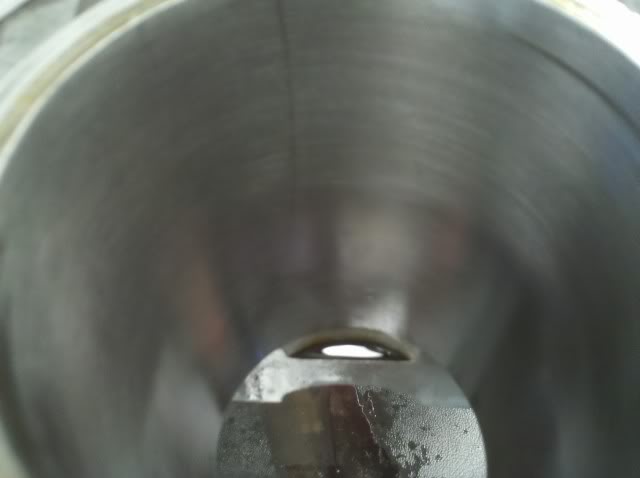
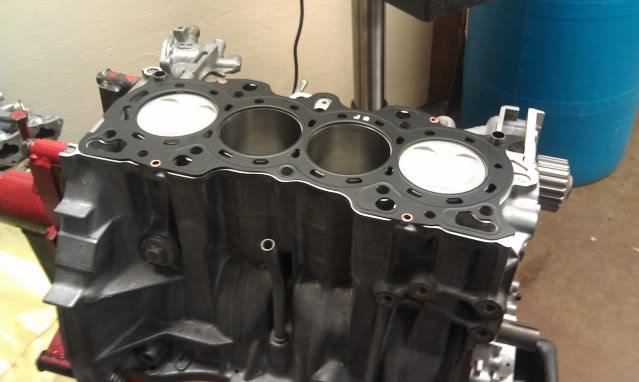
After the battery died I went ahead and decided to take it to get decked and pressure checked before I got it completely done. I got the block back and honed it the rest of the way.

After the hone I went and got carb cleaner and cleaned out all of the shavings out of all the cylinders. I also checked the final bore, ptw and piston ring end gap. The ptw spec was .002 and the piston ring end gap spec was .006-.014 and both checked out.
Went and picked up the new short block.
And started the tearing apart of this one as well.
Now this block was dirty as **** and so I got a lot of degreaser and a toothbrush to clean it and here is the end result.
Got some parts from honda, picked up piston rings, oil pan gasket, oil pump, rear main seal, and oil filter. Also picked up more paint and thermostat with gasket.
Also got timing belt kit in the mail.
Next I got to honing the new block, I started off and got some of it done but I was using a cordless drill and the battery died on me.
After the battery died I went ahead and decided to take it to get decked and pressure checked before I got it completely done. I got the block back and honed it the rest of the way.
After the hone I went and got carb cleaner and cleaned out all of the shavings out of all the cylinders. I also checked the final bore, ptw and piston ring end gap. The ptw spec was .002 and the piston ring end gap spec was .006-.014 and both checked out.
Thread Starter
Low and slow!
Joined: Jan 2010
Posts: 1,628
Likes: 1
From: Marion, NC
Rep Power: 216 Re: The db7 project build.
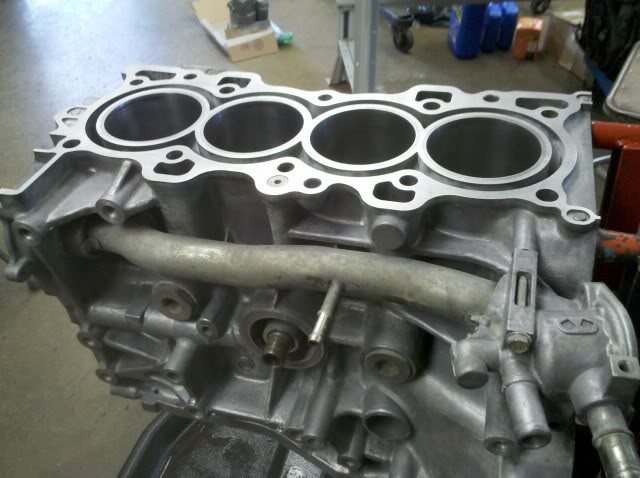
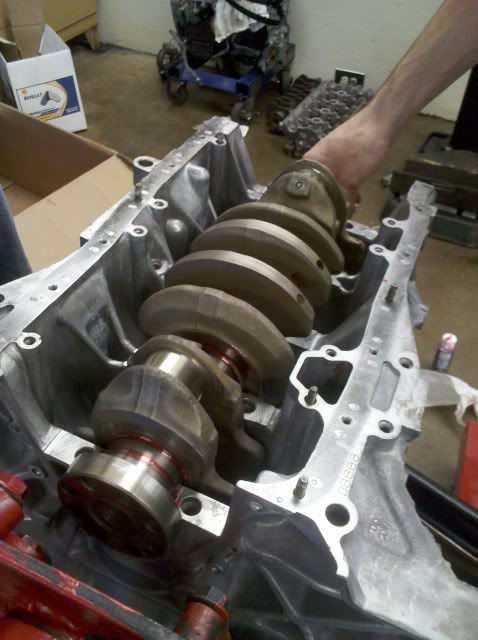
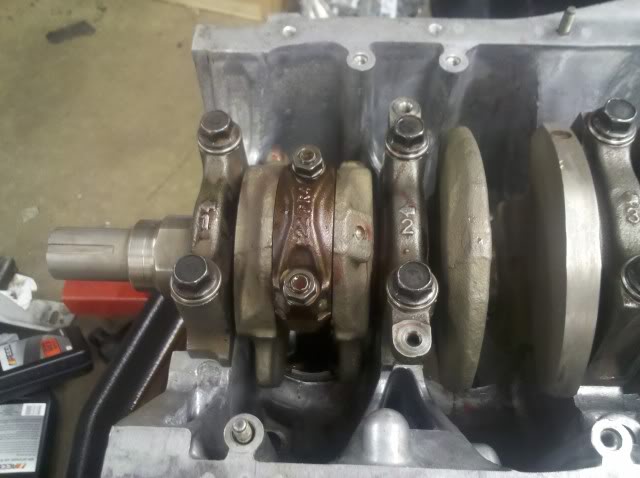
Now I am at the point where I can start assembling everything so went and picked up new main bearings and rod bearings along with assembly lube and more carb cleaner. I started to use carb cleaner on the pistons, block, and crank to get ready for installation. I sprayed the blocks main bearing oil passages good and installed the main bearings and thrust bearings and lubed them up.

Also lubed up the crankshaft.
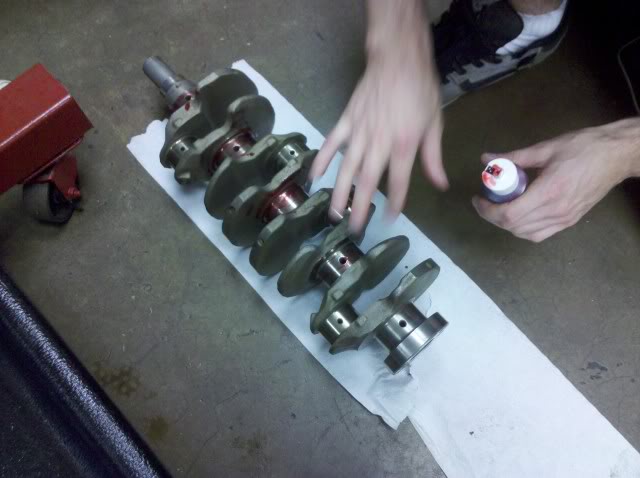
Now I got to put the crankshaft in and checked the crank end play, the spec was .004-.014 and was .006 so it checked ok.
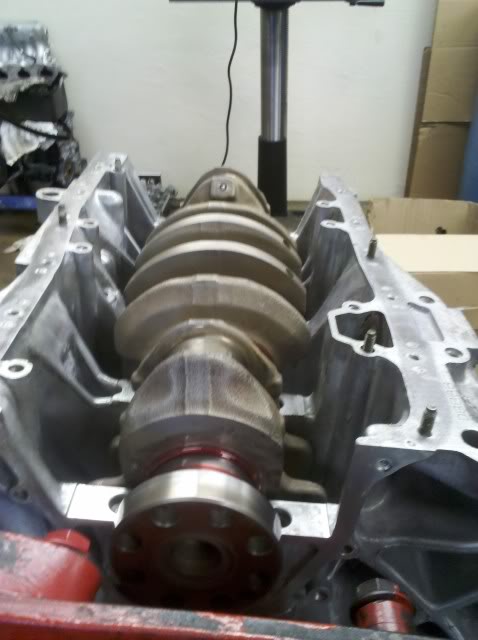
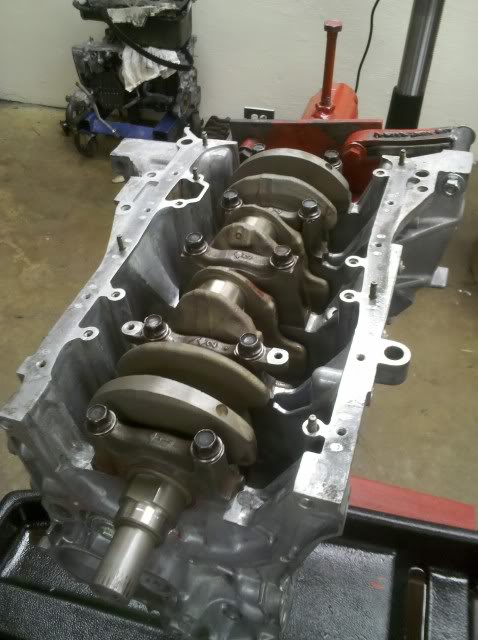
Grabbed the main bearing caps and put the bearings on them and lubed them up and also lubed up the bolts and installed them torqueing them down to its specs and also in correct order. Torque specs was 24 ft lbs then 58 ft lbs.
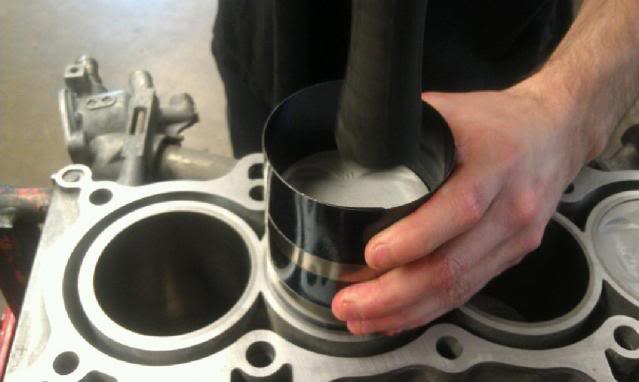
Now I got to the pistons but only had time to install one. I got tranni fluid and lubed up the first cylinder really good. I then put the rings on the first piston and positioned them right on the piston and lubed them up with tranni fluid. Got the ring compressor and tightened it down. Put the rod bearing on it and lubed it up. Grapped the connecting rod cap and installed the bearing on it with lube. Then put the rod down through the cylinder with the arrow facing the side of the block the timing belt goes on. Then knocked it down into the cylinder with a rubber mallet. Put the connecting rod cap on and torqued it down to spec. Torque spec was 15 ft lbs then 24 ft lbs.
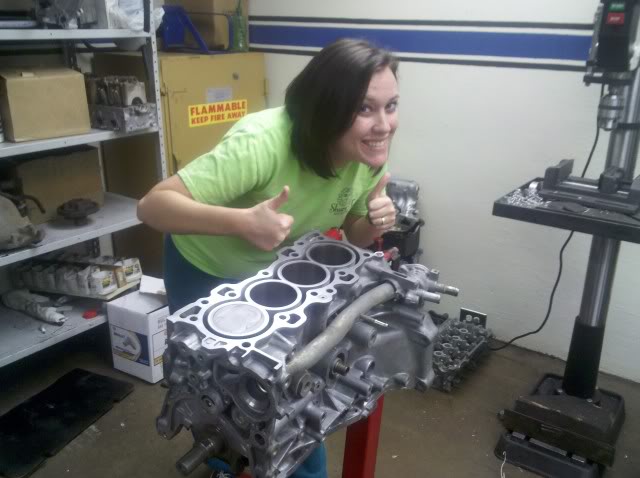
And the wife being crazy lol.
Also lubed up the crankshaft.
Now I got to put the crankshaft in and checked the crank end play, the spec was .004-.014 and was .006 so it checked ok.
Grabbed the main bearing caps and put the bearings on them and lubed them up and also lubed up the bolts and installed them torqueing them down to its specs and also in correct order. Torque specs was 24 ft lbs then 58 ft lbs.
Now I got to the pistons but only had time to install one. I got tranni fluid and lubed up the first cylinder really good. I then put the rings on the first piston and positioned them right on the piston and lubed them up with tranni fluid. Got the ring compressor and tightened it down. Put the rod bearing on it and lubed it up. Grapped the connecting rod cap and installed the bearing on it with lube. Then put the rod down through the cylinder with the arrow facing the side of the block the timing belt goes on. Then knocked it down into the cylinder with a rubber mallet. Put the connecting rod cap on and torqued it down to spec. Torque spec was 15 ft lbs then 24 ft lbs.
And the wife being crazy lol.
Thread Starter
Low and slow!
Joined: Jan 2010
Posts: 1,628
Likes: 1
From: Marion, NC
Rep Power: 216 Re: The db7 project build.
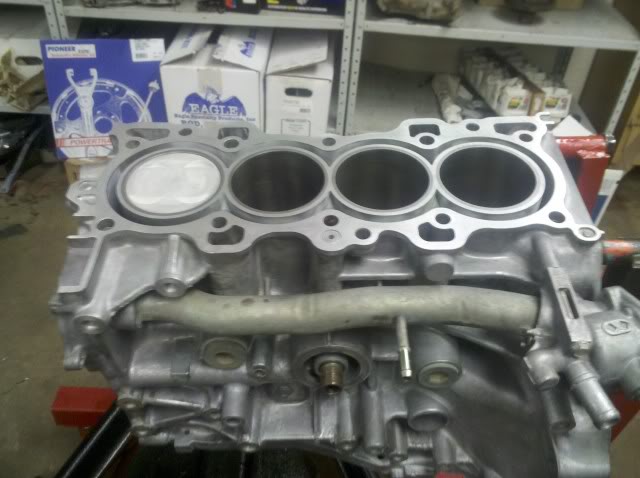
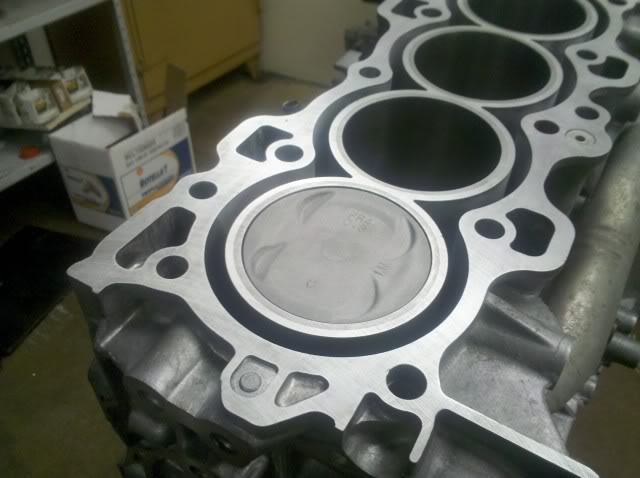
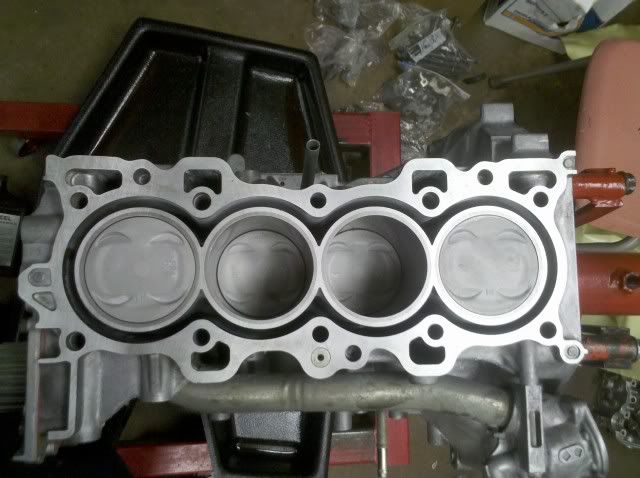
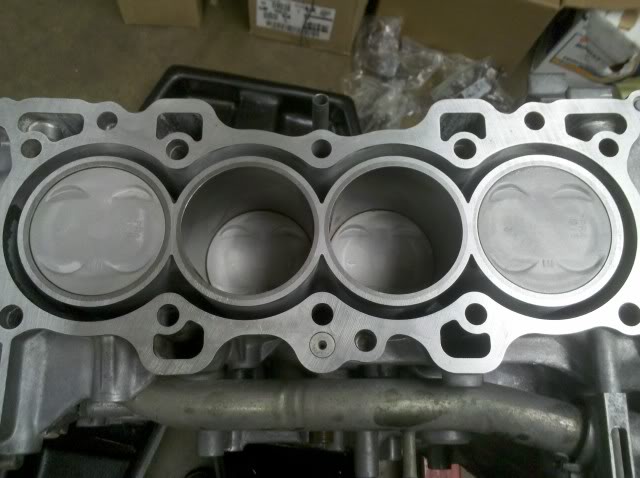
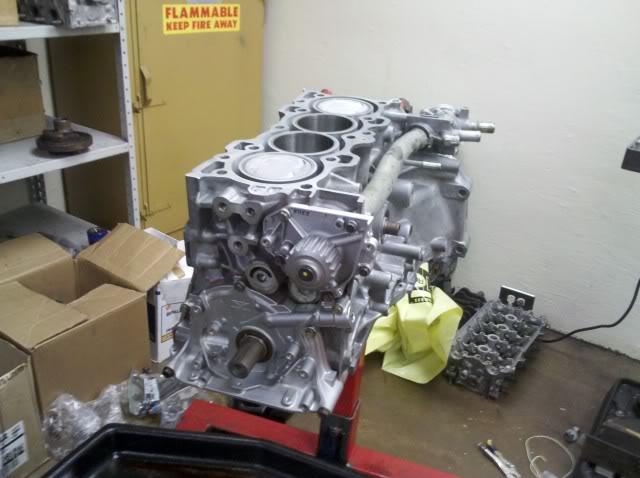
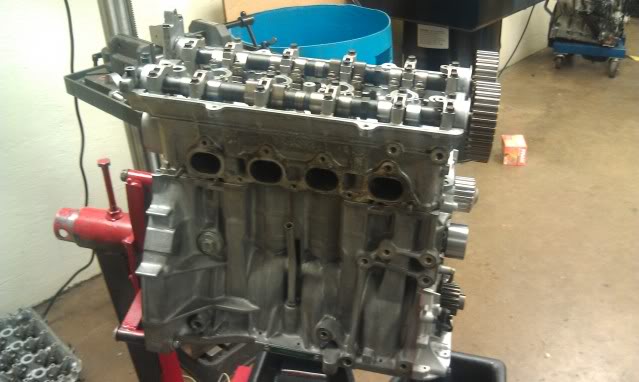
Next I got all pistons in, crank baffle, oil pump and water pump on. First started out with piston 2 and did the same process as the first one, put the rings in order and lubed up with tranni fluid. Put the spring compressor on it and put the bearing on the rod and lubed it up with engine assembly lube. Put tranni fluid in the cylinder and put the rod down into it and hammered it in place and put the rod cap on with the bearing and torqued down to 24 ft lbs. Pics are started with piston 3.
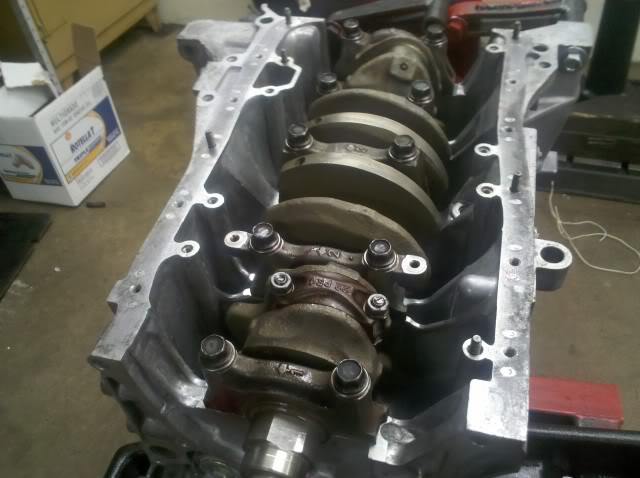
And the finish product of all pistons in.
After all pistons where in I got the cranke baffle and put it on and torqued it down to the specs which is 98 in lbs.
Now comes the oil pump, sadly honda didn't provide me with the o ring or the gasket for the oil pump screen. I found a new o ring round the shop so I got to put on the oil pump on. Got the rtv gasket maker and put it on the block and the oil pump and mounted it on. Put all the bolts in and torqued it down to specs. The smaller 10 mm bolts are torqued down to 96 in lbs and the bigger 12 mm bolts are torqued to 17 ft lbs.
Next came the water pump, put the rtv gasket maker on the block and the water pump and put the o ring on. Mounted it on and torqued the bolts down to specs which where 106 in lbs.
And now the finished product for today.
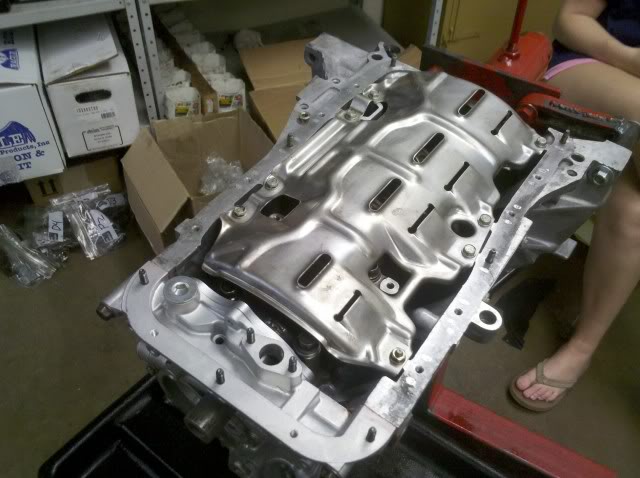
More to come.
And the finish product of all pistons in.
After all pistons where in I got the cranke baffle and put it on and torqued it down to the specs which is 98 in lbs.
Now comes the oil pump, sadly honda didn't provide me with the o ring or the gasket for the oil pump screen. I found a new o ring round the shop so I got to put on the oil pump on. Got the rtv gasket maker and put it on the block and the oil pump and mounted it on. Put all the bolts in and torqued it down to specs. The smaller 10 mm bolts are torqued down to 96 in lbs and the bigger 12 mm bolts are torqued to 17 ft lbs.
Next came the water pump, put the rtv gasket maker on the block and the water pump and put the o ring on. Mounted it on and torqued the bolts down to specs which where 106 in lbs.
And now the finished product for today.
More to come.
Thread Starter
Low and slow!
Joined: Jan 2010
Posts: 1,628
Likes: 1
From: Marion, NC
Rep Power: 216 Re: The db7 project build.
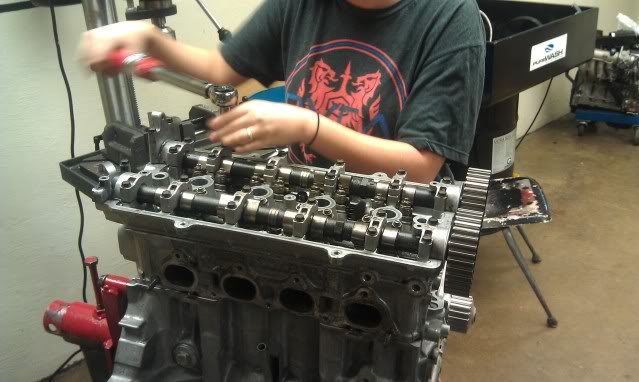
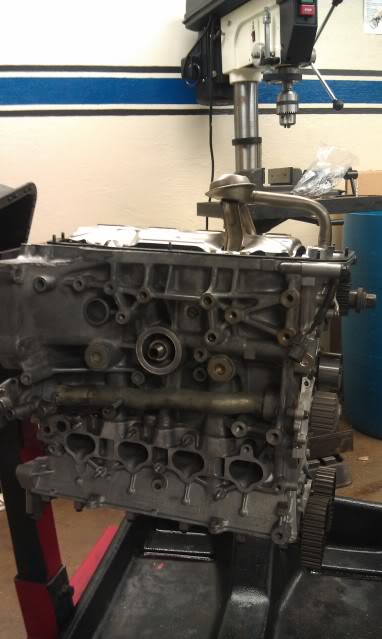
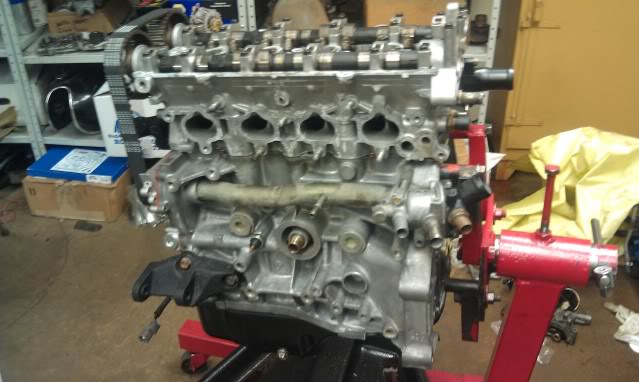
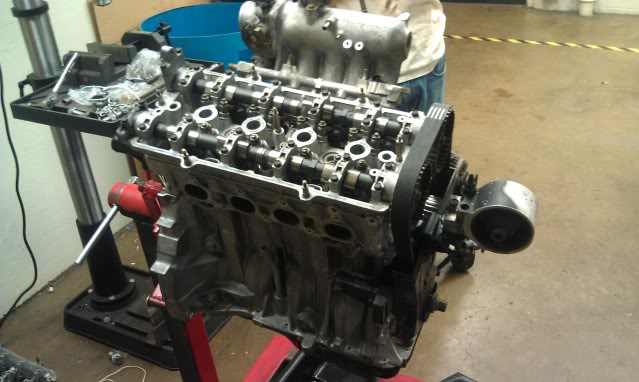
Got the head on and cams in. I put the head in the parts washer and got it clean and air hoses it dry. Got the head gasket put it on along with the dial pins. Last time seeing it just the block.
Got the head on after that and lubed up the head bolts and torque them down to specs, 22 ft lbs then 63 foot lbs.

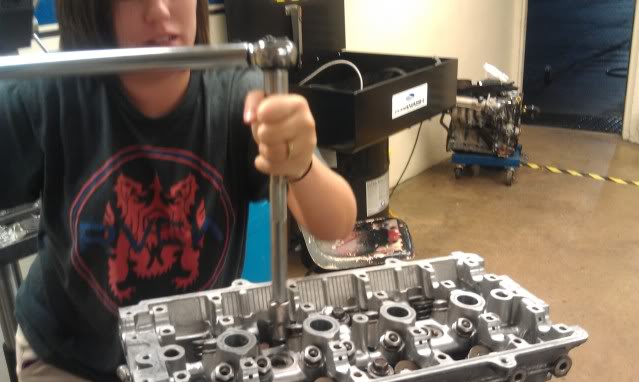
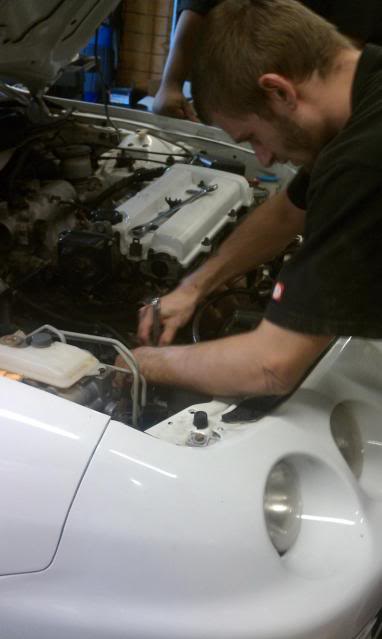
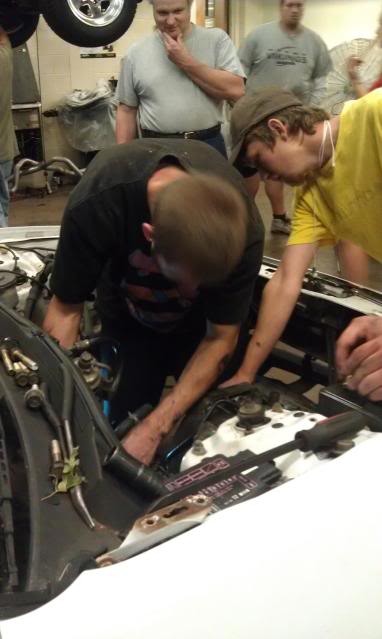
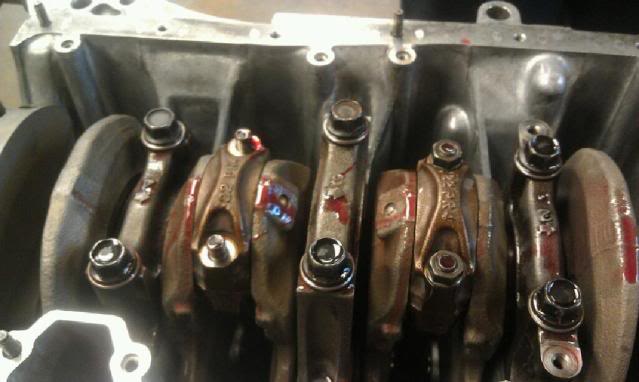
Next came installing the rocker arms and cams. Lubed up the rocker arms and put them in as well as lubing the cam bearing journals. Lubed up the cams and put them on. Grabbed the cam bearing caps and lubed them up and put them on torque to specs which is 88 in lbs. And as you seen got the wife doing some work today haha.
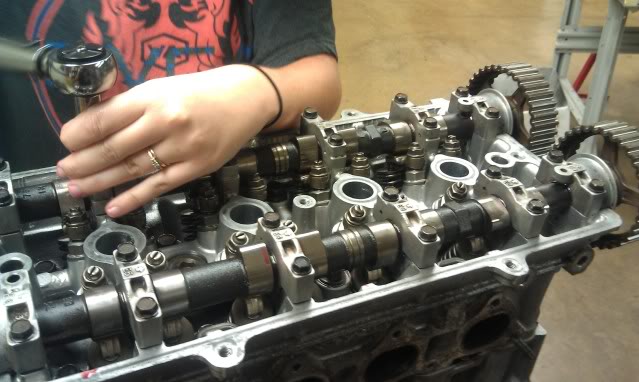
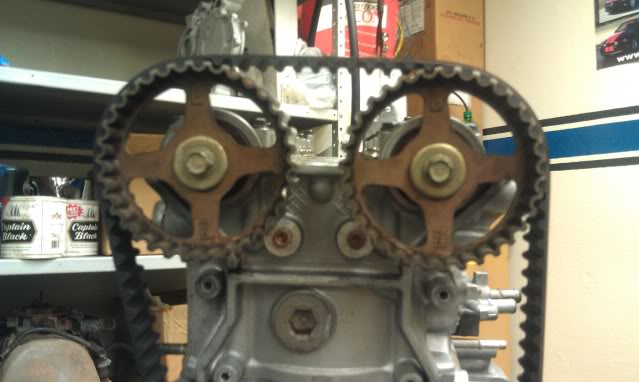
And the finished product also with some other stuff on for the timing belt.
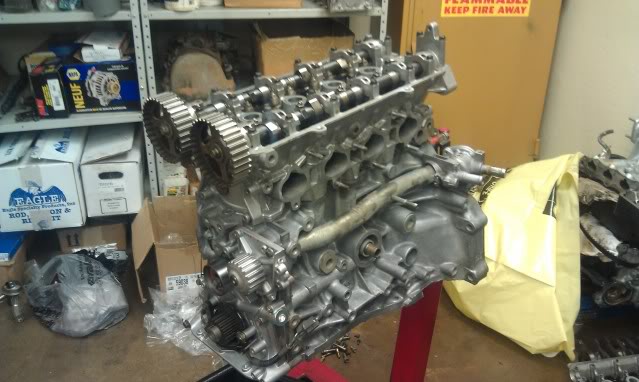
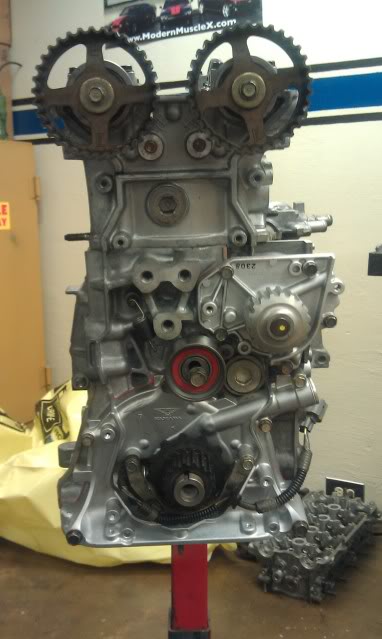
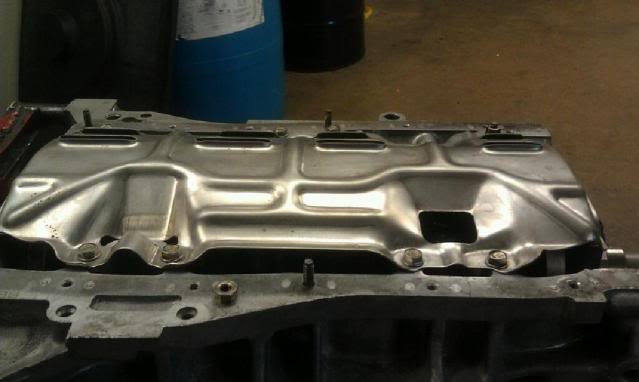
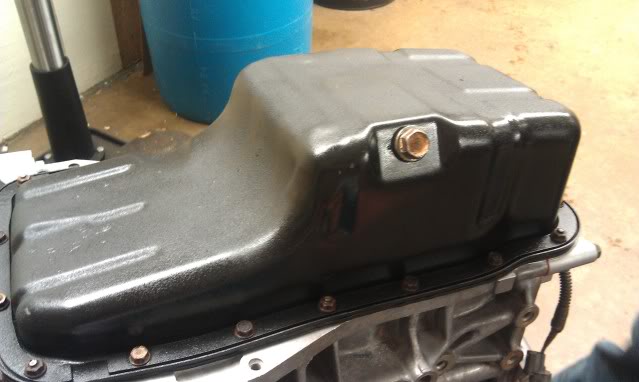
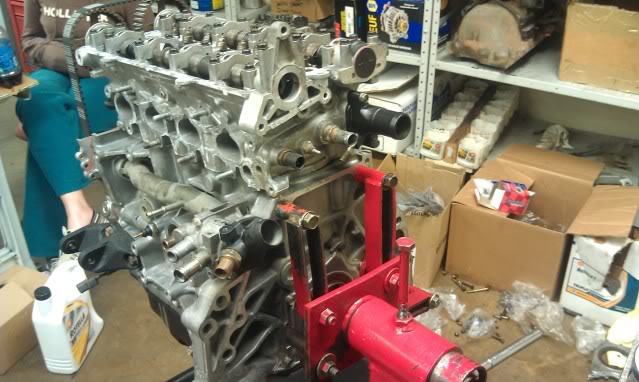
Next got oil pan on and also the timing belt. The timing belt was being a pain in the ***, it kept slipping as I was rotating the crank 2 full rotations but finally got it. First thing I did though was putting the oil pick up on since I got the gasket today. I first poured oil in the pump so it will be primed. Then put the gasket on and bolted the pick up to its specs 98 in lbs.
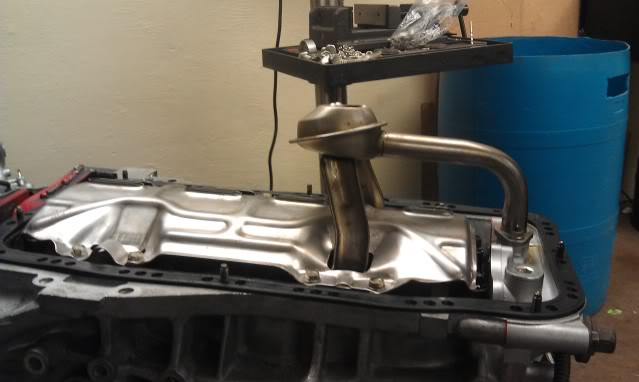
Next I put on the rear main seal so I can put the oil pan on. Got rtv and placed it on. I couldn't torque it down since the stand was in the way but tightened to he good and snug since don't have to be torque much. Got the oil pan gasket and then the oil pan and torque bolts to spec 106 in lbs.
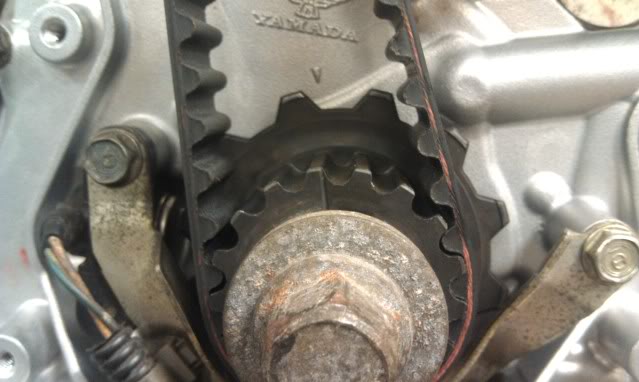
Now the timing belt which I finally got perfect, I lined up the crank timing pulley lined the line up to the dot on the oil pump and lined up the cams with the holes and put pins in the holes so it wouldn't move. Put the belt on and tightened the tensioner and turned the crank full two turns counter clockwise and still checked out.
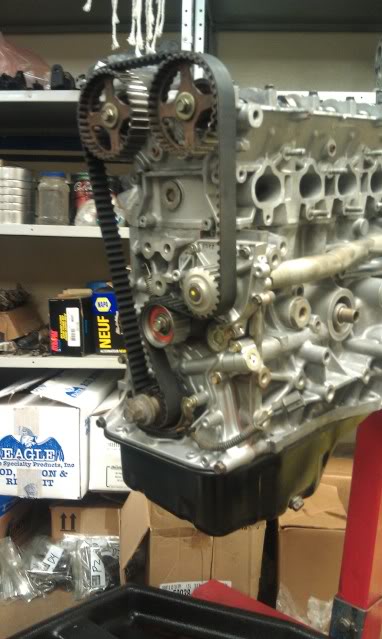
And now all together with some brackets also.
Got the head on after that and lubed up the head bolts and torque them down to specs, 22 ft lbs then 63 foot lbs.
Next came installing the rocker arms and cams. Lubed up the rocker arms and put them in as well as lubing the cam bearing journals. Lubed up the cams and put them on. Grabbed the cam bearing caps and lubed them up and put them on torque to specs which is 88 in lbs. And as you seen got the wife doing some work today haha.
And the finished product also with some other stuff on for the timing belt.
Next got oil pan on and also the timing belt. The timing belt was being a pain in the ***, it kept slipping as I was rotating the crank 2 full rotations but finally got it. First thing I did though was putting the oil pick up on since I got the gasket today. I first poured oil in the pump so it will be primed. Then put the gasket on and bolted the pick up to its specs 98 in lbs.
Next I put on the rear main seal so I can put the oil pan on. Got rtv and placed it on. I couldn't torque it down since the stand was in the way but tightened to he good and snug since don't have to be torque much. Got the oil pan gasket and then the oil pan and torque bolts to spec 106 in lbs.
Now the timing belt which I finally got perfect, I lined up the crank timing pulley lined the line up to the dot on the oil pump and lined up the cams with the holes and put pins in the holes so it wouldn't move. Put the belt on and tightened the tensioner and turned the crank full two turns counter clockwise and still checked out.
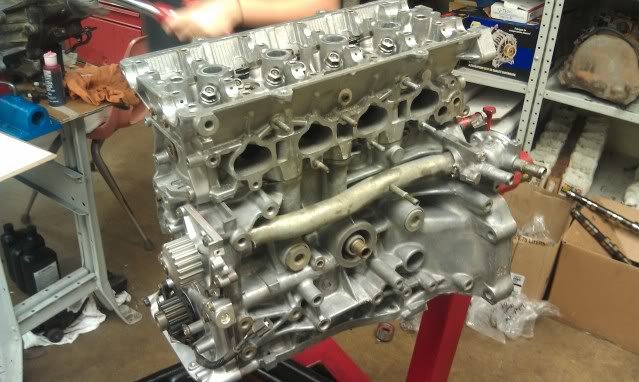
And now all together with some brackets also.
Thread Starter
Low and slow!
Joined: Jan 2010
Posts: 1,628
Likes: 1
From: Marion, NC
Rep Power: 216 Re: The db7 project build.
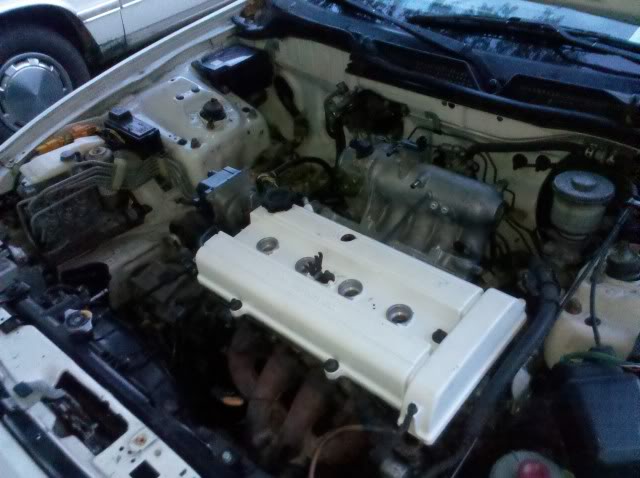
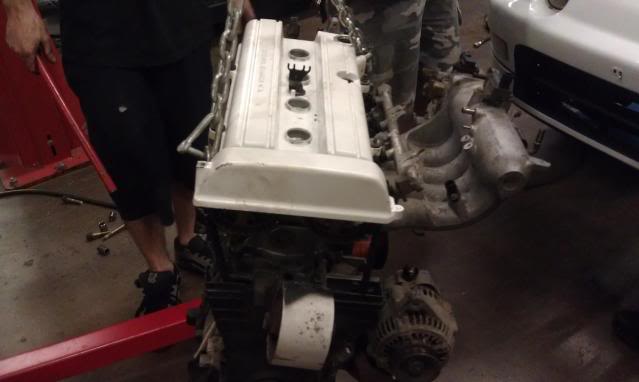
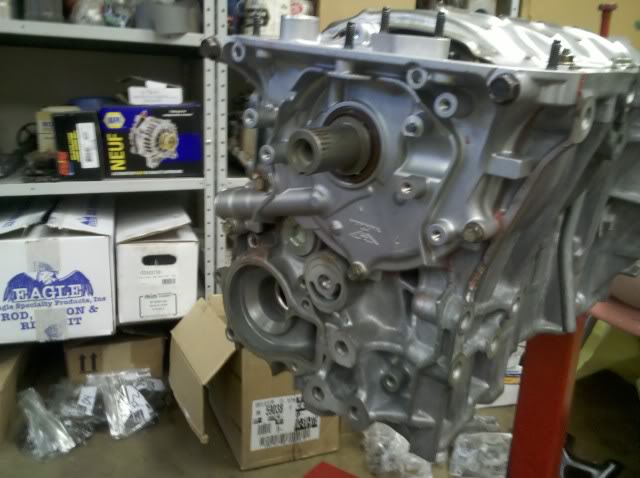
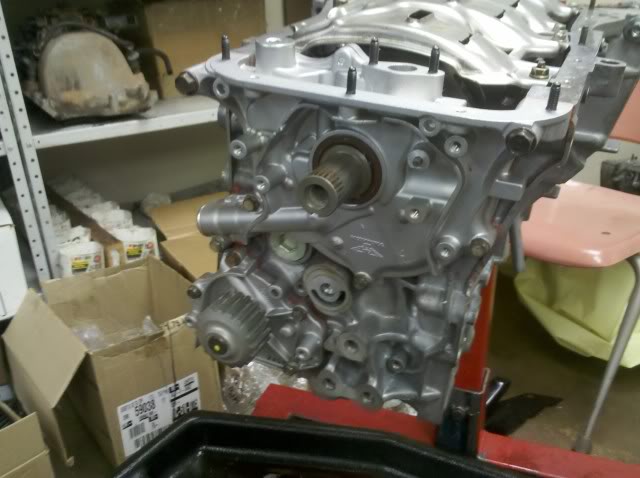
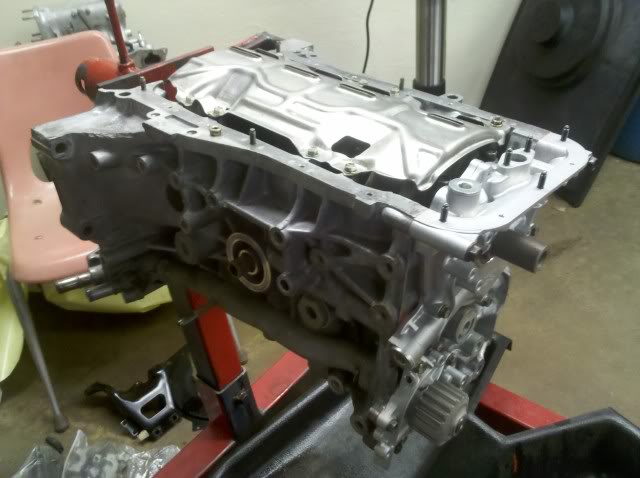
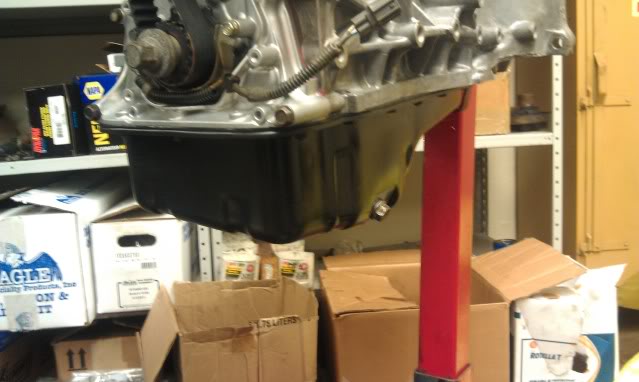
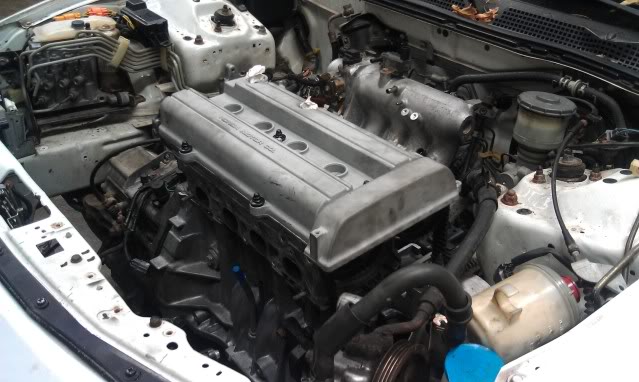
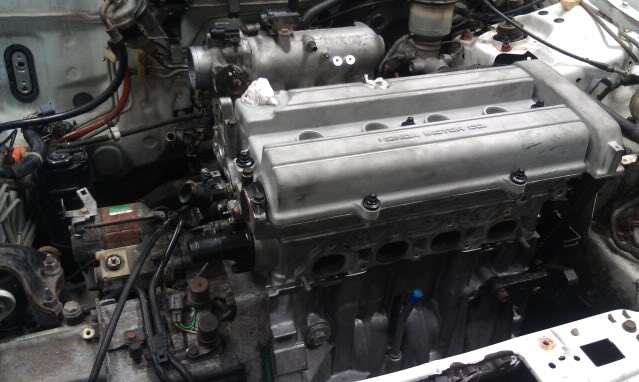
The engine stand got screwed up so that's the reason why I got it leaned so its balanced. But I put the intake mani on, timing cover, driverside mount, alternater brackets along with the alternater, filled up the oil filter with oil and put it on and a couple of other things.
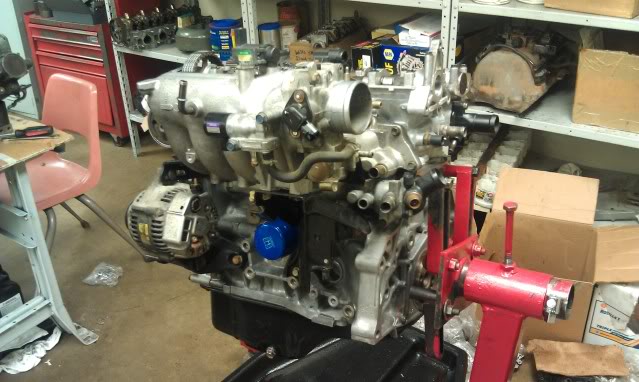
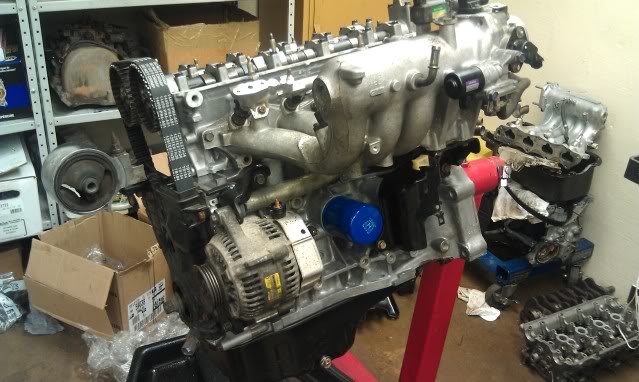
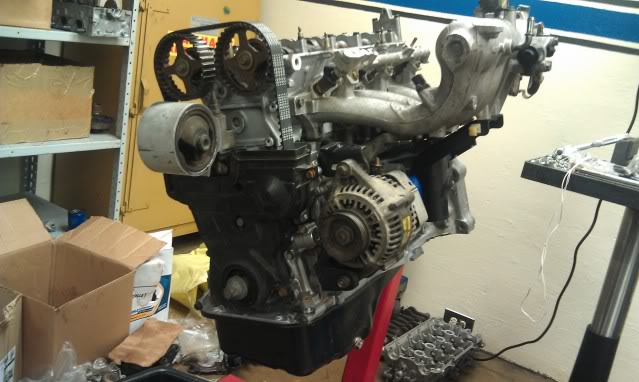

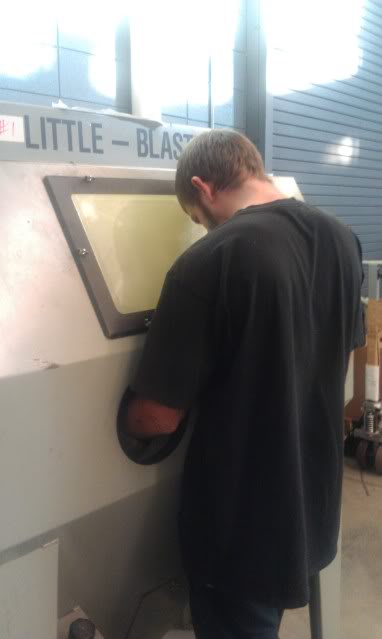
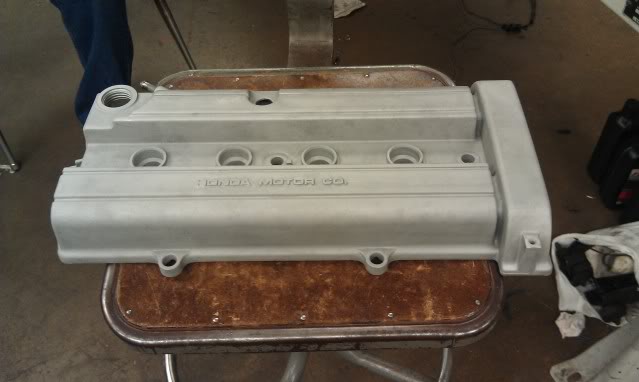
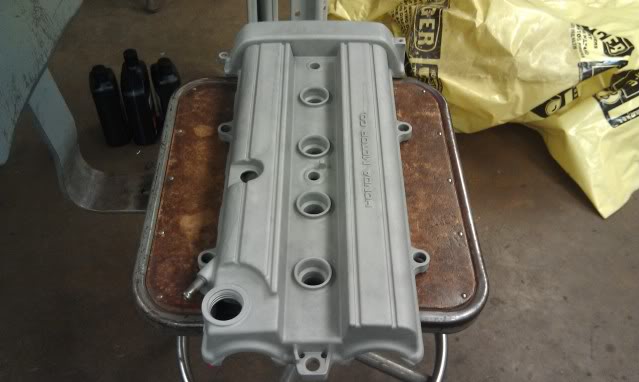
I also got the valve cover today and started to clean it. I put it in the parts washer and got it nice and clean. I still need to sand blast it but gonna wait to paint the valve cover till the motor is in the car.
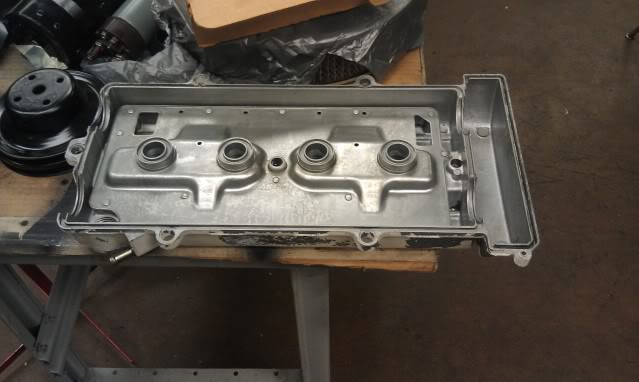
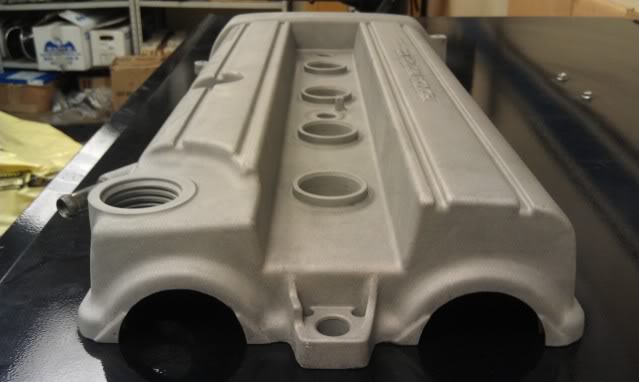
Sand blasting value cover.
More to come.
I also got the valve cover today and started to clean it. I put it in the parts washer and got it nice and clean. I still need to sand blast it but gonna wait to paint the valve cover till the motor is in the car.
Sand blasting value cover.
More to come.
Thread Starter
Low and slow!
Joined: Jan 2010
Posts: 1,628
Likes: 1
From: Marion, NC
Rep Power: 216 Re: The db7 project build.
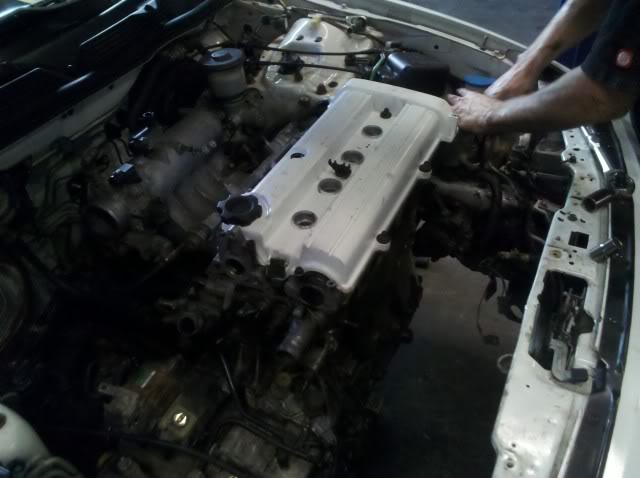
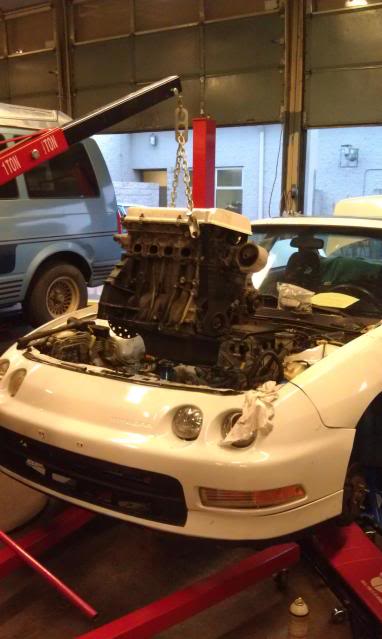
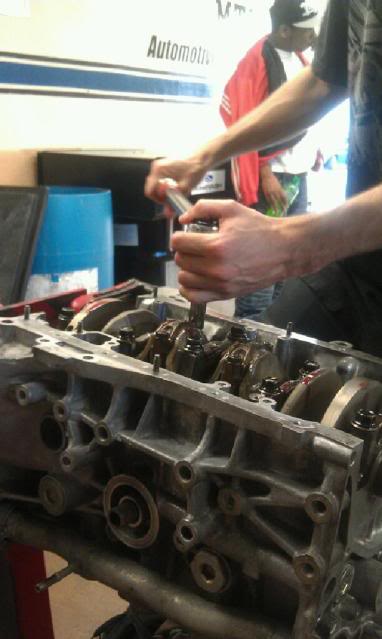
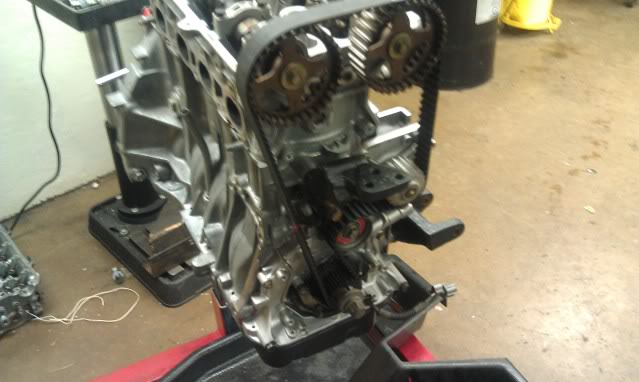
Now onto dropping the motor back in. Put the motor on the hoist and torque the flexplate on to 55 ft lbs and dropped it on in.
On the hoist and getting ready to put the flexplate on.
Now getting it in.
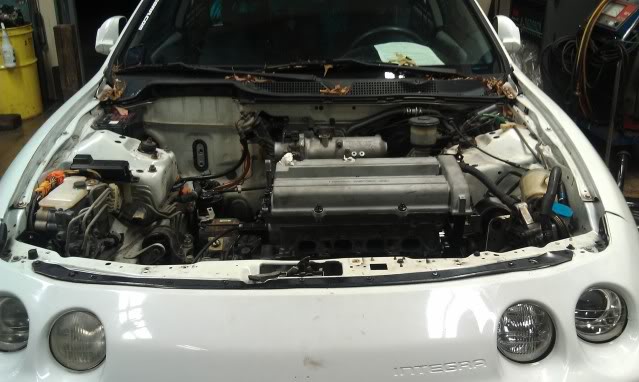
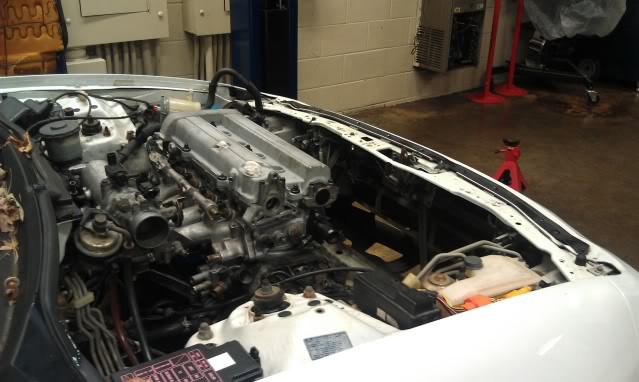
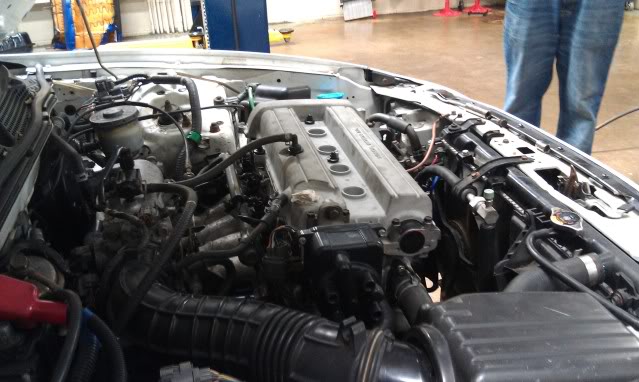
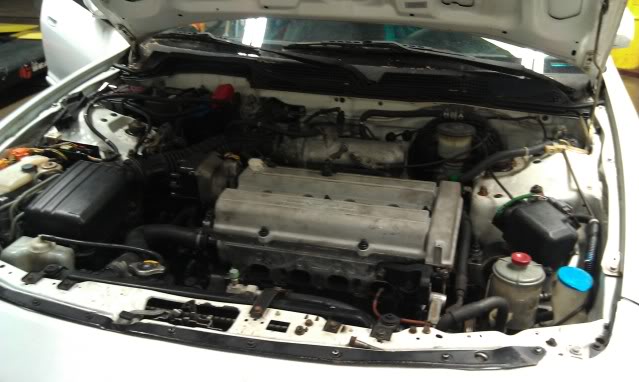
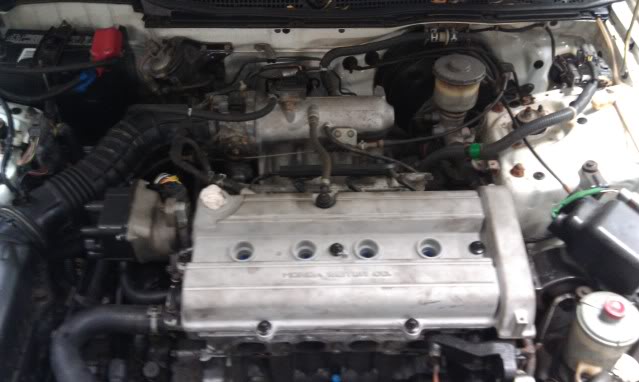
Now its completely done except I was missing the negative battery cable of all things wtf. But this is all I have done. Going to get that cable and crank her up Tuesday and get her running. After its running I have coilovers to go on it.
On the hoist and getting ready to put the flexplate on.
Now getting it in.
Now its completely done except I was missing the negative battery cable of all things wtf. But this is all I have done. Going to get that cable and crank her up Tuesday and get her running. After its running I have coilovers to go on it.

Thread Starter
Low and slow!
Joined: Jan 2010
Posts: 1,628
Likes: 1
From: Marion, NC
Rep Power: 216 Re: The db7 project build.
Ya you don't see many but with the time and money I had a stock rebuild was the way. If I had a lot more money at the time I would of put a 5 speed in it and also a vtec head with I/h/e. Really needed this car on the road quick though.
Thread Starter
Low and slow!
Joined: Jan 2010
Posts: 1,628
Likes: 1
From: Marion, NC
Rep Power: 216 Re: The db7 project build.
Thanks and ya but its a pain in the you know what. It would of been nice when I got the block decked and pressure checked to get the machine shop to hone it to so I can get that perfect cross pattern.


Thread
Thread Starter
Honda Civic Forum
Replies
Last Post
ricer_em2
Mechanical Problems/Vehicle Issues and Fix-it Forum
2
May 11, 2016 08:09 PM
AffliictiioN
General Automotive Discussion
12
Sep 16, 2015 02:21 PM

