
DIY Wheel Repair
 03-30-2011
#1
TRUST me! I'm Idiot Proof!
Thread Starter
Join Date: Dec 2010
Location: Quackertown PA
Age: 41
Posts: 200
Likes: 0
Received 0 Likes
on
0 Posts
Rep Power: 165 
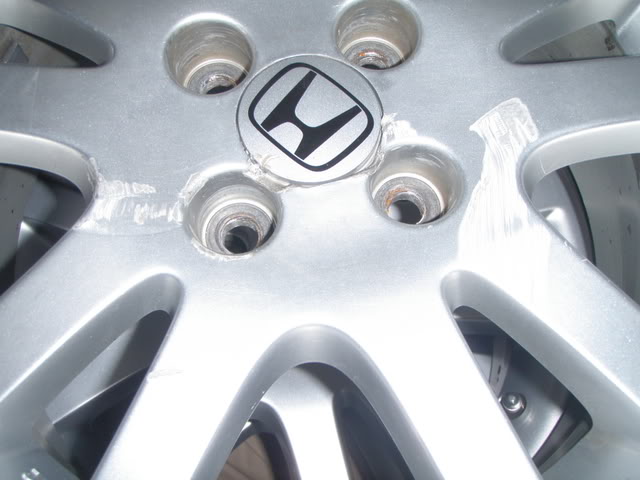
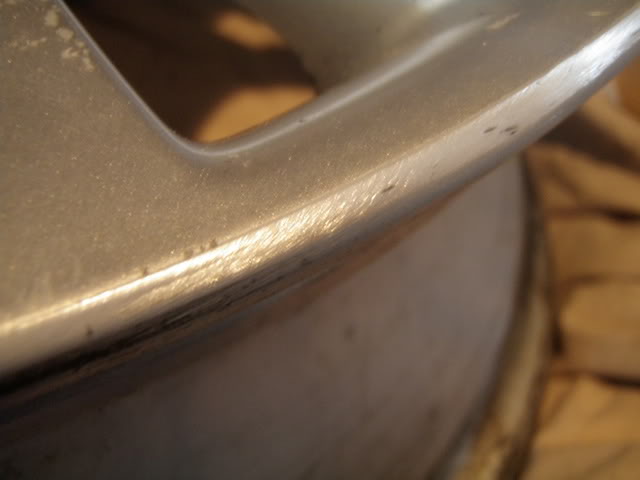
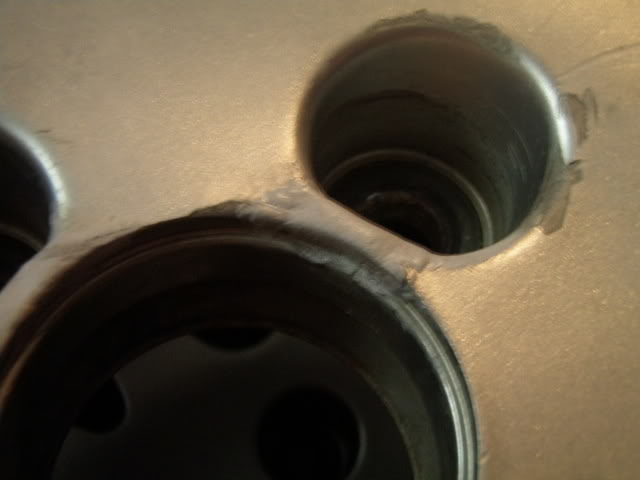
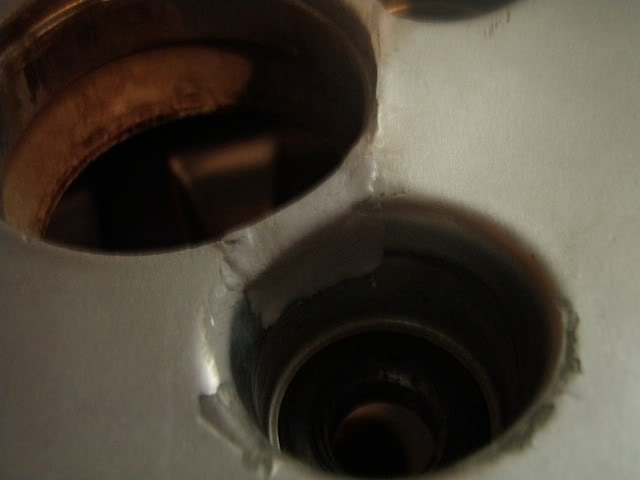
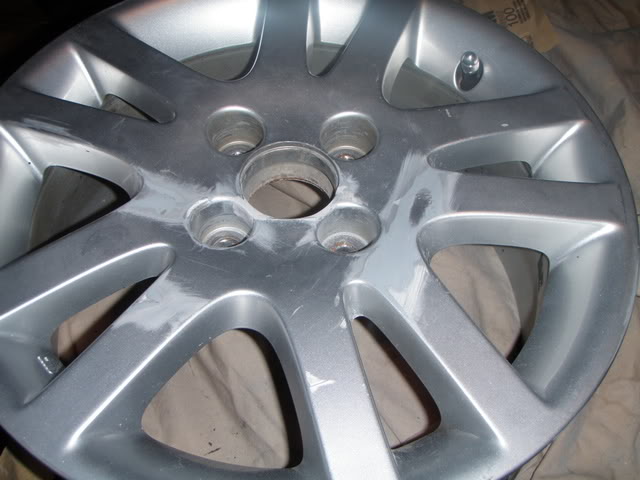
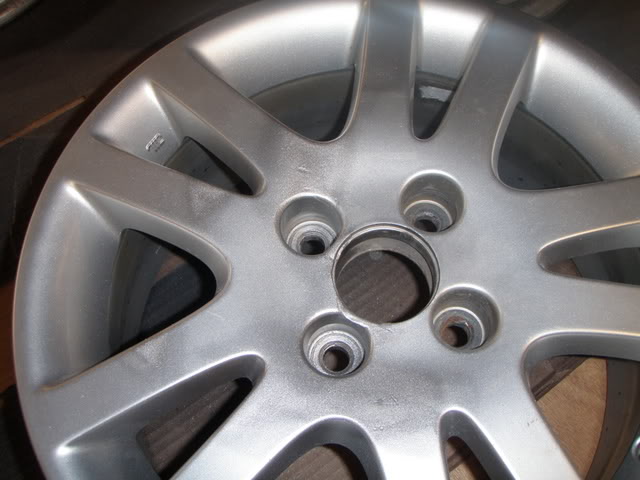
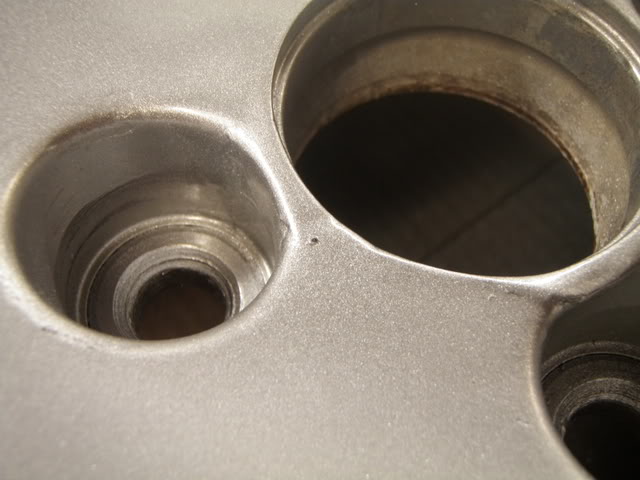
Picked these wheels up cheap on Craigslist. All the wheels had some curb rash on them. One in particular looks like somebody tried to jack the center cap with a pry bar:
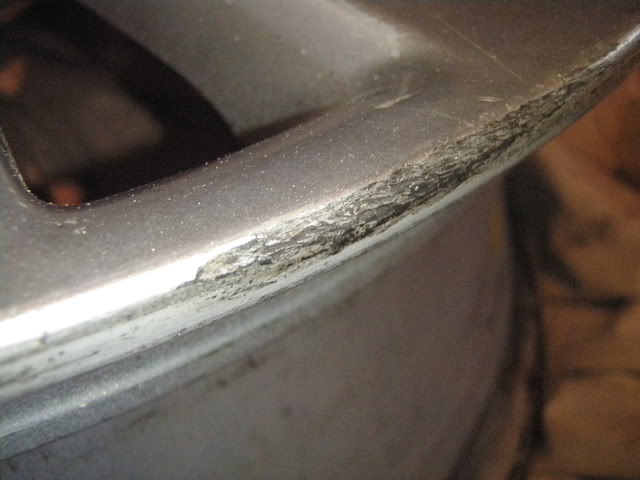
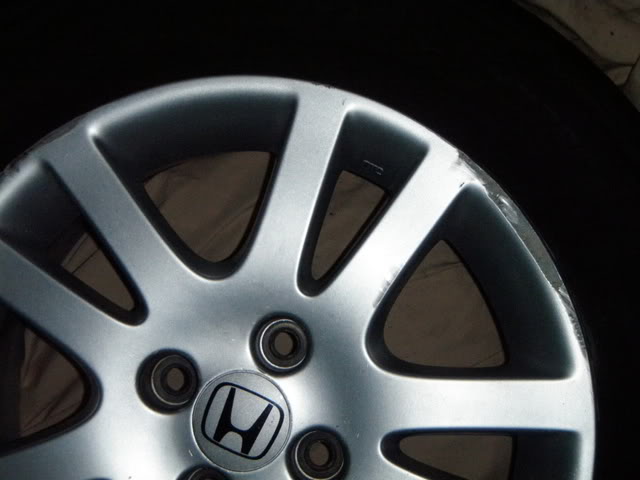
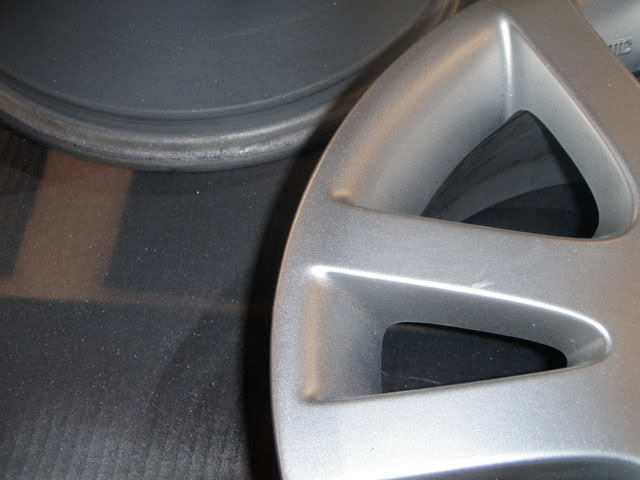
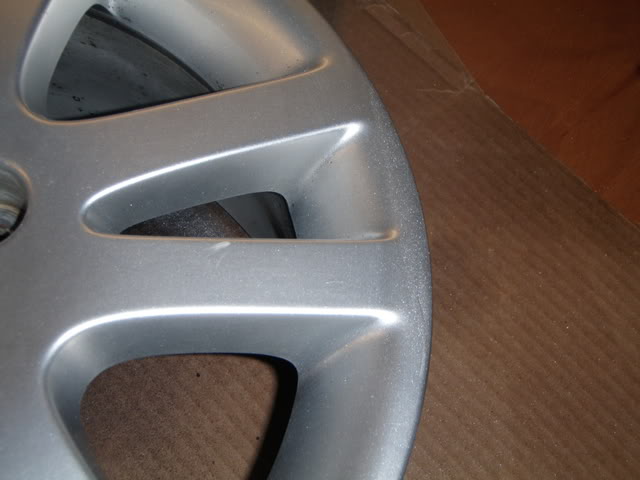
Other shots of wheels before finishing:
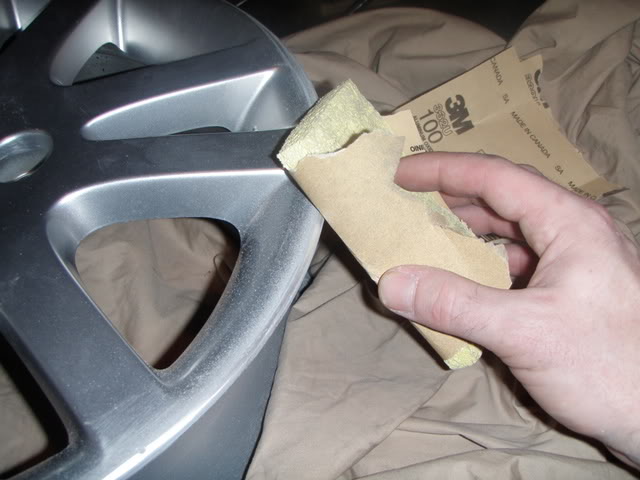
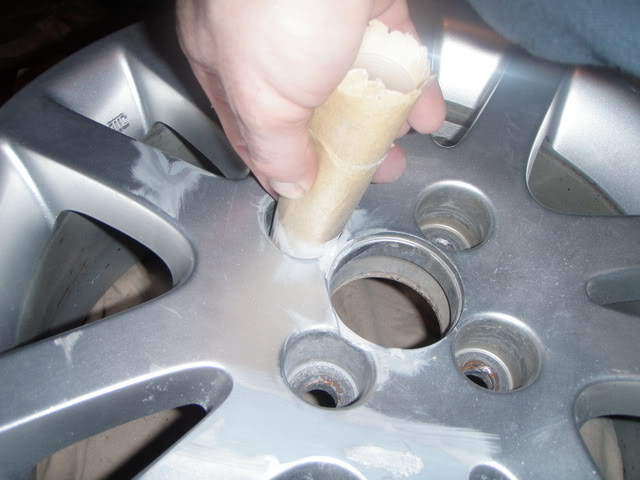
First begin by rough sanding out the worst with 100 grit. A stiff sponge works great as a sanding block:
Follow up with 220, the finally 400 grit:

NEVER throw away old clothing!!
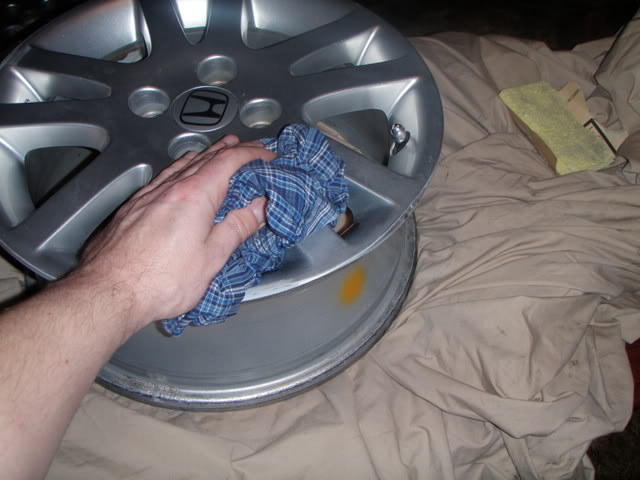
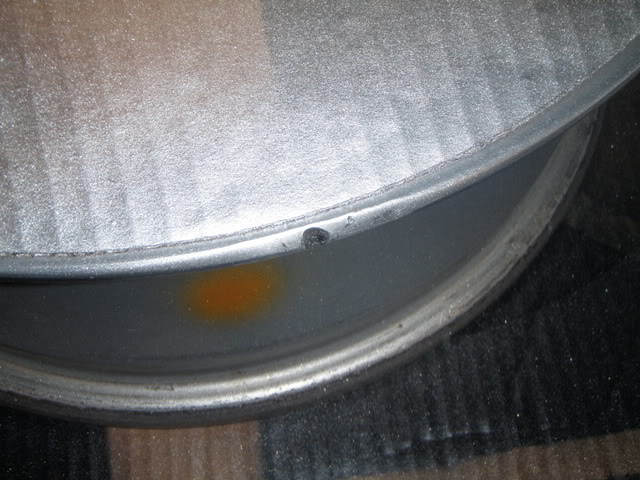
Ready for paint:
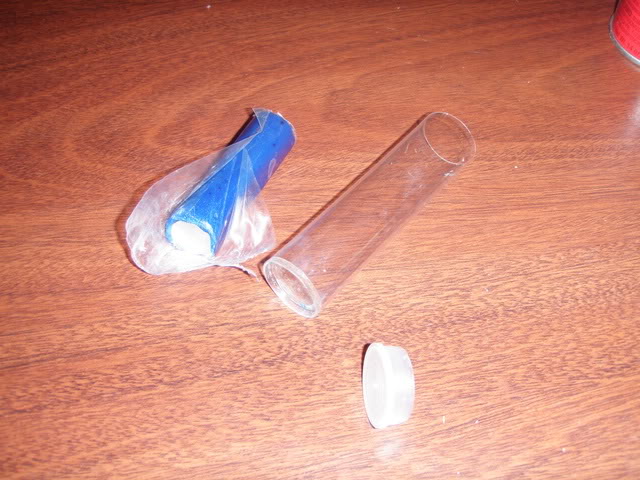
Now the tricky part. I used Loktite epoxy weld. Its a 2 part compound that you have to knead togther. You then have @ a 20min work time:
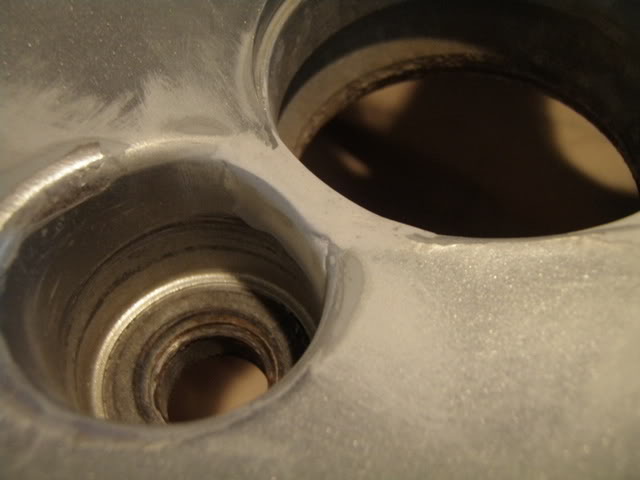
Clean the area to be repaired. Then rough form the paste into the contours of the wheel:
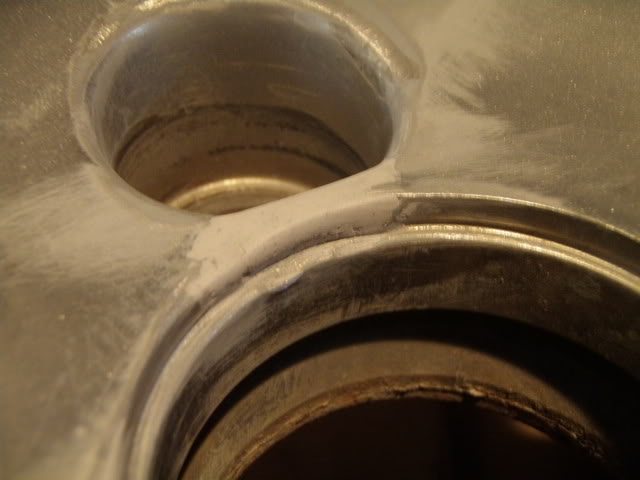
Let compound cure fully, usually about an hour. Start with 220 grit, then work your way up, being careful not to remove too much material. The idea here is to blend things smooth:
Now its time to paint. BEWARE!! Not all wheel paint will match. Some are more 'glittery' than others, or off shade, no matter what the cap looks like. Test in small area FIRST.
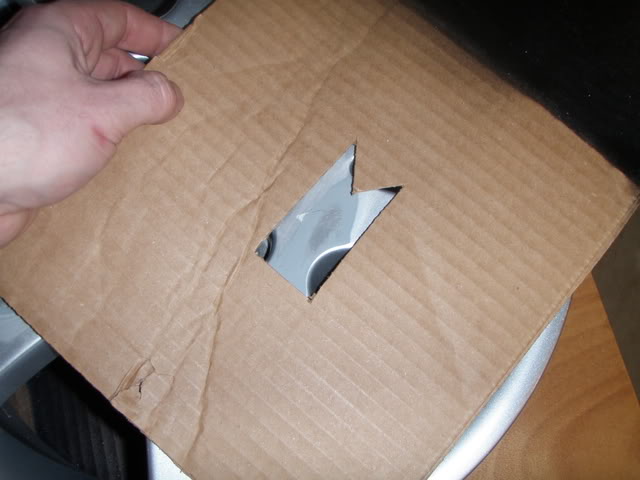
I did not want to repaint the whole wheel, as the scuffs were localized. I used cardboard cutouts of different shapes to allow only the areas needed, to get painted:
The finished product:
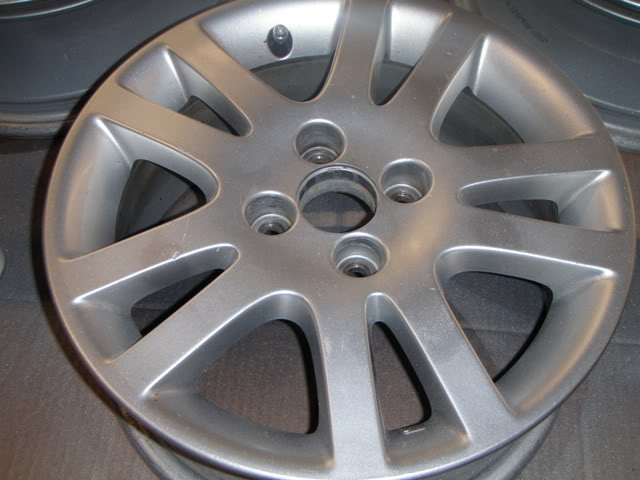
Although their not 'show' quality, they came out pretty dang nice.
Hopefully this will help somebody save some money!
I will follow this thread up with shots of them wrapped in Firestone Firehawk Wide Oval Indy 500, 205/55-R15 tires and mounted on my car.
Other shots of wheels before finishing:
First begin by rough sanding out the worst with 100 grit. A stiff sponge works great as a sanding block:
Follow up with 220, the finally 400 grit:
NEVER throw away old clothing!!
Ready for paint:
Now the tricky part. I used Loktite epoxy weld. Its a 2 part compound that you have to knead togther. You then have @ a 20min work time:
Clean the area to be repaired. Then rough form the paste into the contours of the wheel:
Let compound cure fully, usually about an hour. Start with 220 grit, then work your way up, being careful not to remove too much material. The idea here is to blend things smooth:
Now its time to paint. BEWARE!! Not all wheel paint will match. Some are more 'glittery' than others, or off shade, no matter what the cap looks like. Test in small area FIRST.
I did not want to repaint the whole wheel, as the scuffs were localized. I used cardboard cutouts of different shapes to allow only the areas needed, to get painted:
The finished product:
Although their not 'show' quality, they came out pretty dang nice.
Hopefully this will help somebody save some money!
I will follow this thread up with shots of them wrapped in Firestone Firehawk Wide Oval Indy 500, 205/55-R15 tires and mounted on my car.
 03-30-2011
#2
Registered!!
iTrader: (1)

Join Date: Oct 2010
Location: Bexar, TX
Age: 34
Posts: 453
Likes: 0
Received 0 Likes
on
0 Posts
Rep Power: 0 
Re: DIY Wheel Repair
For those rims off of craigslist that is a clever way to patch em up.
P.S Oh yah, you gotta keep the old clothes. I use ripped crotch boxers for shop towels.
Those are the same rims I roll on by the way. This DIY would help me if I ever feel like taking a shortcut and hopping a curb. Good write up!
P.S Oh yah, you gotta keep the old clothes. I use ripped crotch boxers for shop towels.
Those are the same rims I roll on by the way. This DIY would help me if I ever feel like taking a shortcut and hopping a curb. Good write up!

Thread
Thread Starter
Honda Civic Forum
Replies
Last Post
BootyDo
Wheels, Tires & Brakes Modifications
2
07-07-2015 06:06 AM
Causemo
Mechanical Problems/Vehicle Issues and Fix-it Forum
1
07-05-2015 06:42 AM

