DIY: Make Your Own Headlight UV Protector
 05-03-2014
#1
Prelude Owner
Thread Starter
iTrader: (7)


DIY: Make Your Own Headlight UV Protector
THIS CONCOCTION WAS NOT CREATED BY ME!I found this online and tried it on my OEM headlights and it worked great. I wanted to share my results and experience with using it.
Some headlight restoration kits include a UV sealant (I know the Silvania kit does) but it did not last long and they give you a little bottle. I coated my headlights with the below method in the beginning of spring and started to notice them fading a little by the end of fall. I recoated them (thicker this time) and they have lasted all winter and are still looking good. There is less sun light in the winter so they should last longer and I am sure someone who lives in a very sunny state may have to apply the coating more often. I have been pleased with my results and how well they have been holding up. My car is also not garage kept and driven 60+ miles a day.
I use the Turtle Wax restoration kit. Its cheap ($10) and the pads that they give you can be re used for other vehicles or for yours if it needs a polishing.
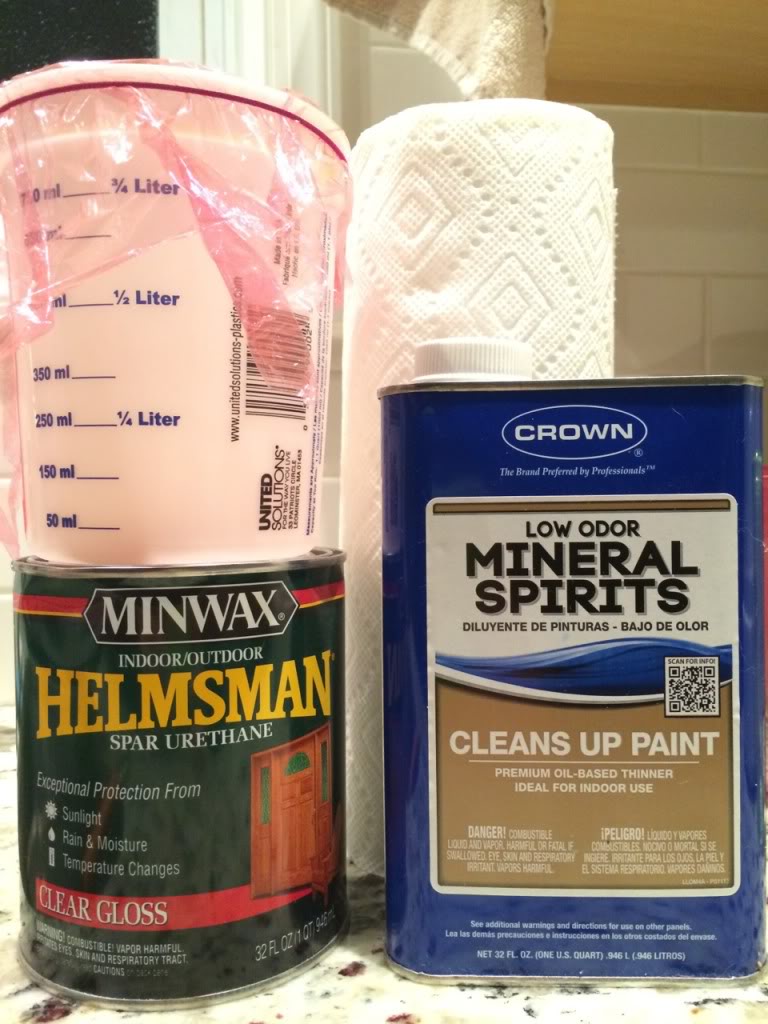
Items:
Minwax Helmsman Spar Urethane Clear Gloss
Odorless Mineral Spirits
Blue Shop Towels or Paper Towels
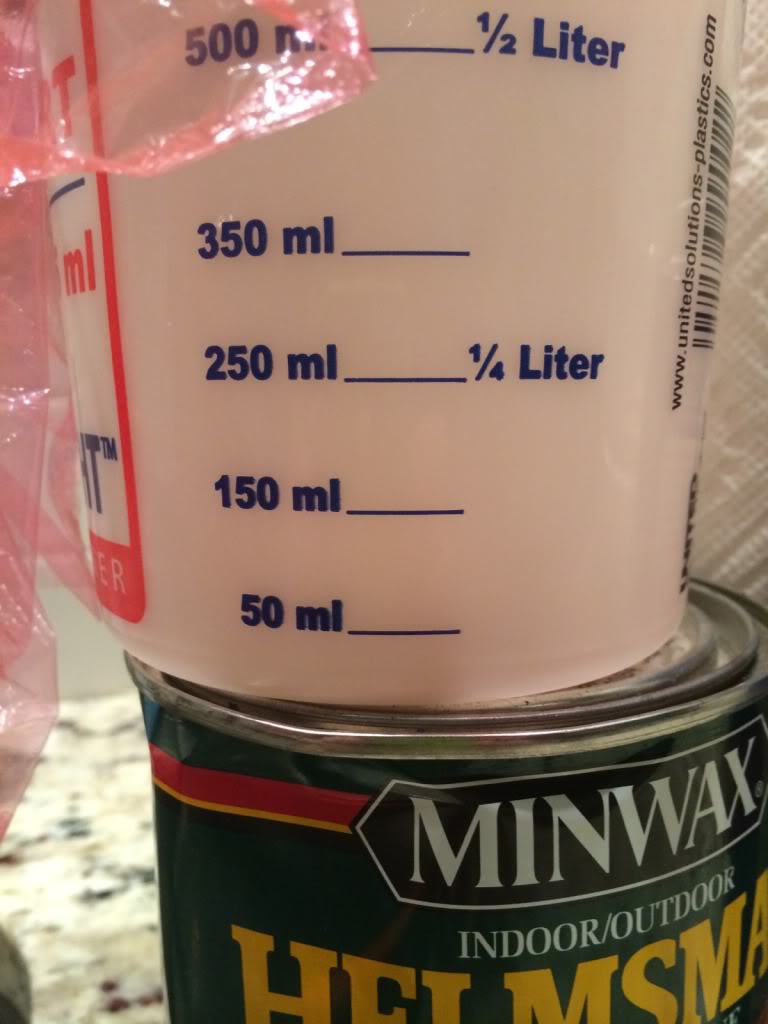
Mixing Cup
Your headlight should be restored and clean of any debris. Make sure they are dry also.
1.) You can do this with the headlight removed but I did it with them on the car. I would suggest taping around you headlight to keep from getting the UV sealant onto your paint. I used electrical tape.
2..) Mix your mineral spirits and clear urethan using a 1:1 ratio. I filled one cup to the 50Ml line with the urethane and another cup with the mineral spirits to 50ML. Combine the two together in one of the cups, mix. This will give you plenty of product to do both lenses.
3.) Take a towel and fold it in half a few times to make a square small enough to fit into your cup.
4.) Dip the towel into the cup. Wipe the lens with the towel, in straight lines, horizontal or vertical. I went around the outside of the lens first then went straight across. You don't want to put it on to thick because it will cause it run. Try not to press to hard also, this will cause lines to form. You will get the feel for it. If you mess up, just wipe it off, rewash your headlight and try again.
5.) I let the car sit overnight and it dried nicely. Make sure there is no rain in the forecast, I would say for at least 24hrs.
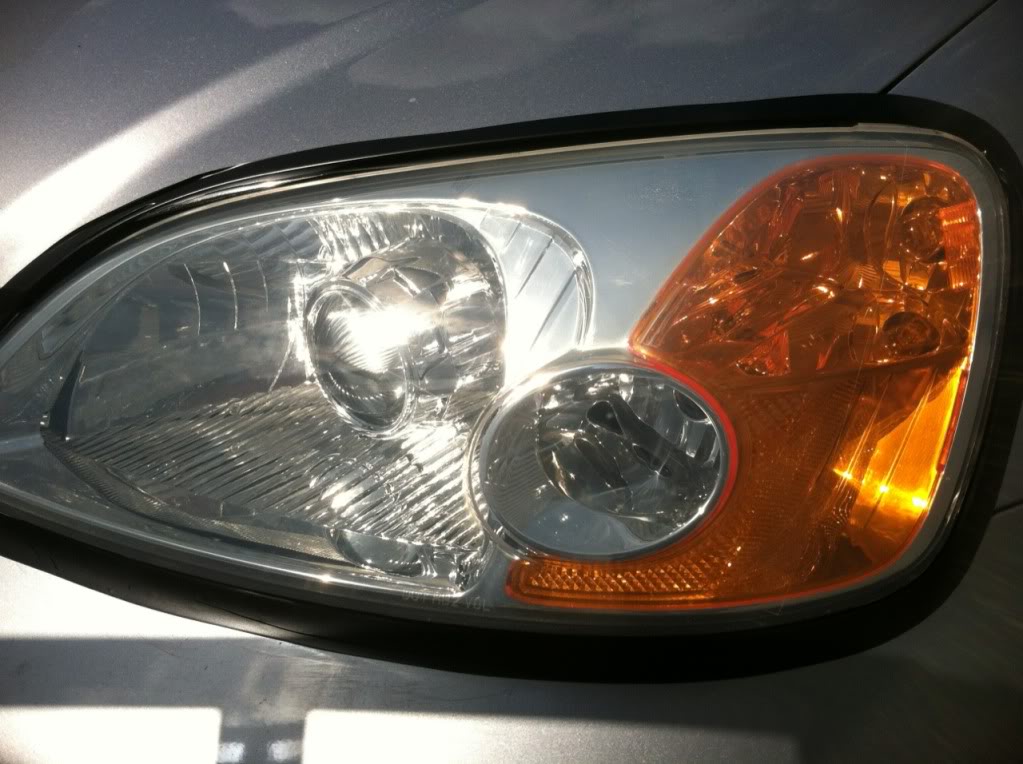
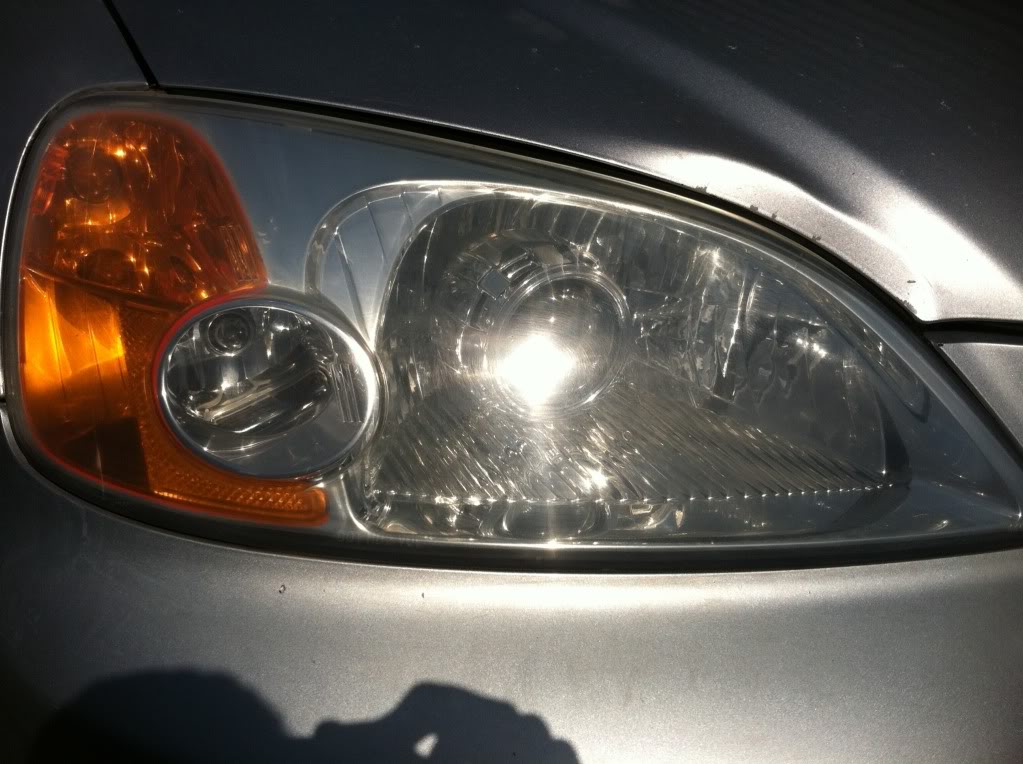
I will get some pictures of how my headlights look as of now, after the winter.
Some headlight restoration kits include a UV sealant (I know the Silvania kit does) but it did not last long and they give you a little bottle. I coated my headlights with the below method in the beginning of spring and started to notice them fading a little by the end of fall. I recoated them (thicker this time) and they have lasted all winter and are still looking good. There is less sun light in the winter so they should last longer and I am sure someone who lives in a very sunny state may have to apply the coating more often. I have been pleased with my results and how well they have been holding up. My car is also not garage kept and driven 60+ miles a day.
I use the Turtle Wax restoration kit. Its cheap ($10) and the pads that they give you can be re used for other vehicles or for yours if it needs a polishing.
Items:
Minwax Helmsman Spar Urethane Clear Gloss
Odorless Mineral Spirits
Blue Shop Towels or Paper Towels
Mixing Cup
Your headlight should be restored and clean of any debris. Make sure they are dry also.
1.) You can do this with the headlight removed but I did it with them on the car. I would suggest taping around you headlight to keep from getting the UV sealant onto your paint. I used electrical tape.
2..) Mix your mineral spirits and clear urethan using a 1:1 ratio. I filled one cup to the 50Ml line with the urethane and another cup with the mineral spirits to 50ML. Combine the two together in one of the cups, mix. This will give you plenty of product to do both lenses.
3.) Take a towel and fold it in half a few times to make a square small enough to fit into your cup.
4.) Dip the towel into the cup. Wipe the lens with the towel, in straight lines, horizontal or vertical. I went around the outside of the lens first then went straight across. You don't want to put it on to thick because it will cause it run. Try not to press to hard also, this will cause lines to form. You will get the feel for it. If you mess up, just wipe it off, rewash your headlight and try again.
5.) I let the car sit overnight and it dried nicely. Make sure there is no rain in the forecast, I would say for at least 24hrs.
I will get some pictures of how my headlights look as of now, after the winter.

 I hate supercrust.


Thread
Thread Starter
Honda Civic Forum
Replies
Last Post
usajags84
6th Generation Civic 1996 - 2000
15
08-19-2015 03:12 AM
stryder12
Archive - Parts for Sale
3
06-30-2015 08:33 PM
dinsum
Mechanical Problems/Vehicle Issues and Fix-it Forum
11
05-28-2015 09:30 PM

