DIY: Stainless Steel Braided Brake Lines
 10-07-2008
#1
Registered!!
Thread Starter

Join Date: Mar 2008
Location: Boone, NC
Age: 41
Posts: 158
Likes: 0
Received 0 Likes
on
0 Posts
Rep Power: 0 
DIY: Stainless Steel Braided Brake Lines
How to install stainless steel brake lines (or OEM brake lines)
Tools Needed:
10 mm flare nut wrench (brake line wrench)
12 mm wrench
14 mm wrench
Vice grips
Flat blade screwdriver
(If installing Russel SS lines you should also have an 18 mm wrench)
I recommend using PB Blaster on all nuts/bolts before you attempt to loosen them.
Check to make sure that the brake fluid reservoir is topped off. Don�t leave the lid off of the brake fluid reservoir. Take it off, add fluid, put it back on.
Jack up the car and take off a wheel. We�ll work on the front first, for no particular reason.
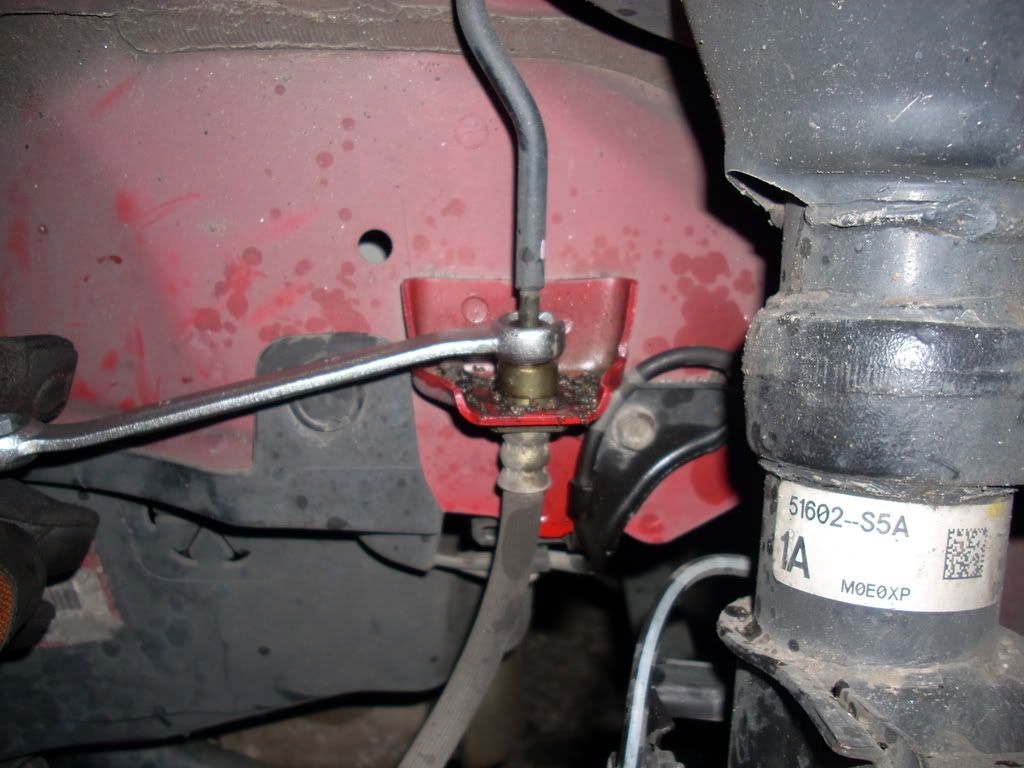
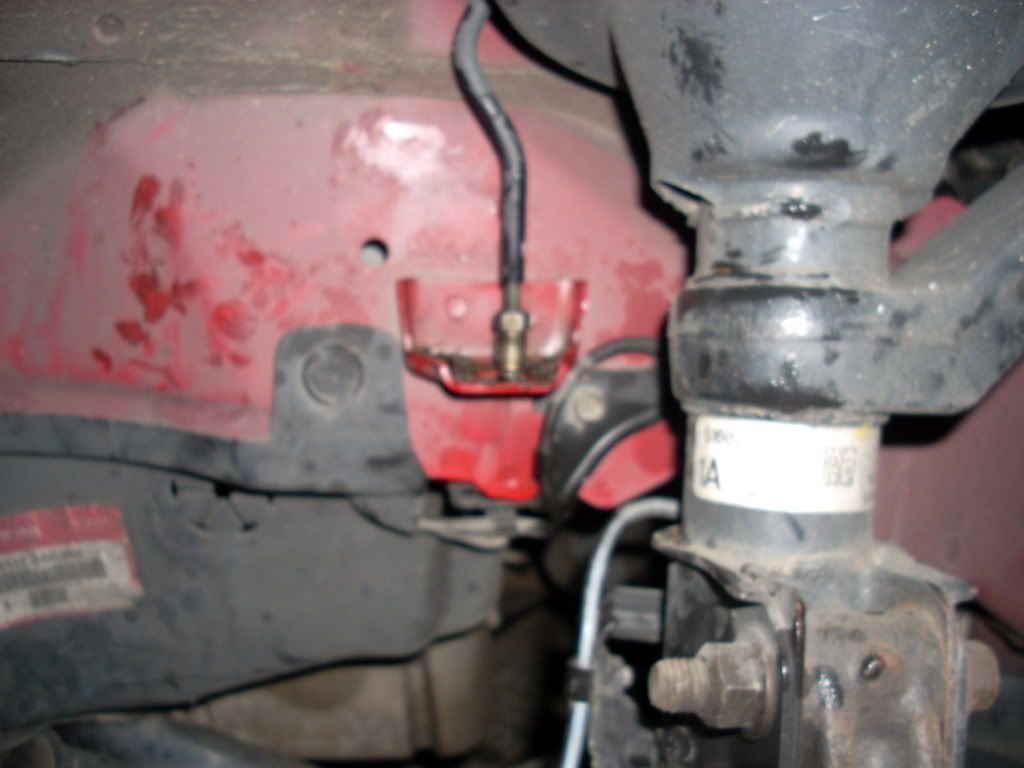
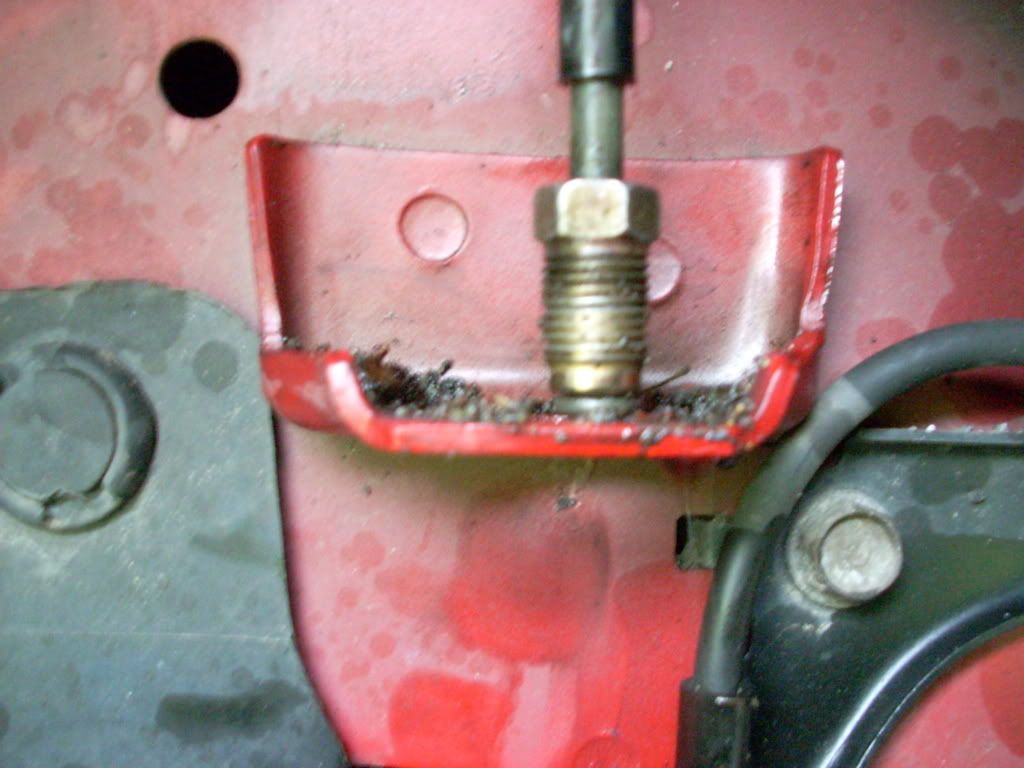
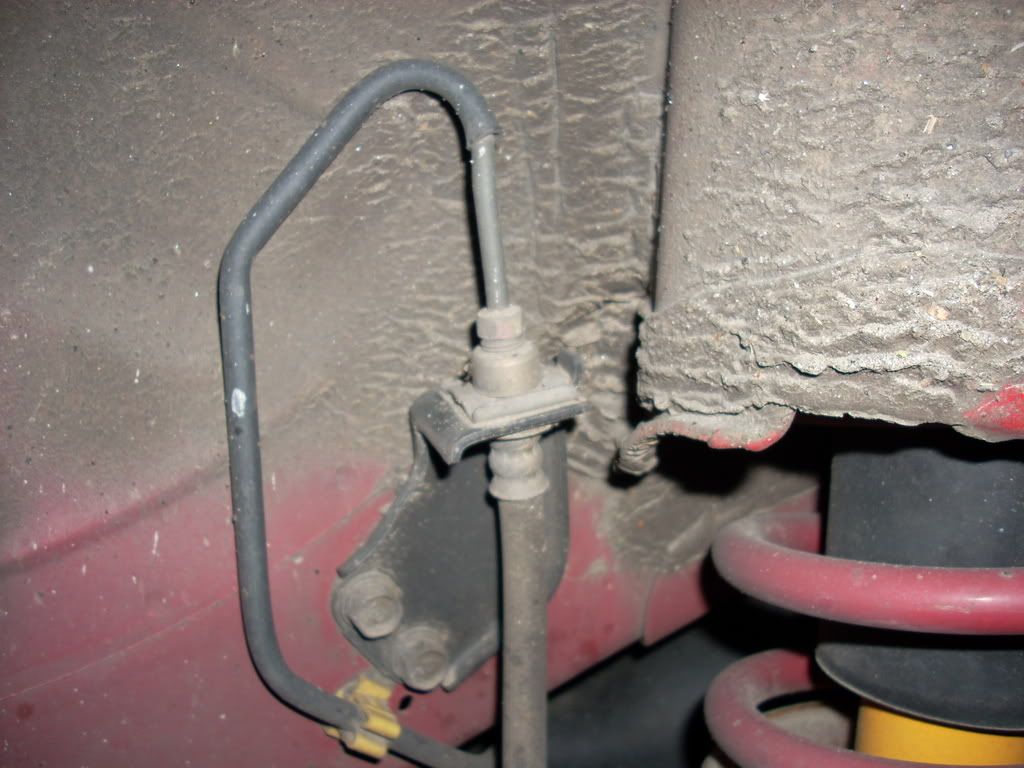
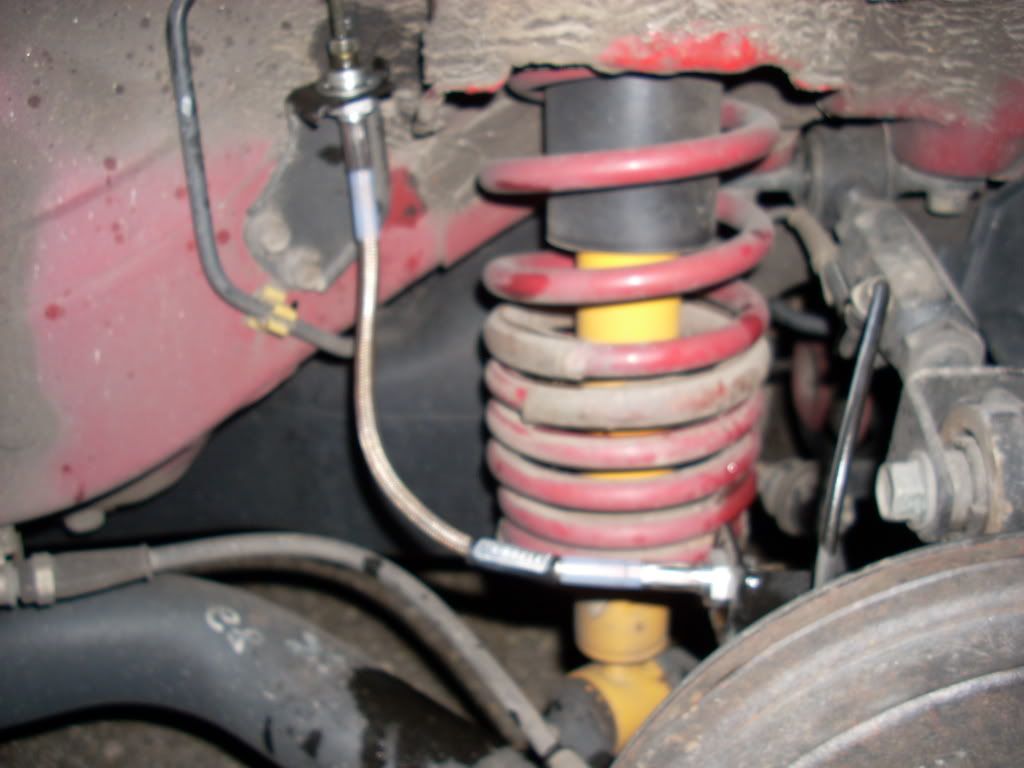
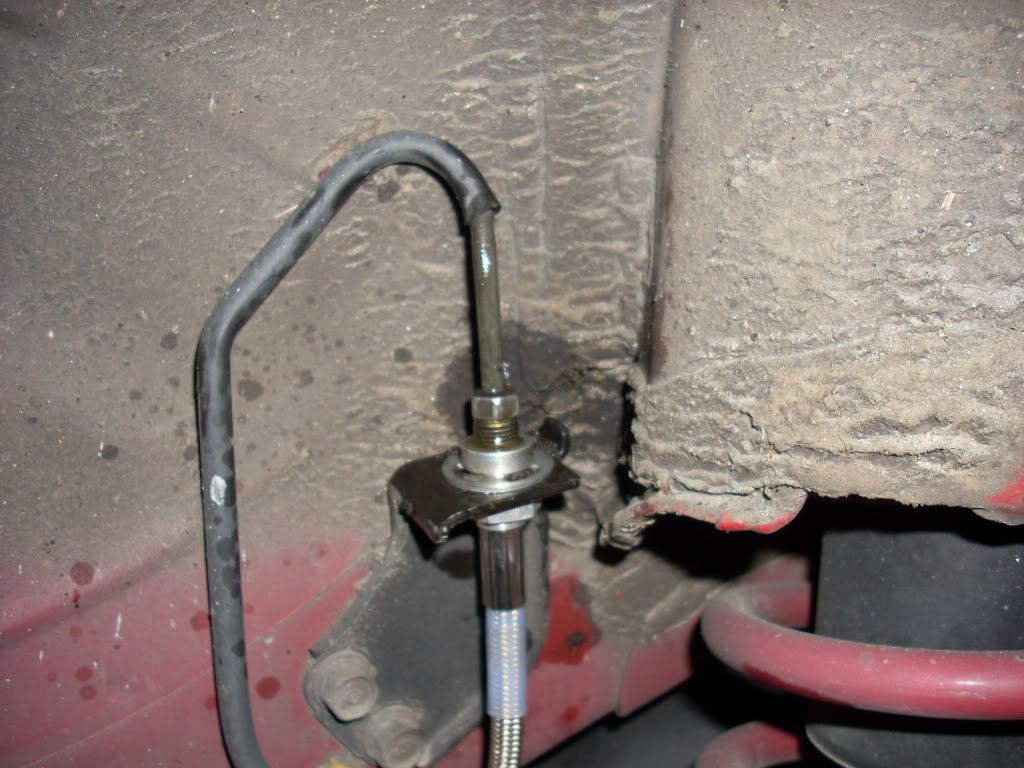
Unscrew the 12 mm bolt that supports the brake line in the middle.
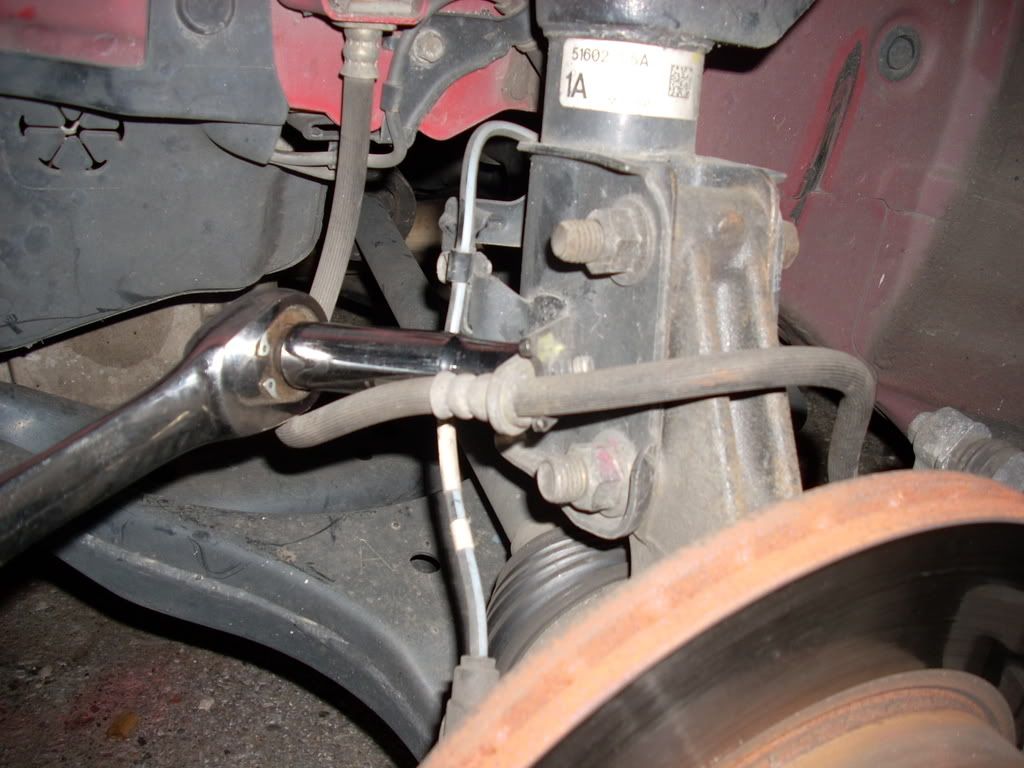
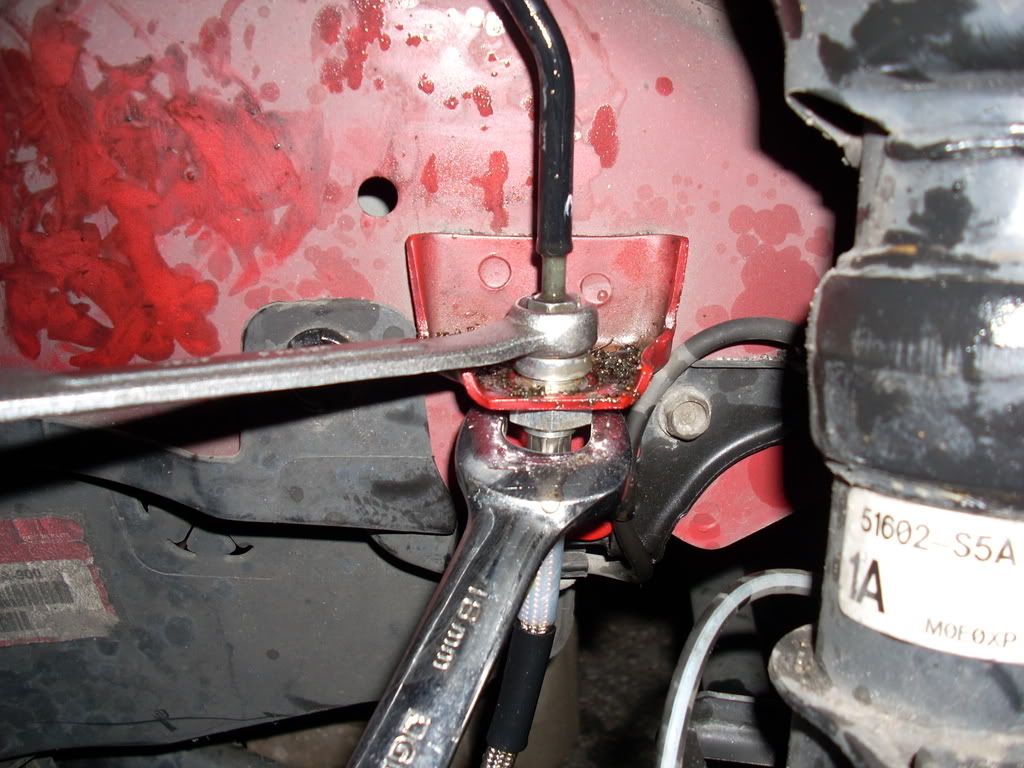
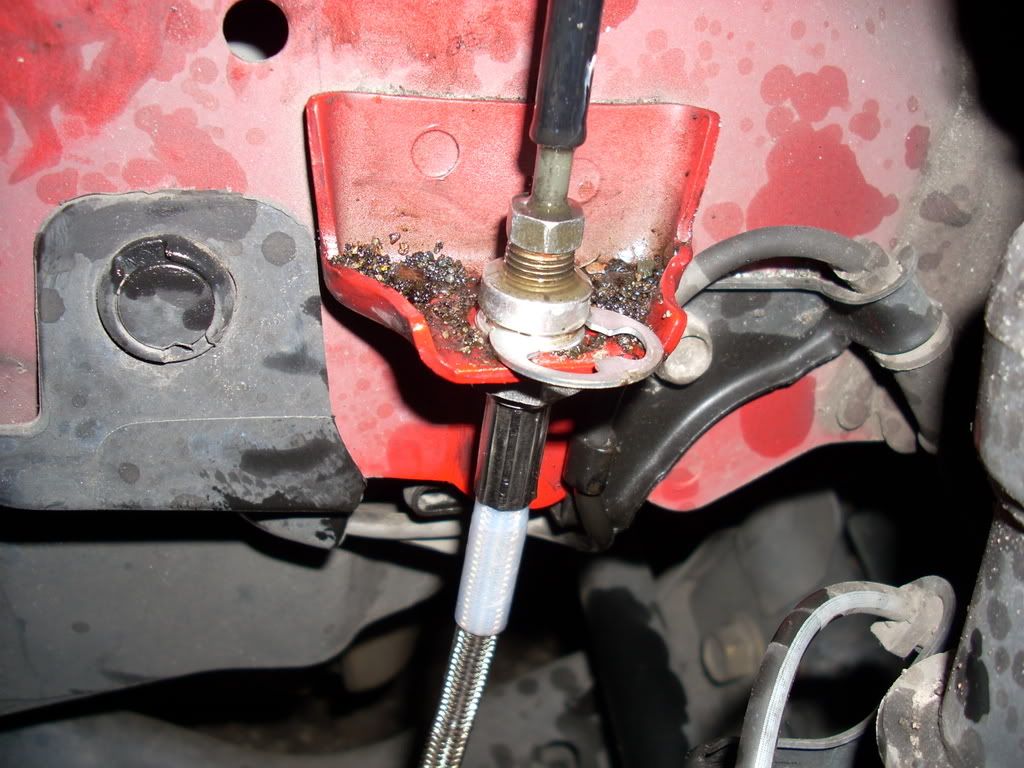
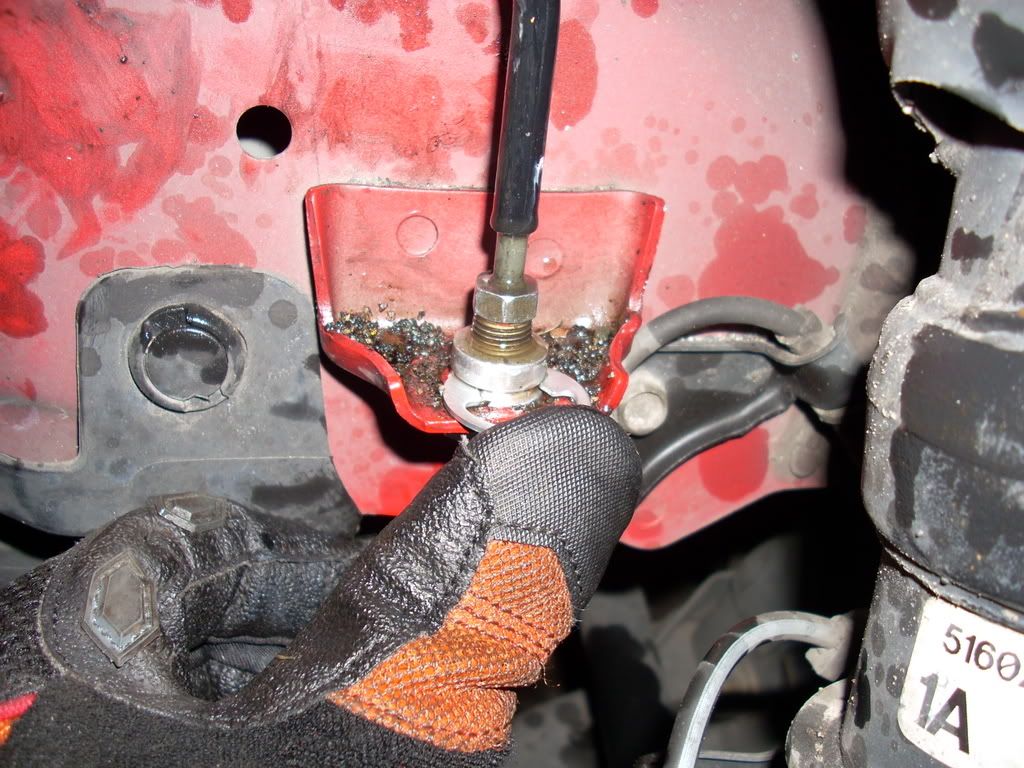
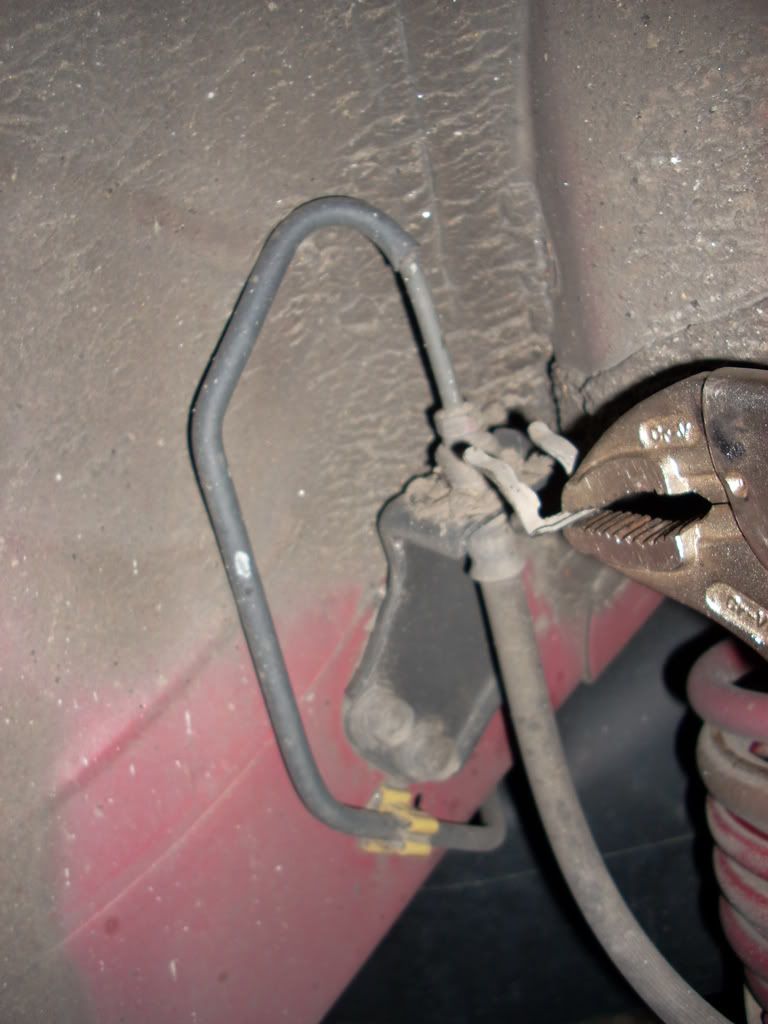
Pull off the retainer clip at the upper hose connection. Use either a screwdriver and pry it off, or vice grips and just yank it off.

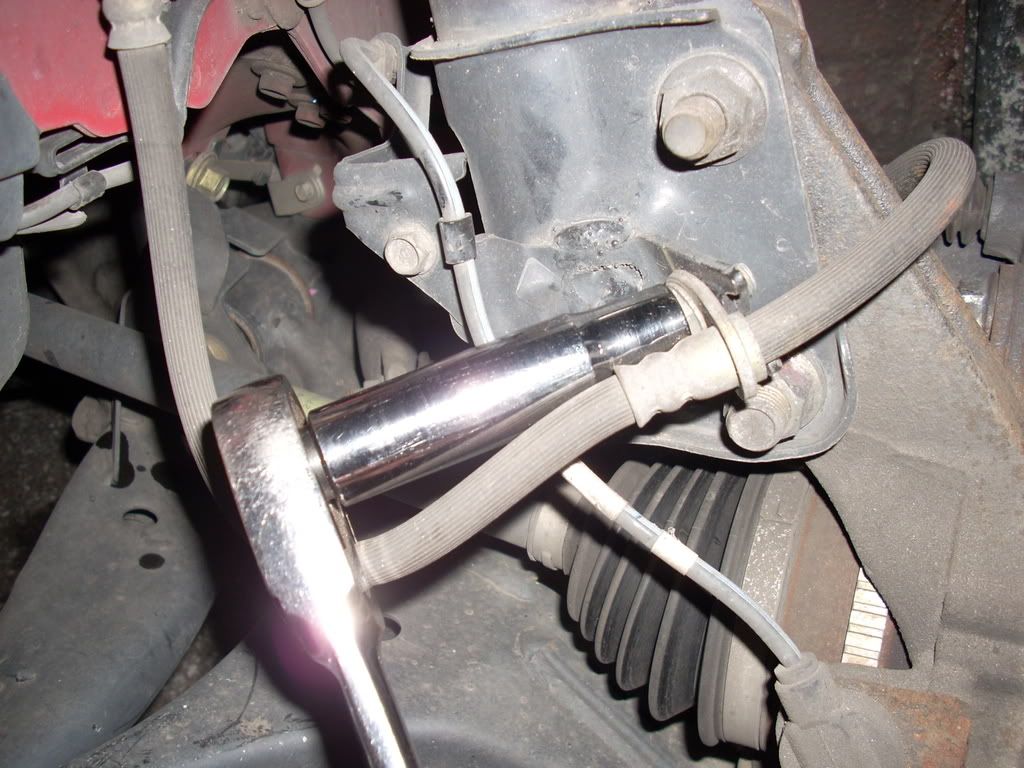
Use the 10 mm flare nut wrench and crack the brake line loose. Don�t unscrew it all the way yet. Don�t try to use a regular wrench, you�ll strip the nut. If you apply slight upward pressure on the soft line it will keep the lines from twisting while you unscrew the nut.
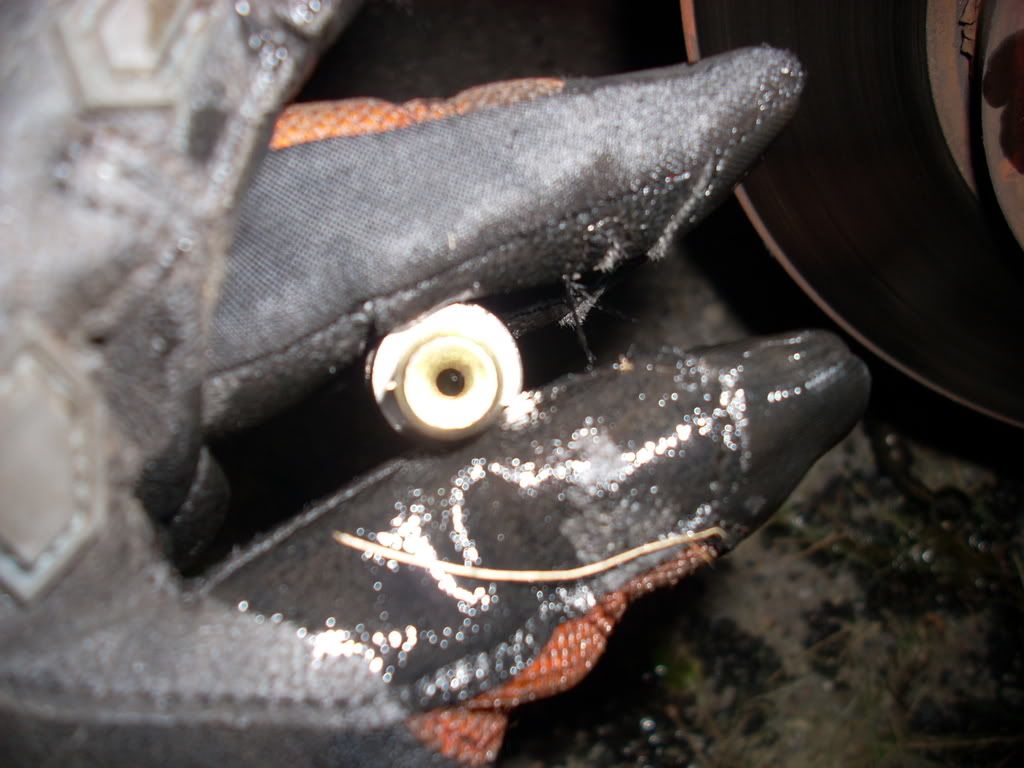
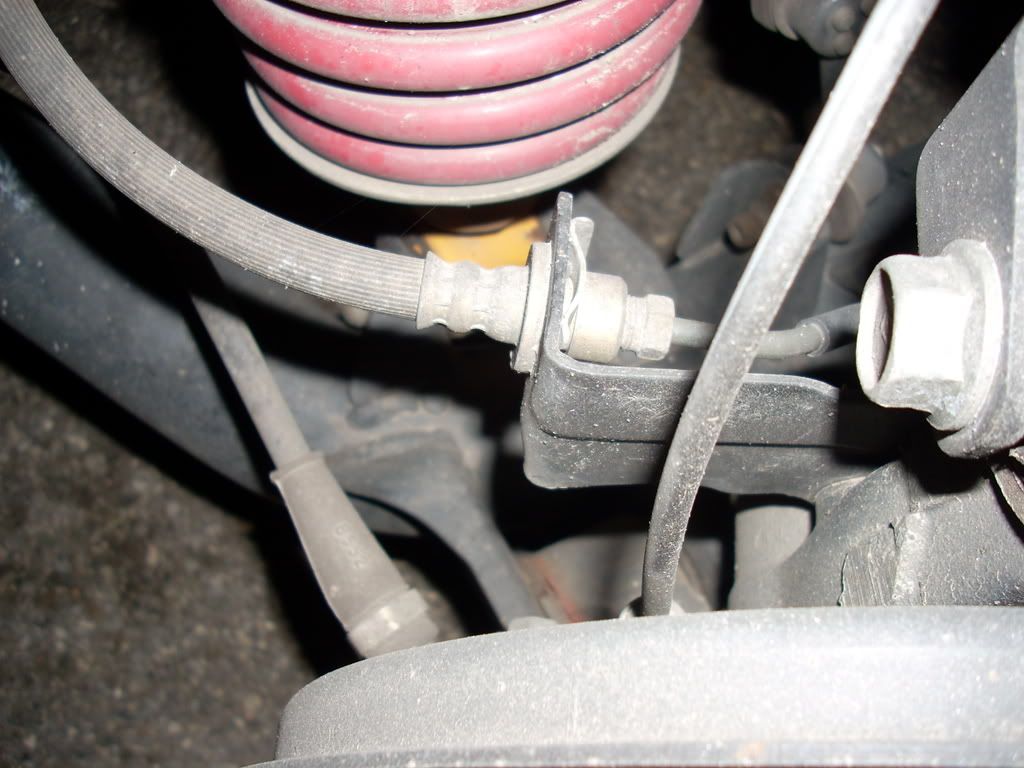
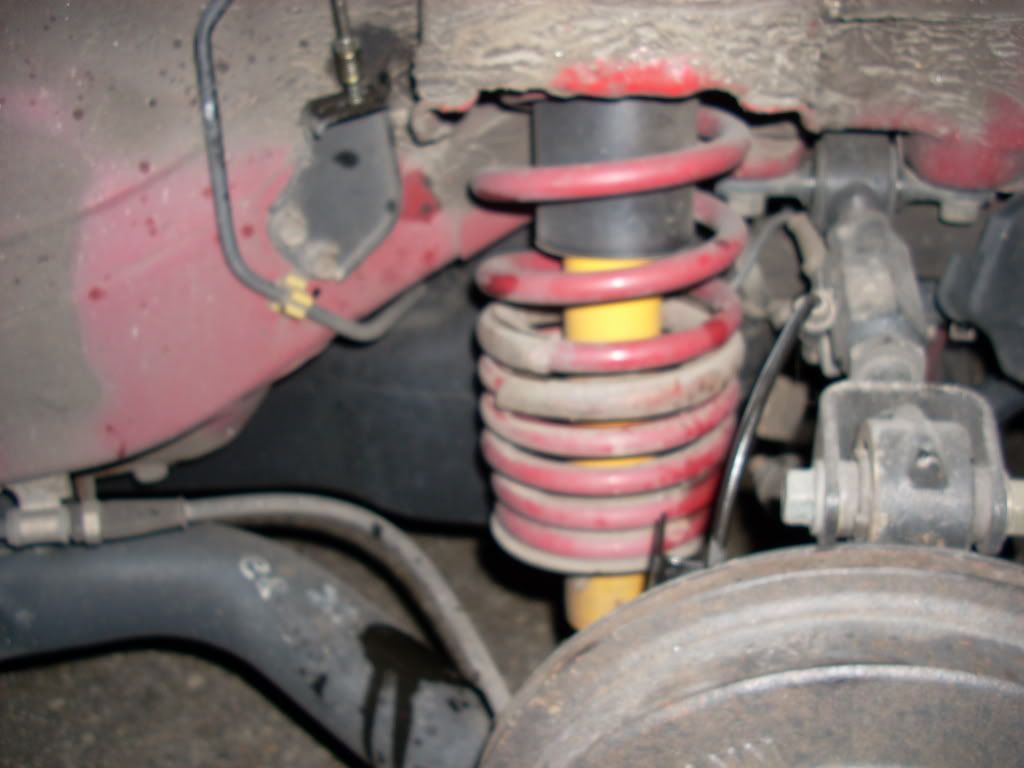
Follow the line to the rear of the caliper. You�ll need to use a 14 mm wrench to remove this bolt.
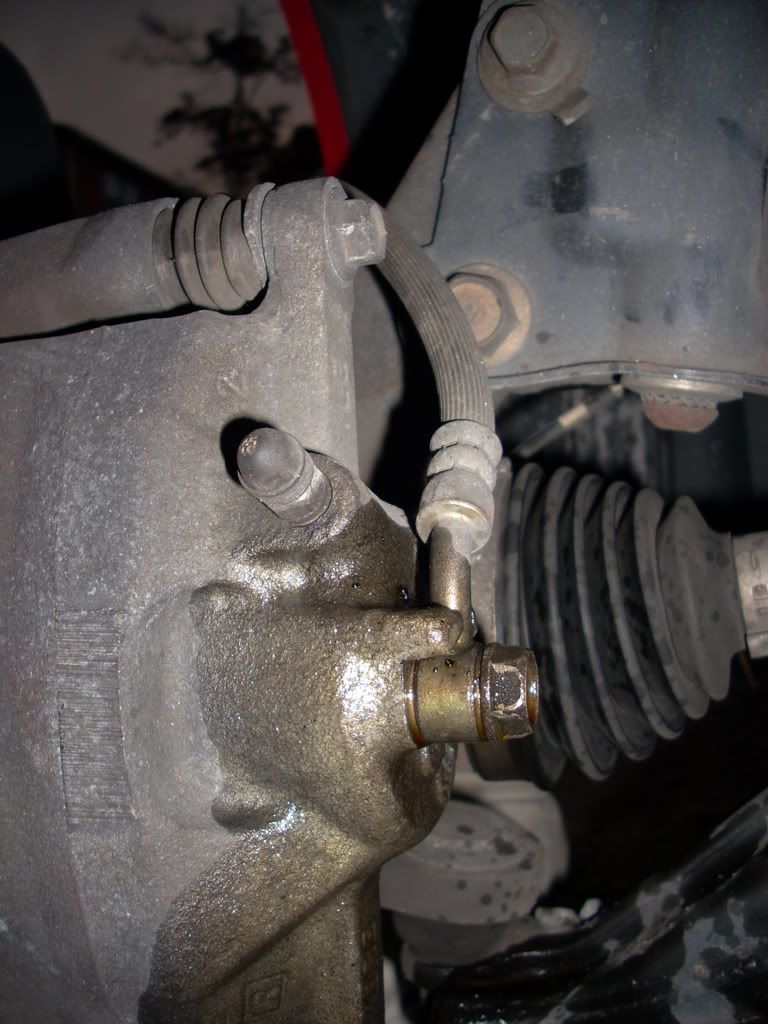
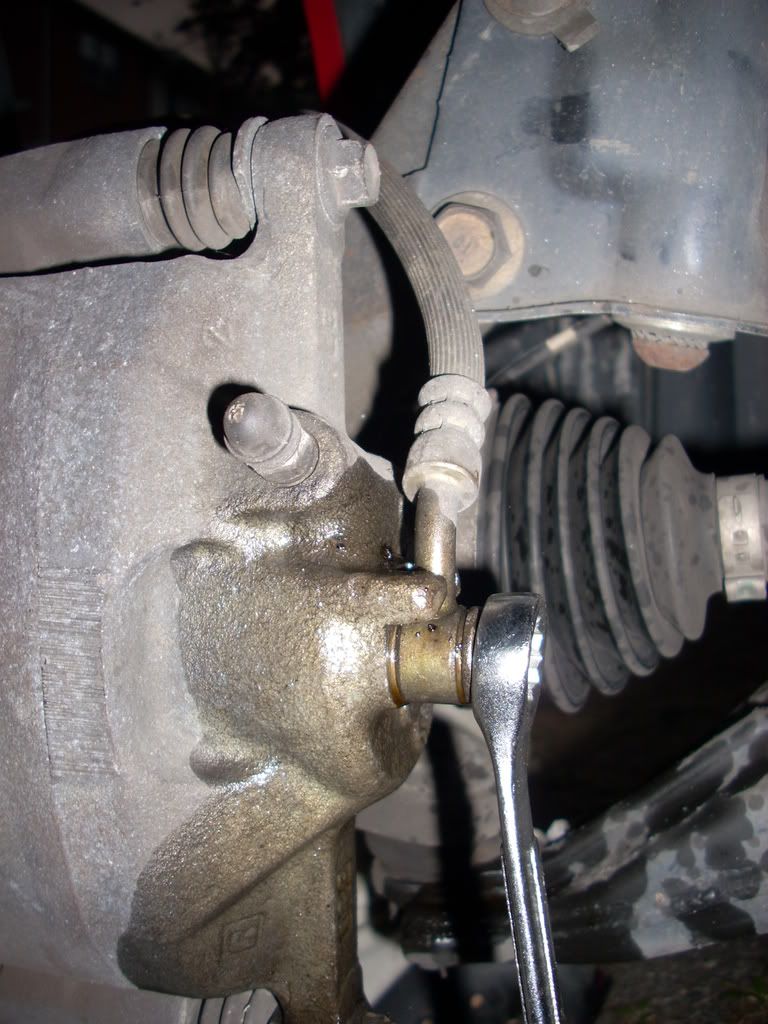
Once you remove the bolt fluid will start dripping out. You won�t lose much, you don�t need to rush. But don�t take a break and take a **** or anything. You don�t want to completely drain the fluid reservoir or else you�ll need to have the master cylinder professionally bled. But you could probably have the line disconnected for 20 minutes or so before you completely drain the reservoir.
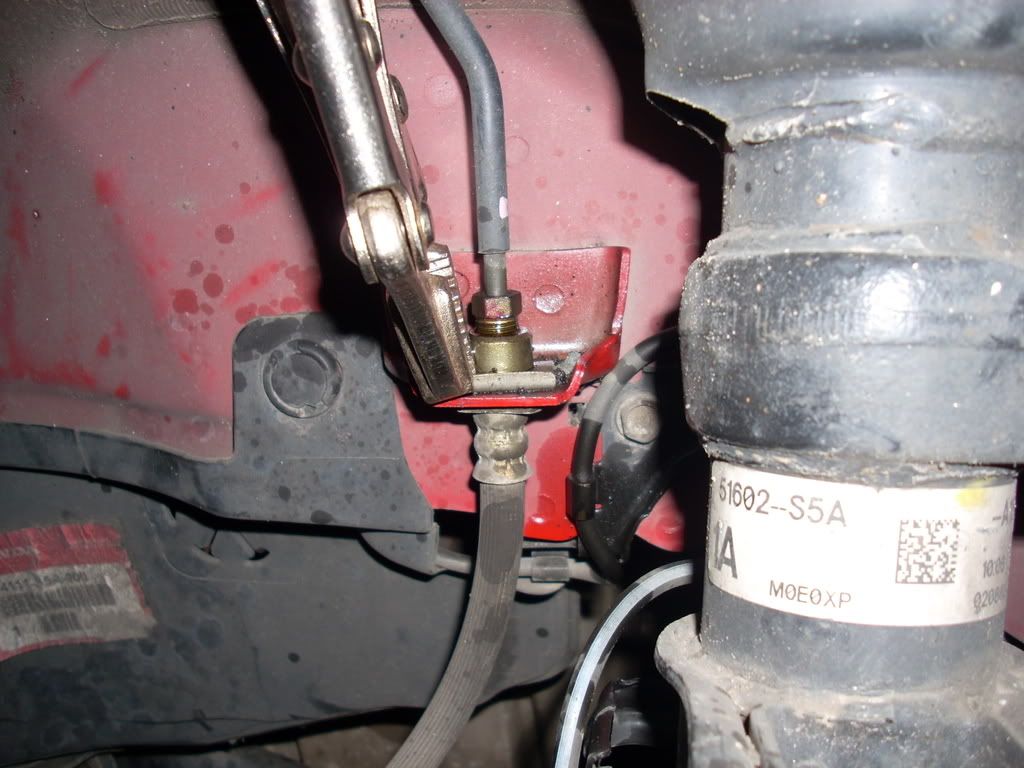
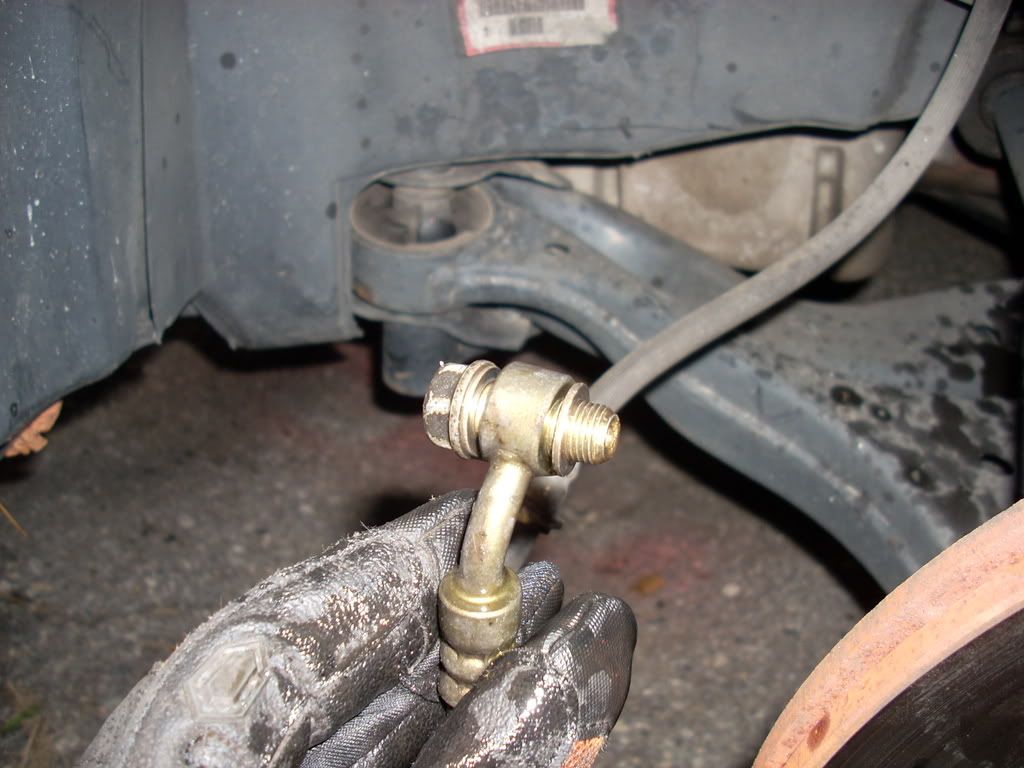
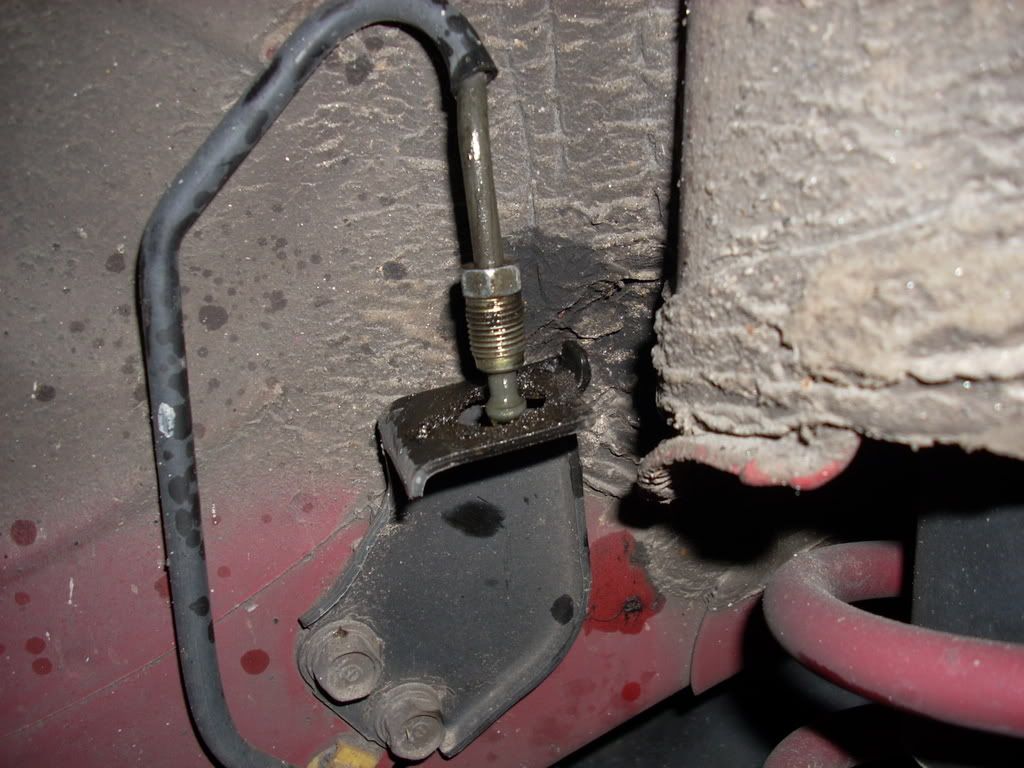
This is what the bolt/line will look like. The bolt is hollow and fluid runs through it. There is a washer on each side of the bolt/brake line surface. If your kit doesn�t include new washers be sure you don�t lose these. My Russel kit included new ones.

Now disconnect the top connection and remove the rubber line.
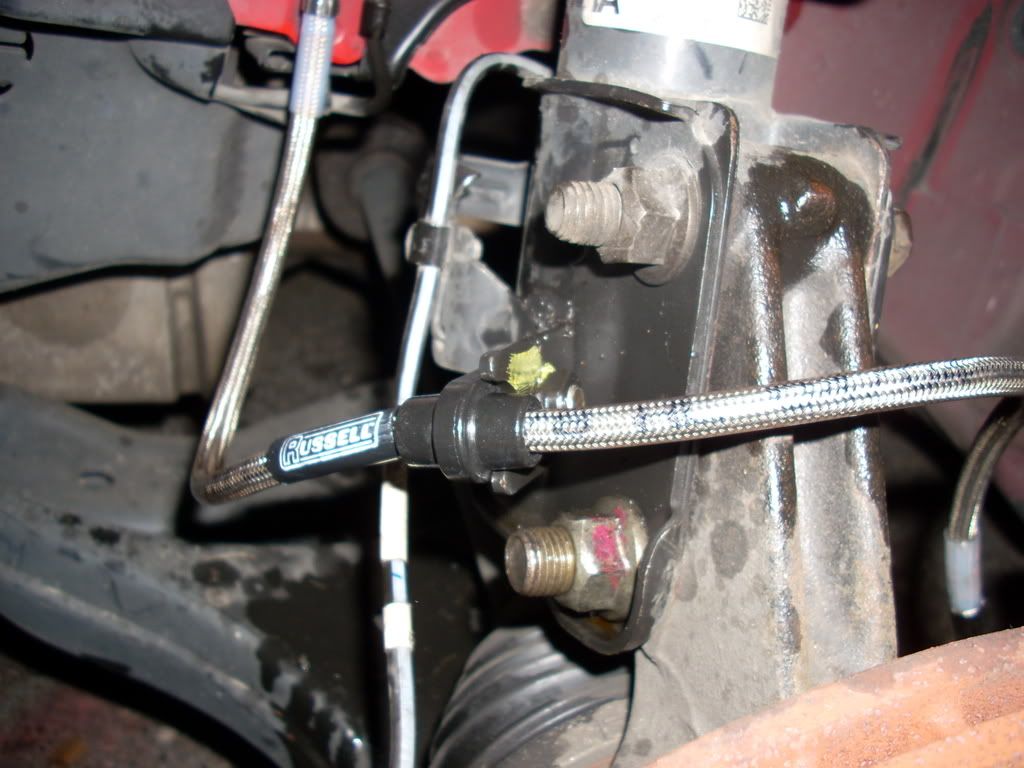
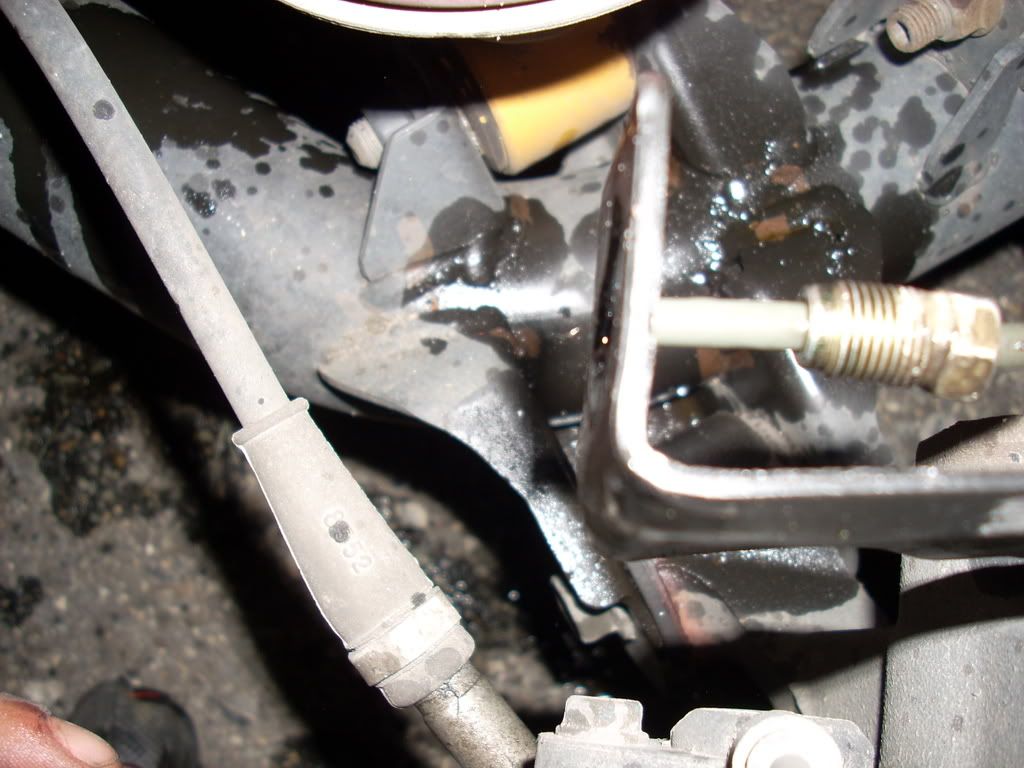
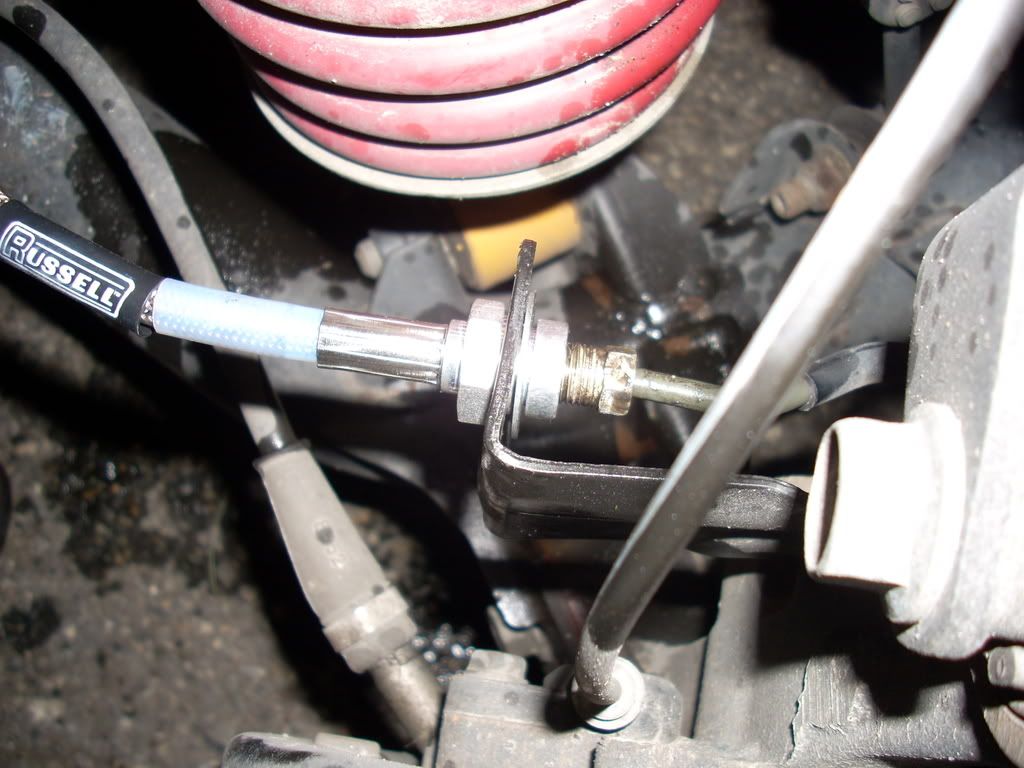
Take the brake line and throw it in. (This is a pic of a rear line. The front is longer, and has a round end that the bolt fits through. The Russel kit marked which were front and which were rear). I started with the caliper side. Line up one washer between the bolt head and the brake line, the other washer between the brake line and caliper. Screw it on in there (14 mm). Then connect the top portion with the flare nut wrench (10 mm).
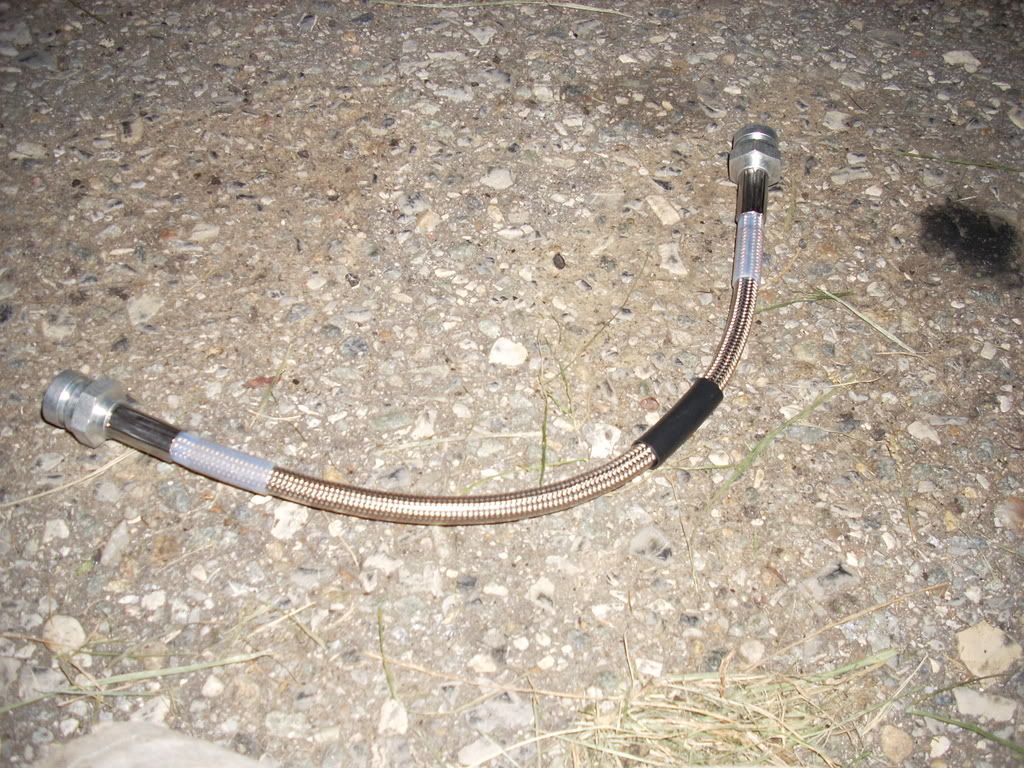

The OEM lines will wedge themselves in to keep from rotating as you tighten the line. The Russel lines have an 18 mm nut to hold them from rotating.
Install the lock clip.
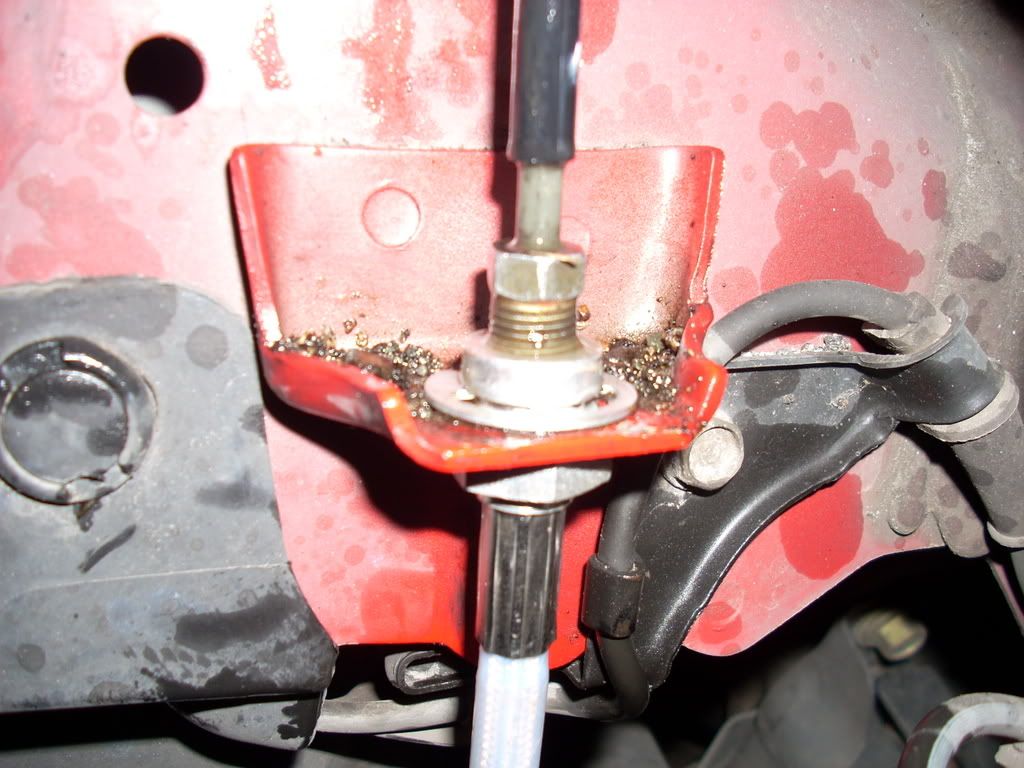
Bolt down the support half way down the line (12 mm).
The front is done

Top off the brake fluid reservoir and put the cap back on.
The rear is similar. It is shorter, so there is no support half way down. And both ends of the line are the same as the top connection on the front. So both have retaining clips, and will require a 10 mm flare nut wrench.
Remove the retaining clips on both ends.
Break the top connection (with the 10 mm flare nut wrench) but don�t completely unscrew it. Unscrew the bottom one completely, then disconnect the top.
Install the new line. Tighten down using the 10 mm and 18 mm wrenches, just like on the front (or with just the 10 mm flare nut wrench, if you�re installing OEM lines).
Install the retaining clips.
Refill the brake fluid reservoir
Do the other side, then bleed the brakes. Say hello to a firmer brake pedal with better feedback.
Tools Needed:
10 mm flare nut wrench (brake line wrench)
12 mm wrench
14 mm wrench
Vice grips
Flat blade screwdriver
(If installing Russel SS lines you should also have an 18 mm wrench)
I recommend using PB Blaster on all nuts/bolts before you attempt to loosen them.
Check to make sure that the brake fluid reservoir is topped off. Don�t leave the lid off of the brake fluid reservoir. Take it off, add fluid, put it back on.
Jack up the car and take off a wheel. We�ll work on the front first, for no particular reason.
Unscrew the 12 mm bolt that supports the brake line in the middle.
Pull off the retainer clip at the upper hose connection. Use either a screwdriver and pry it off, or vice grips and just yank it off.
Use the 10 mm flare nut wrench and crack the brake line loose. Don�t unscrew it all the way yet. Don�t try to use a regular wrench, you�ll strip the nut. If you apply slight upward pressure on the soft line it will keep the lines from twisting while you unscrew the nut.
Follow the line to the rear of the caliper. You�ll need to use a 14 mm wrench to remove this bolt.
Once you remove the bolt fluid will start dripping out. You won�t lose much, you don�t need to rush. But don�t take a break and take a **** or anything. You don�t want to completely drain the fluid reservoir or else you�ll need to have the master cylinder professionally bled. But you could probably have the line disconnected for 20 minutes or so before you completely drain the reservoir.
This is what the bolt/line will look like. The bolt is hollow and fluid runs through it. There is a washer on each side of the bolt/brake line surface. If your kit doesn�t include new washers be sure you don�t lose these. My Russel kit included new ones.
Now disconnect the top connection and remove the rubber line.
Take the brake line and throw it in. (This is a pic of a rear line. The front is longer, and has a round end that the bolt fits through. The Russel kit marked which were front and which were rear). I started with the caliper side. Line up one washer between the bolt head and the brake line, the other washer between the brake line and caliper. Screw it on in there (14 mm). Then connect the top portion with the flare nut wrench (10 mm).
The OEM lines will wedge themselves in to keep from rotating as you tighten the line. The Russel lines have an 18 mm nut to hold them from rotating.
Install the lock clip.
Bolt down the support half way down the line (12 mm).
The front is done
Top off the brake fluid reservoir and put the cap back on.
The rear is similar. It is shorter, so there is no support half way down. And both ends of the line are the same as the top connection on the front. So both have retaining clips, and will require a 10 mm flare nut wrench.
Remove the retaining clips on both ends.
Break the top connection (with the 10 mm flare nut wrench) but don�t completely unscrew it. Unscrew the bottom one completely, then disconnect the top.
Install the new line. Tighten down using the 10 mm and 18 mm wrenches, just like on the front (or with just the 10 mm flare nut wrench, if you�re installing OEM lines).
Install the retaining clips.
Refill the brake fluid reservoir
Do the other side, then bleed the brakes. Say hello to a firmer brake pedal with better feedback.
 10-07-2008
#3
10-08-2008
#4
Registered!!
iTrader: (6)
Join Date: Feb 2005
Location: Ft. Bragg/Fayetteville, nc
Age: 41
Posts: 1,470
Likes: 0
Received 0 Likes
on
0 Posts
Rep Power: 249 

Re: DIY: Stainless Steel Braided Brake Lines
Very nice DIY. I need to do this also! Maybe right after I get a rear disc brake conversion.
10-08-2008
#5
Registered!!
Thread Starter
Join Date: Mar 2008
Location: Boone, NC
Age: 41
Posts: 158
Likes: 0
Received 0 Likes
on
0 Posts
Rep Power: 0 Re: DIY: Stainless Steel Braided Brake Lines
There is no reason to flush your system unless it needed to be flushed anyway, or your upgrading to a high temp racing brake fluid. You do need to bleed the system, the last step of my DIY. Perhaps you just confused bleed and flush?
10-08-2008
#7
Premium Member
Hey! Look At Me!! I'm a Supporting Member!!
iTrader: (95)

Join Date: Sep 2002
Location: NV
Age: 43
Posts: 51,241
Likes: 0
Received 18 Likes
on
13 Posts
Rep Power: 787 Re: DIY: Stainless Steel Braided Brake Lines
wouldnt it still be fine, since you are topping off the reservoir and not getting air in the system? or maybe when you push the filltings a bubble might escape inside.
10-08-2008
#8
Registered!!
Thread Starter
Join Date: Mar 2008
Location: Boone, NC
Age: 41
Posts: 158
Likes: 0
Received 0 Likes
on
0 Posts
Rep Power: 0 Re: DIY: Stainless Steel Braided Brake Lines
 and you'll probably have induced some bubbles into the lines or calipers/drums.
 10-08-2008
#10
I brake for hairy Hawaiian midgets
Join Date: Sep 2003
Location: NorCal
Age: 42
Posts: 2,167
Likes: 0
Received 1 Like
on
1 Post
Rep Power: 293 Re: DIY: Stainless Steel Braided Brake Lines
yeah... anytime you loosen any part of the lines, and see fluid come out, air gets in....
last time i changed my pads, one of my brake caliper cylinders came out a bit too far, and some fluid leaked out...when pressing on the brakes afterwards, they felt sluggish... luckily i was able to get it bleed at work (subaru dealership) for free...
last time i changed my pads, one of my brake caliper cylinders came out a bit too far, and some fluid leaked out...when pressing on the brakes afterwards, they felt sluggish... luckily i was able to get it bleed at work (subaru dealership) for free...
10-08-2008
#12
Registered!!
Thread Starter
Join Date: Mar 2008
Location: Boone, NC
Age: 41
Posts: 158
Likes: 0
Received 0 Likes
on
0 Posts
Rep Power: 0 Re: DIY: Stainless Steel Braided Brake Lines
I haven't gotten the chance to really push it. I just bled them today, actually flushed them with Wilwood 570* DOT-3. And it's raining out. But I did take them on a short drive. The pedal feels much more responsive. And not as much pedal movement is required ie: they start biting sooner. This is exactly what I was looking for: Better modulation on the brakes and just as importantly raising the effective height of the pedal (to make throttle blipping easier for my tiny feet). With stock lines the brake pedal sunk so far past the gas pedal that I couldn't get my foot up on the gas pedal while braking. But now I can.

10-08-2008
#13
Registered!!
Thread Starter
Join Date: Mar 2008
Location: Boone, NC
Age: 41
Posts: 158
Likes: 0
Received 0 Likes
on
0 Posts
Rep Power: 0 Re: DIY: Stainless Steel Braided Brake Lines
Is there a brake bleeding DIY that we could link to? I didn't take any pictures when I did mine, it was raining  Screw working on cars in parking lots, lol. Atleast it wasn't snowing, I've had to do that plenty before.
Screw working on cars in parking lots, lol. Atleast it wasn't snowing, I've had to do that plenty before. 
 10-08-2008
#15
Mr. Treehorn treats objects like women, man!
iTrader: (1)
Join Date: Aug 2005
Location: SoCal
Posts: 238
Likes: 0
Received 0 Likes
on
0 Posts
Rep Power: 230 Re: DIY: Stainless Steel Braided Brake Lines
Very nice write up. This is giving me flashbacks. It is a very fun and headache free mod you can do to your ride. Plus who wouldn't be down for stopping faster?
12-08-2008
#16

Thread
Thread Starter
Honda Civic Forum
Replies
Last Post
BootyDo
Wheels, Tires & Brakes Modifications
2
07-07-2015 06:06 AM
robbie374
Electrical, Wiring, and In Car Entertainment
4
07-07-2015 02:56 AM
Causemo
Mechanical Problems/Vehicle Issues and Fix-it Forum
1
07-05-2015 06:42 AM

