A/c Compressor DIY
 07-13-2011
#1
Registered!!
Thread Starter
Join Date: Aug 2010
Location: Cleveland, Ohio
Posts: 199
Likes: 0
Received 1 Like
on
1 Post
Rep Power: 168 
A/c Compressor DIY
Well since nobody else did this i did. Also if you cant do this your stupid. Fyi")
First you lift the car on somekind of stands.
Then you should have someone discharge the freon. FYI IT IS ILLEGAL TO RELEASE INTO THE AIR.
Then remove these clips.
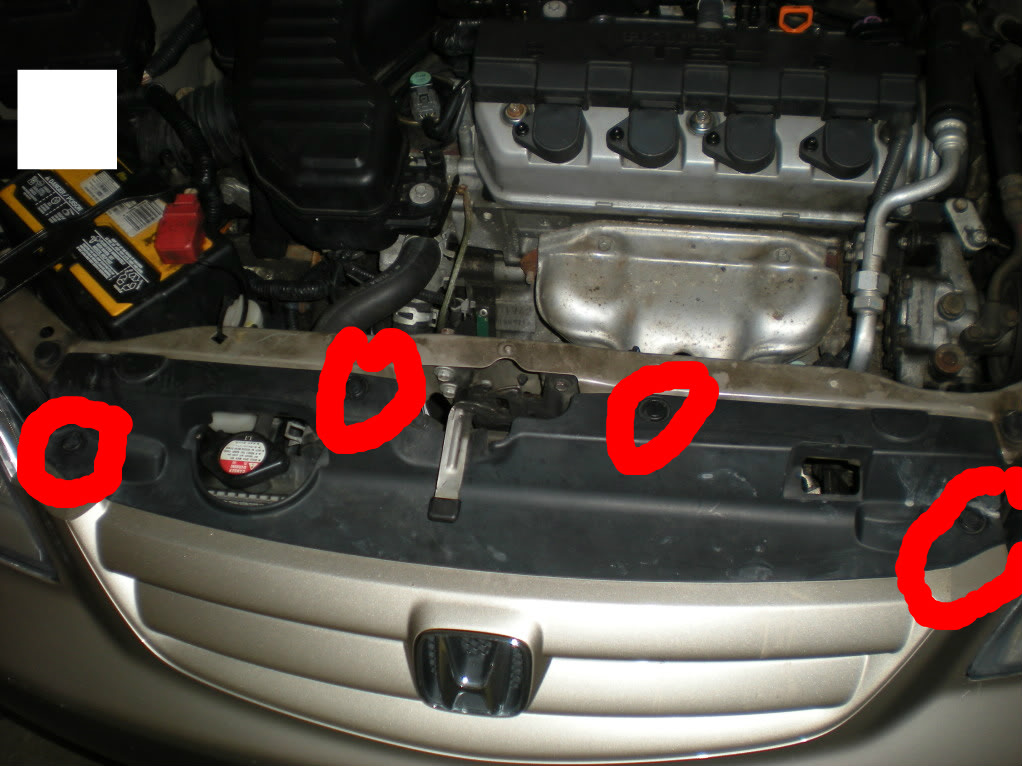
Then remove the screw under bumper on this side and other.
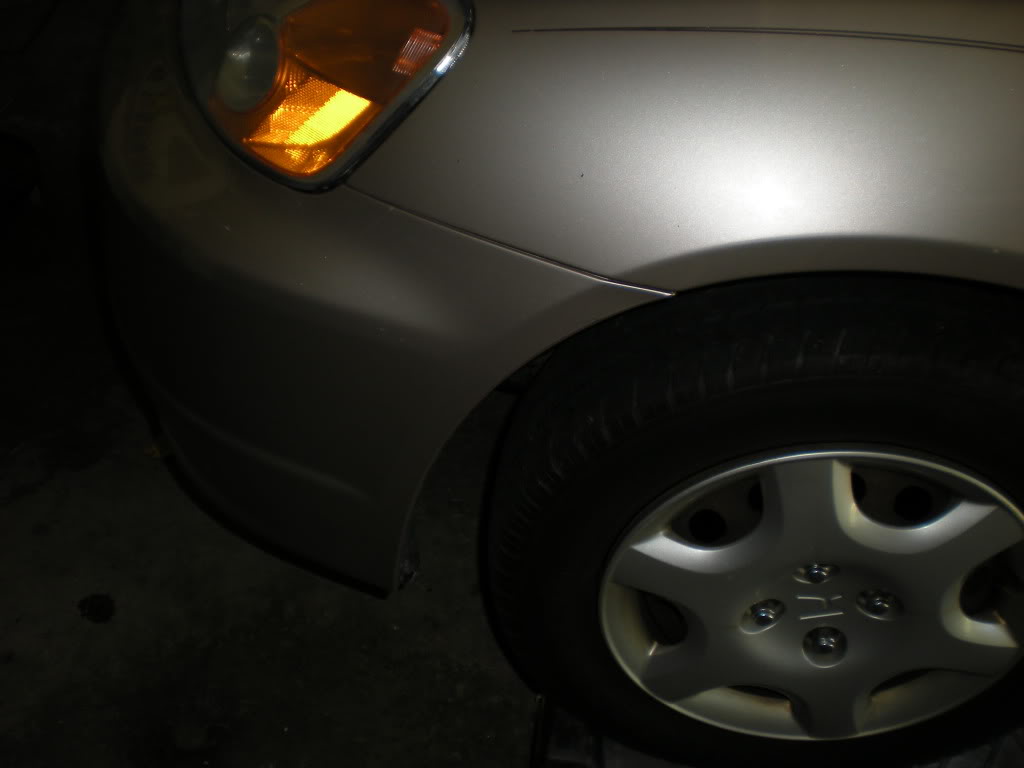
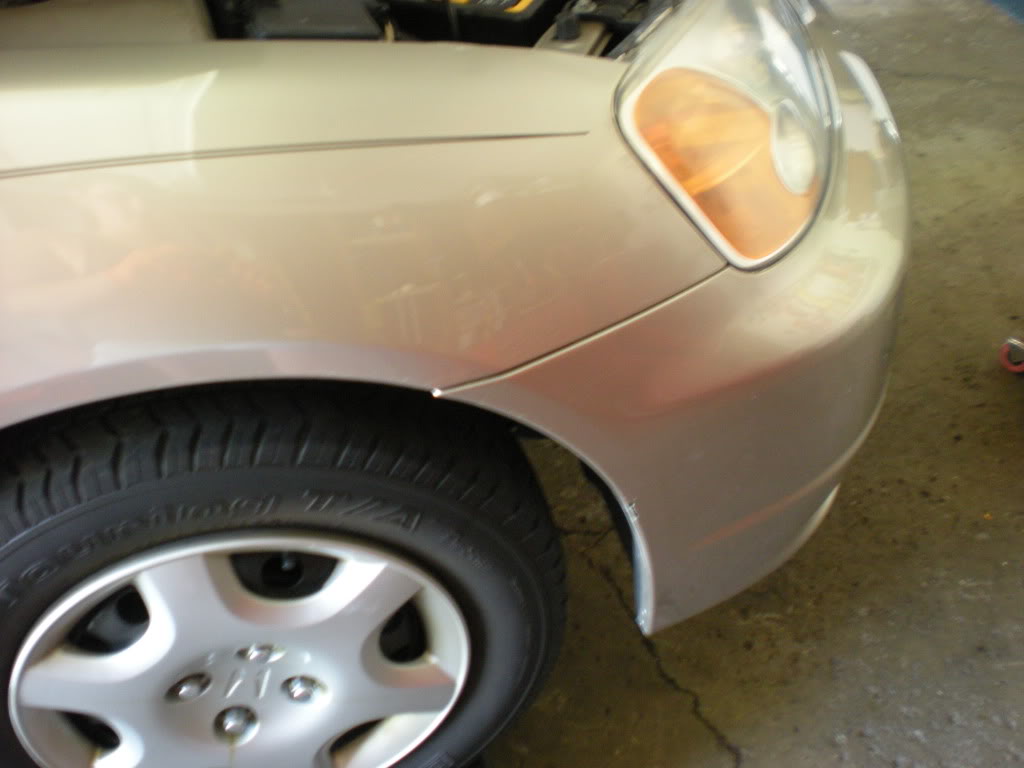
Then goto driver side headlight and remove these bolts.
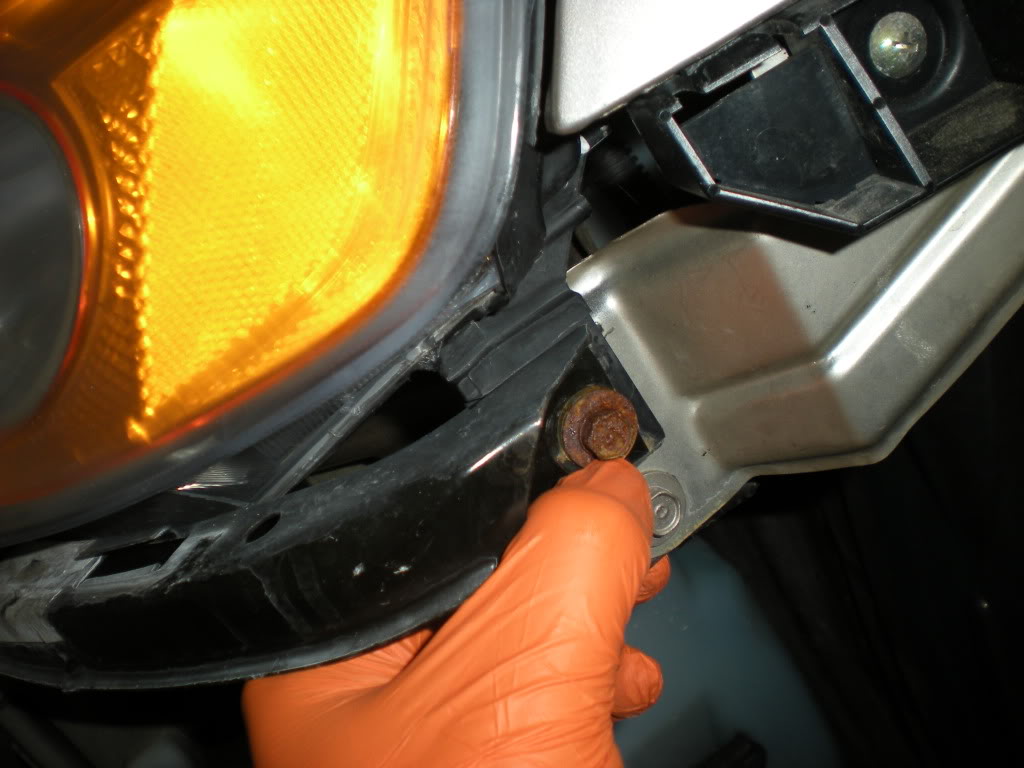
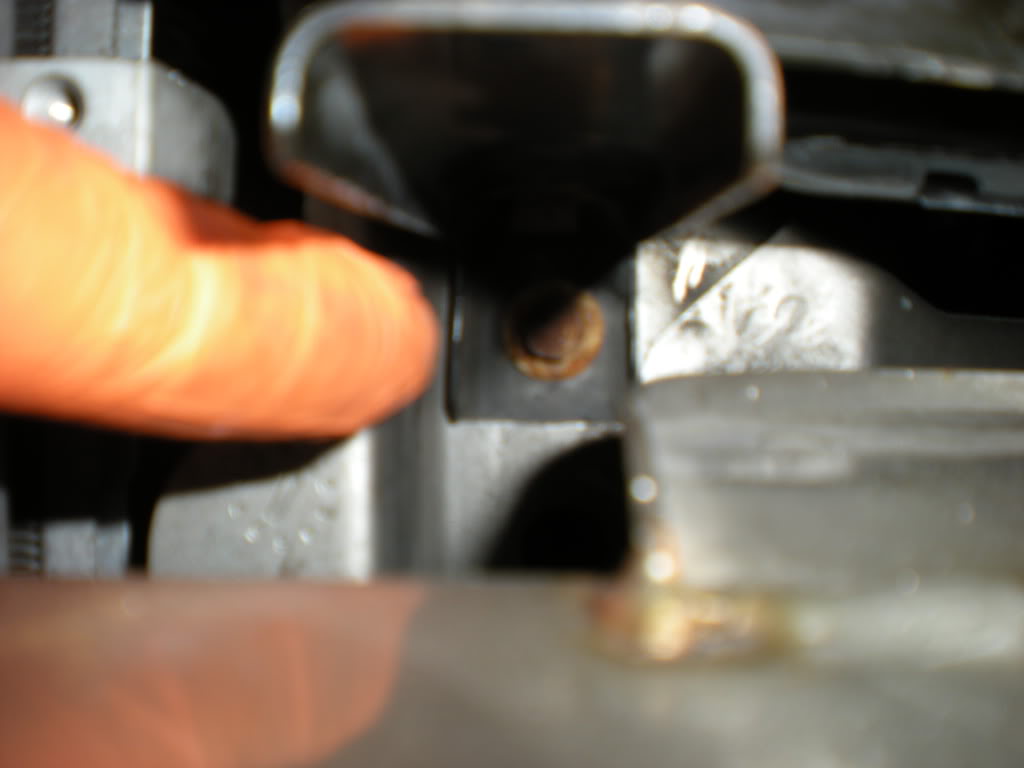
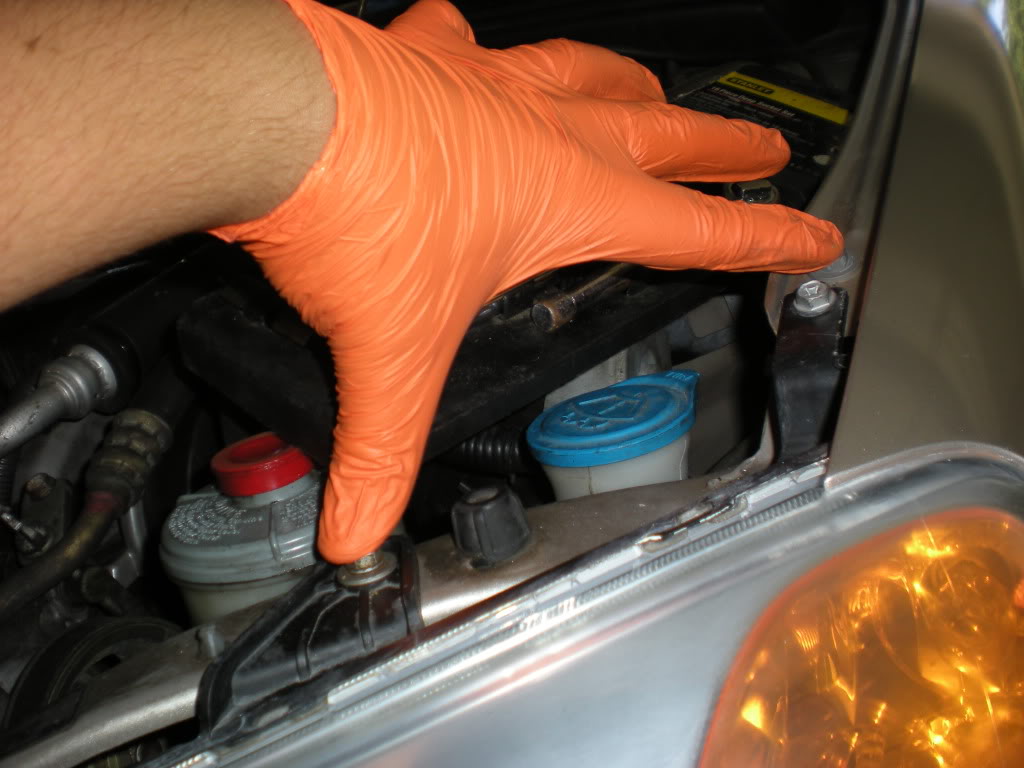
Then your here
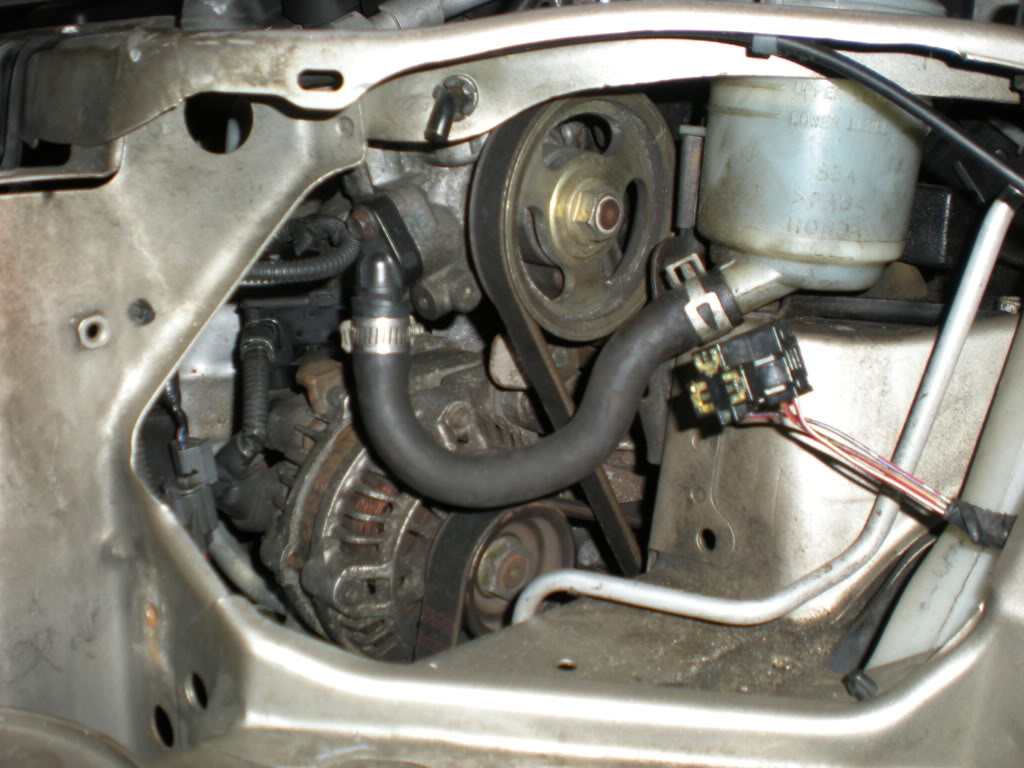
Then remove the 10mm bolts
Untighten this bolt
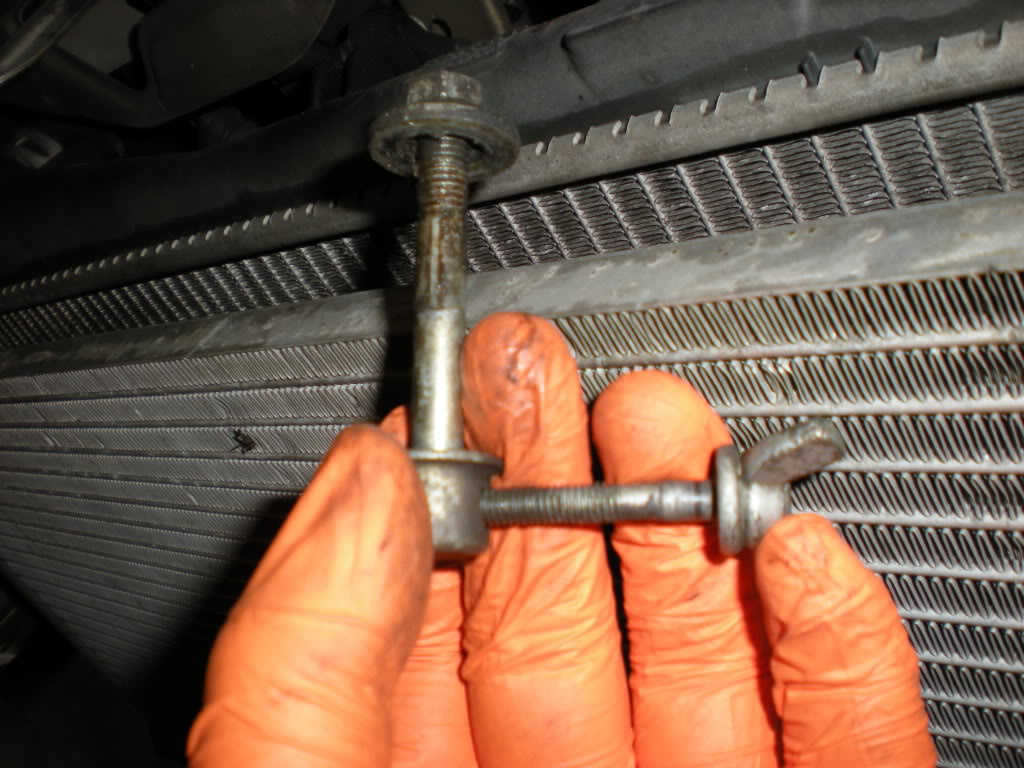
Remove this 12mm bolt
And this one
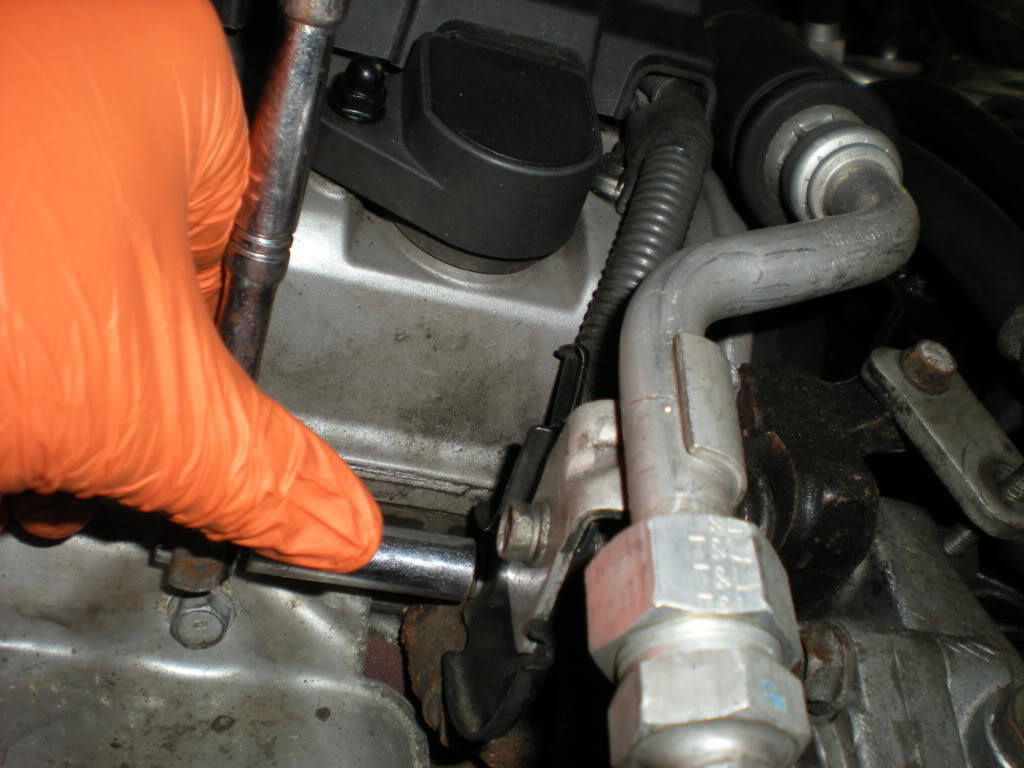
Like this
Then the bottom ones
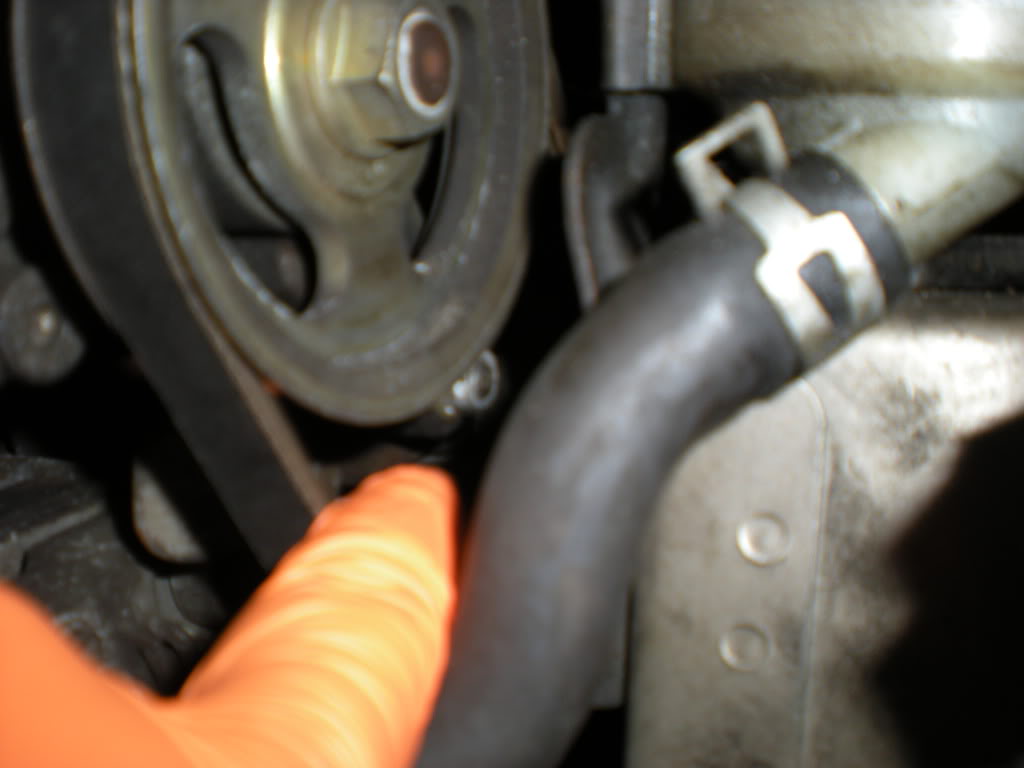
Remove the belt
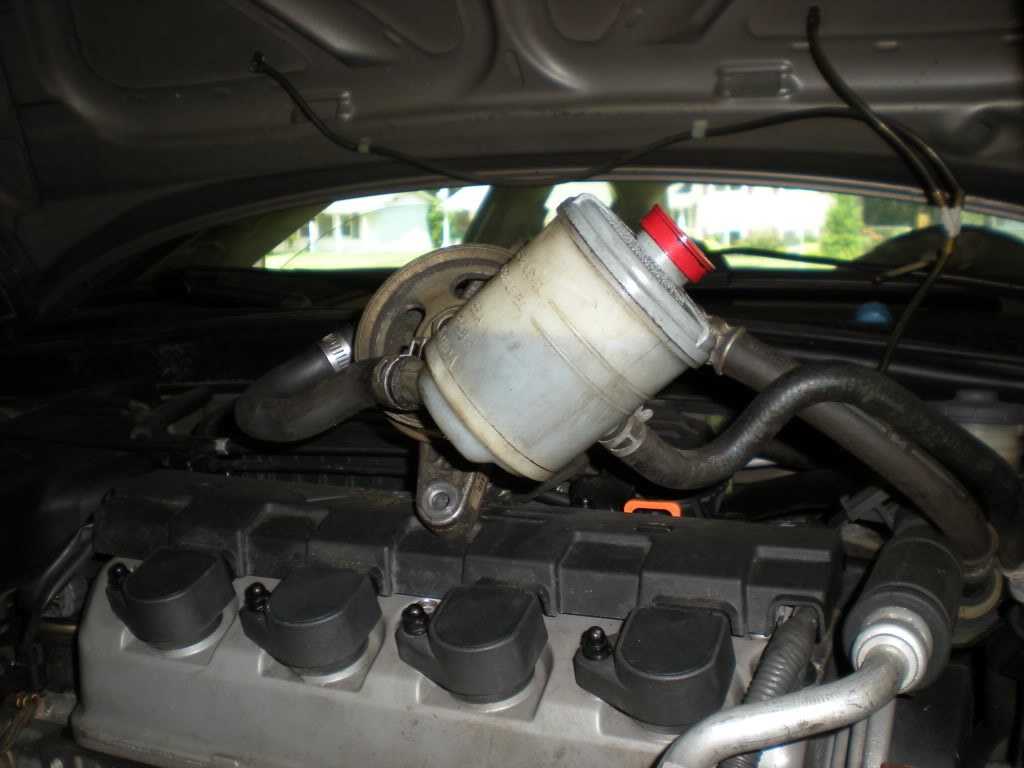
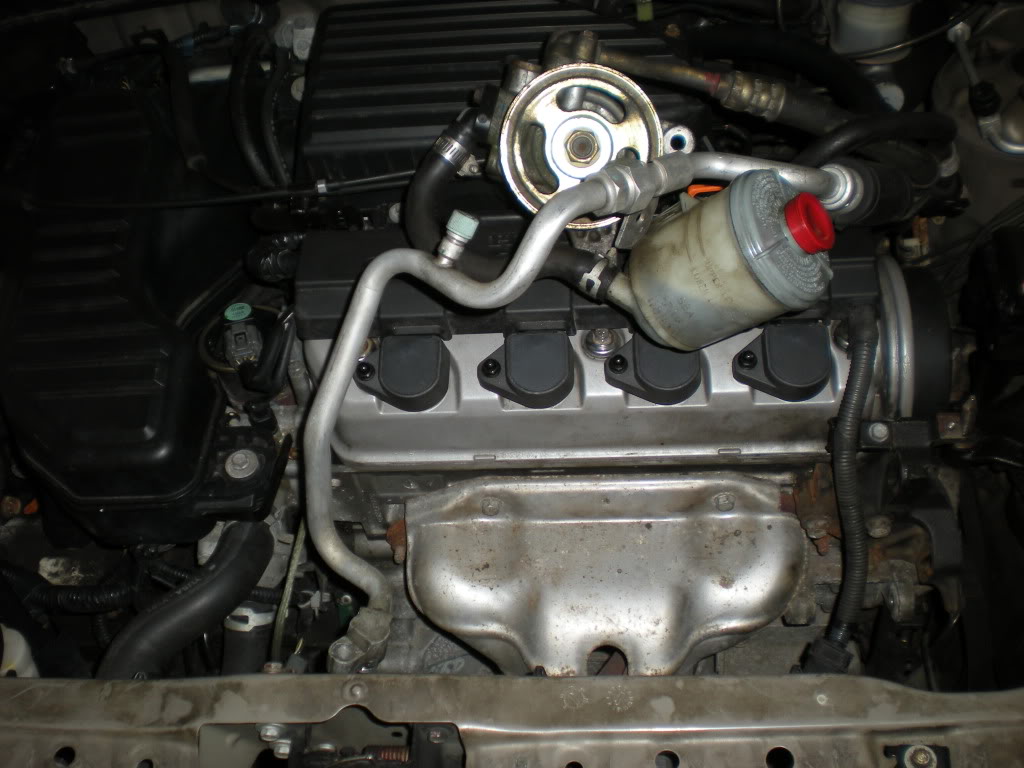
Then put pump like this
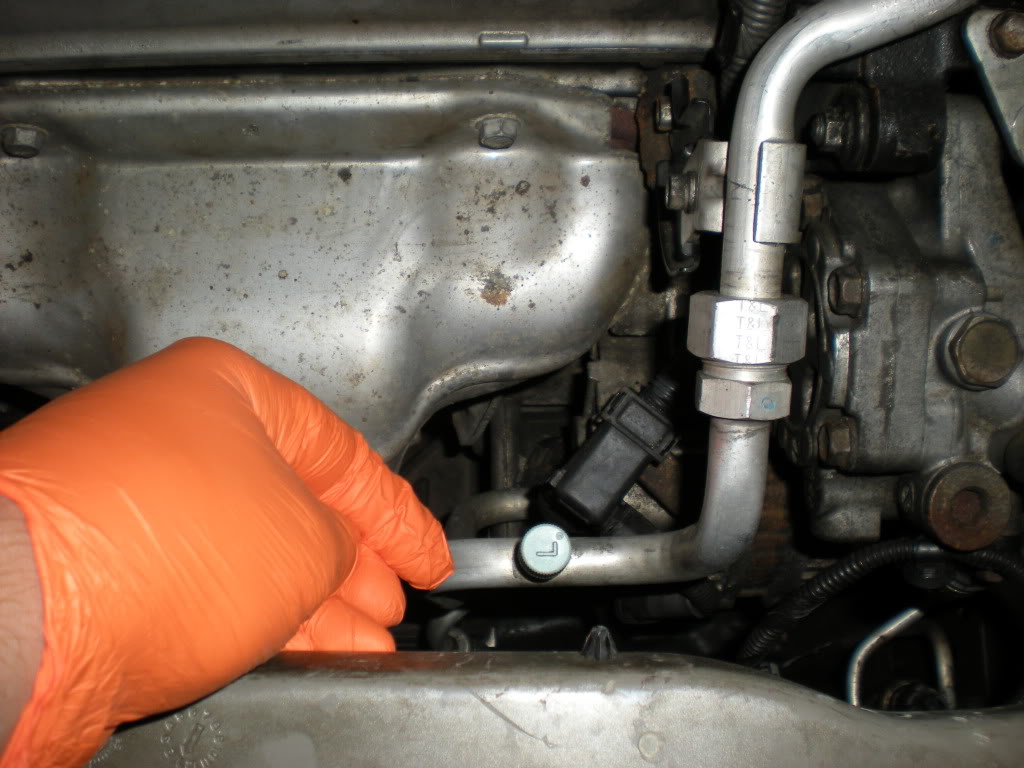
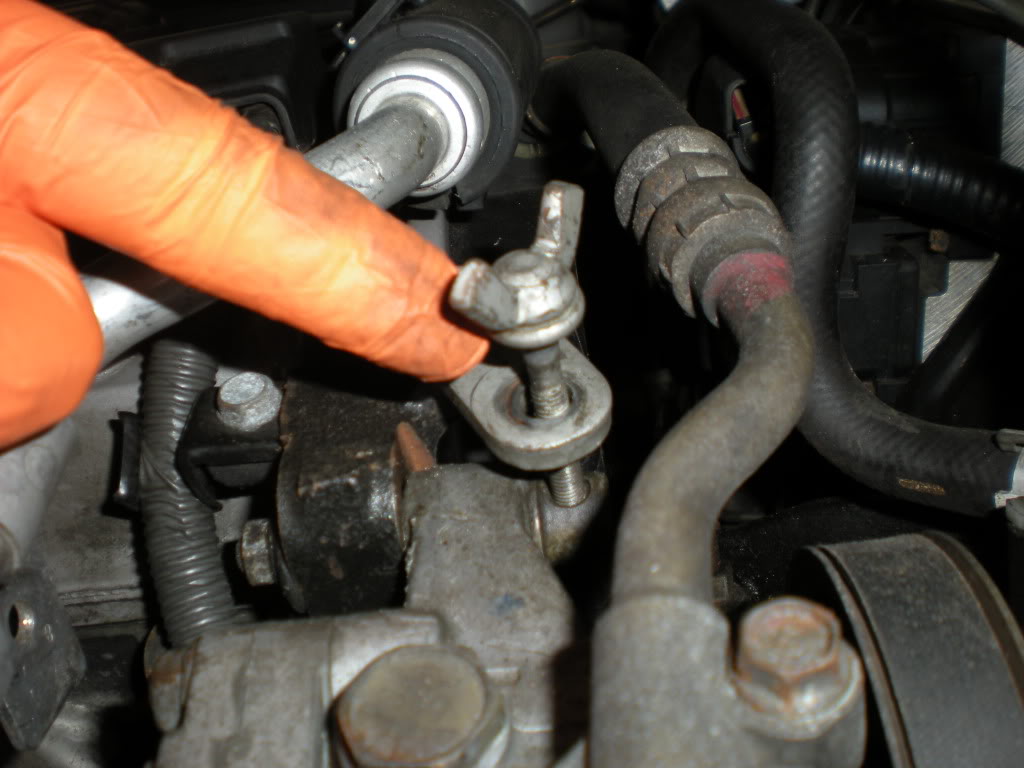
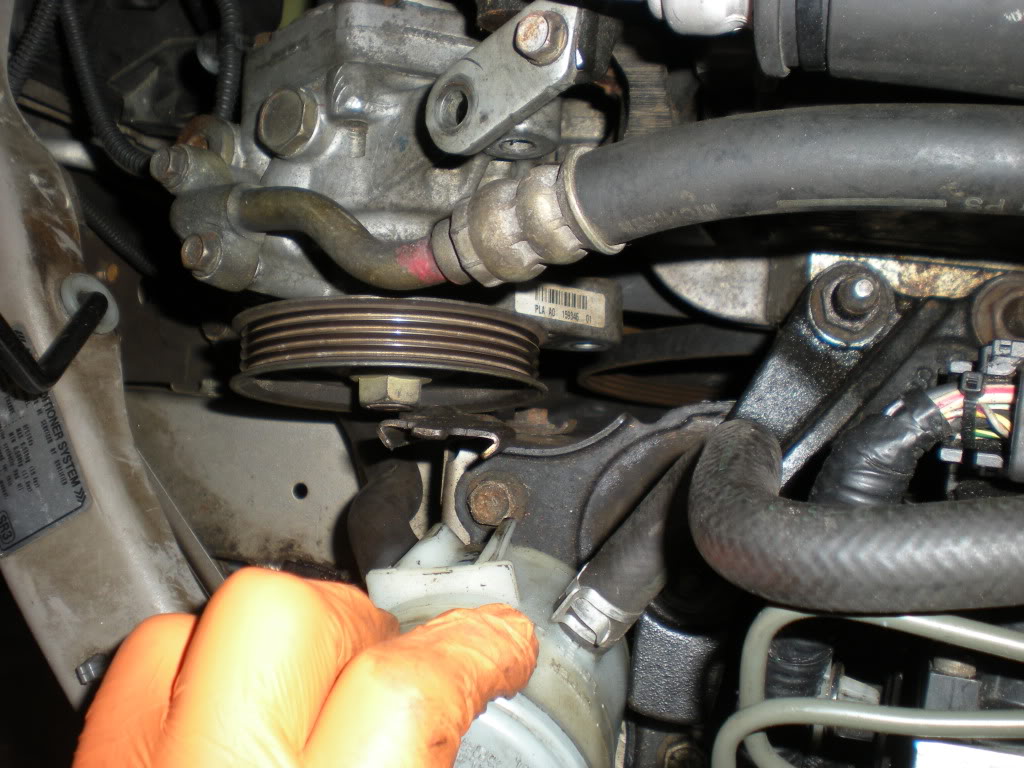
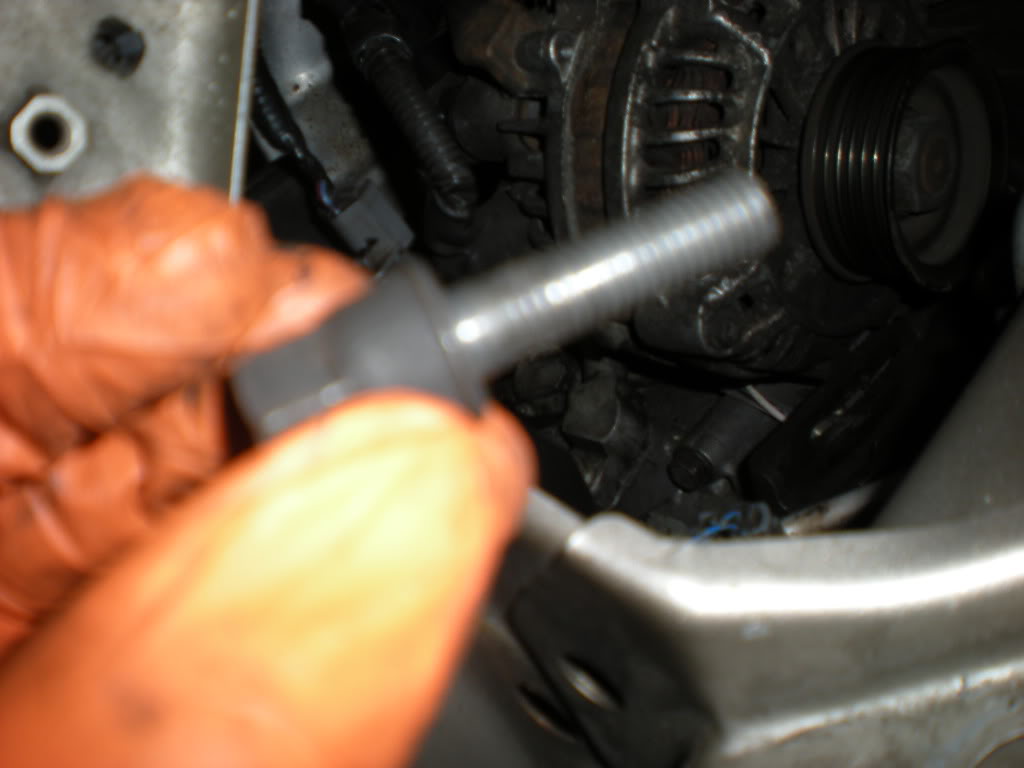
Then untighten this
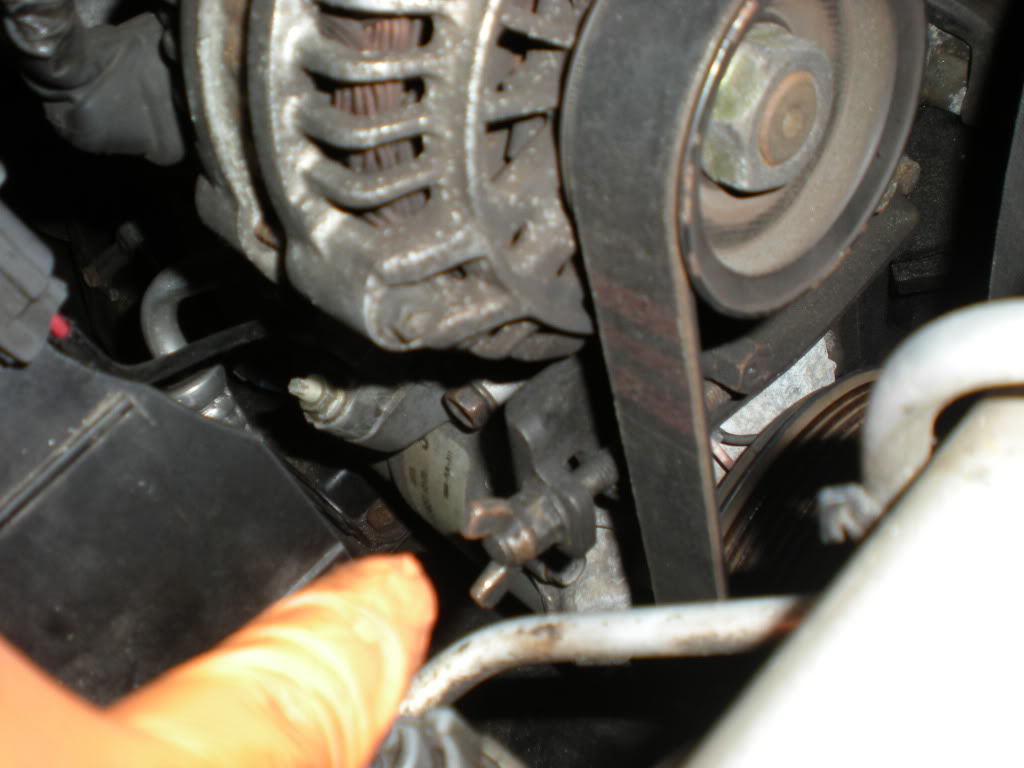
Also undo this bolt
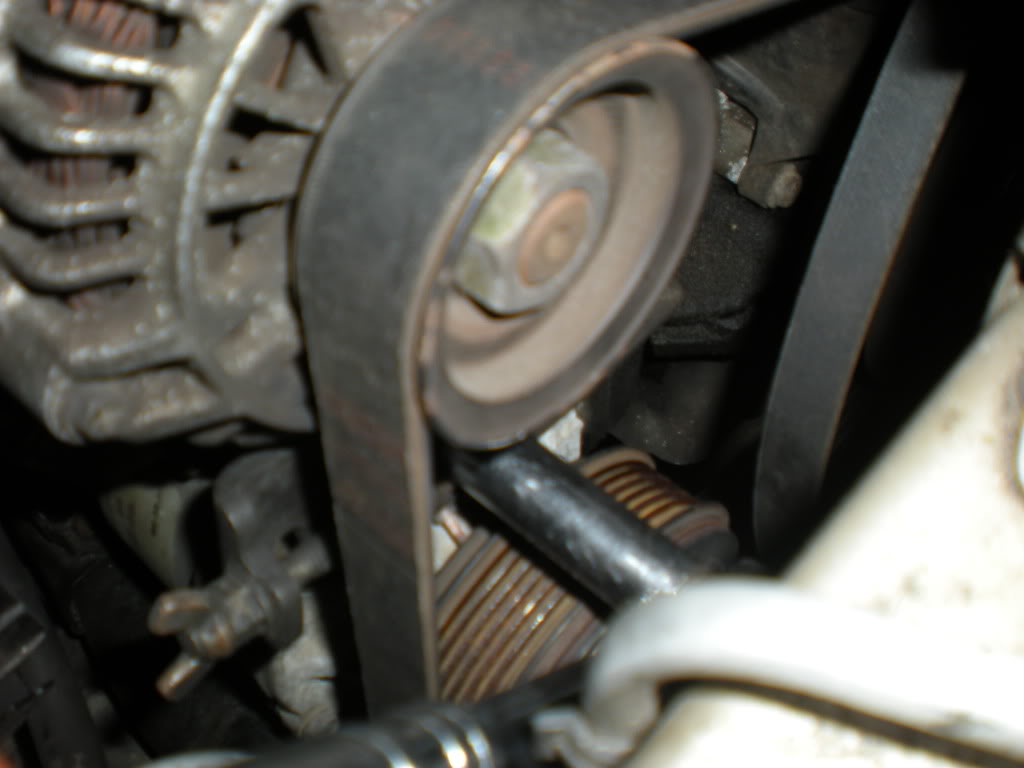
Once the belt is loose remove it
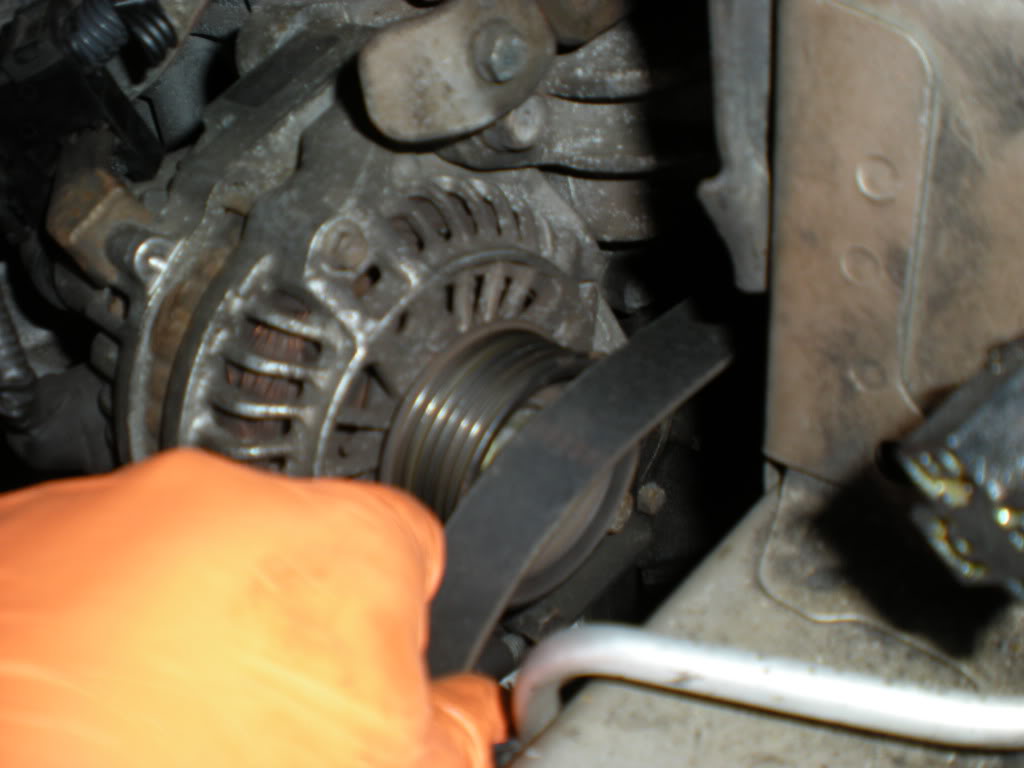
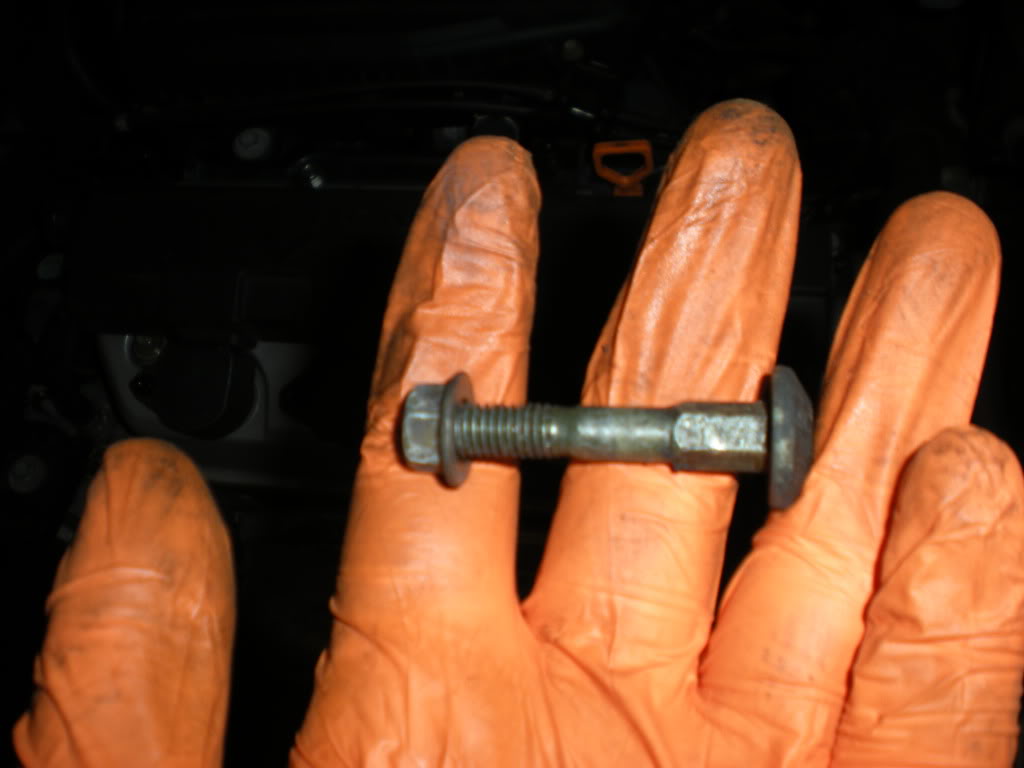
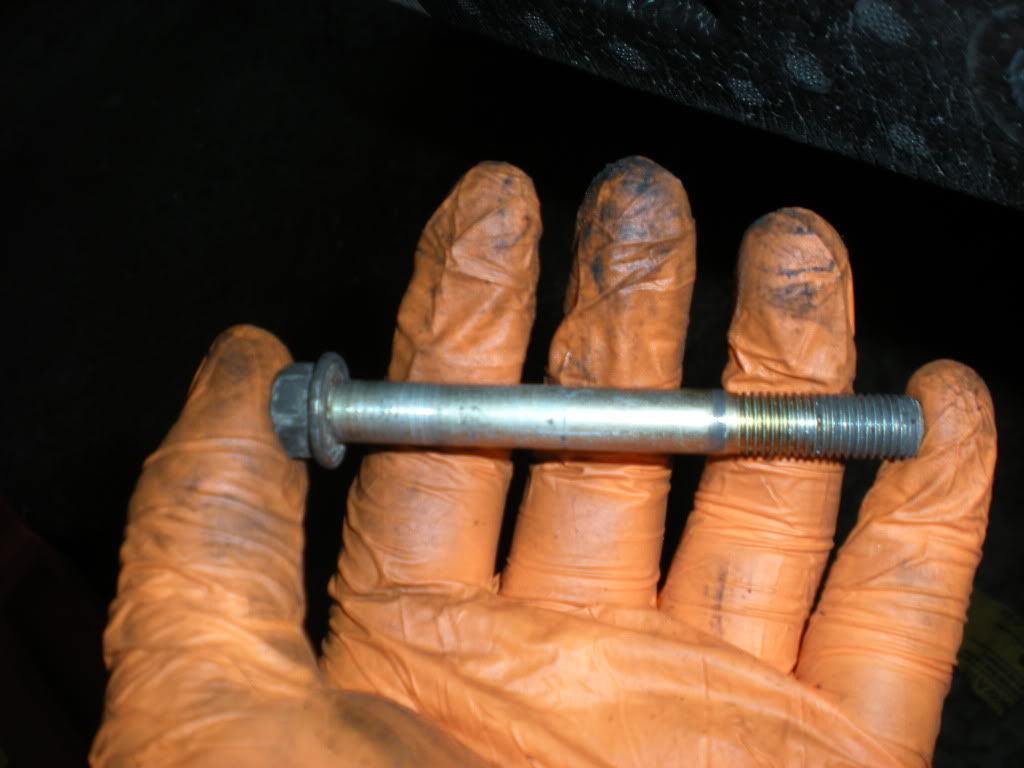
Then remove the bolt
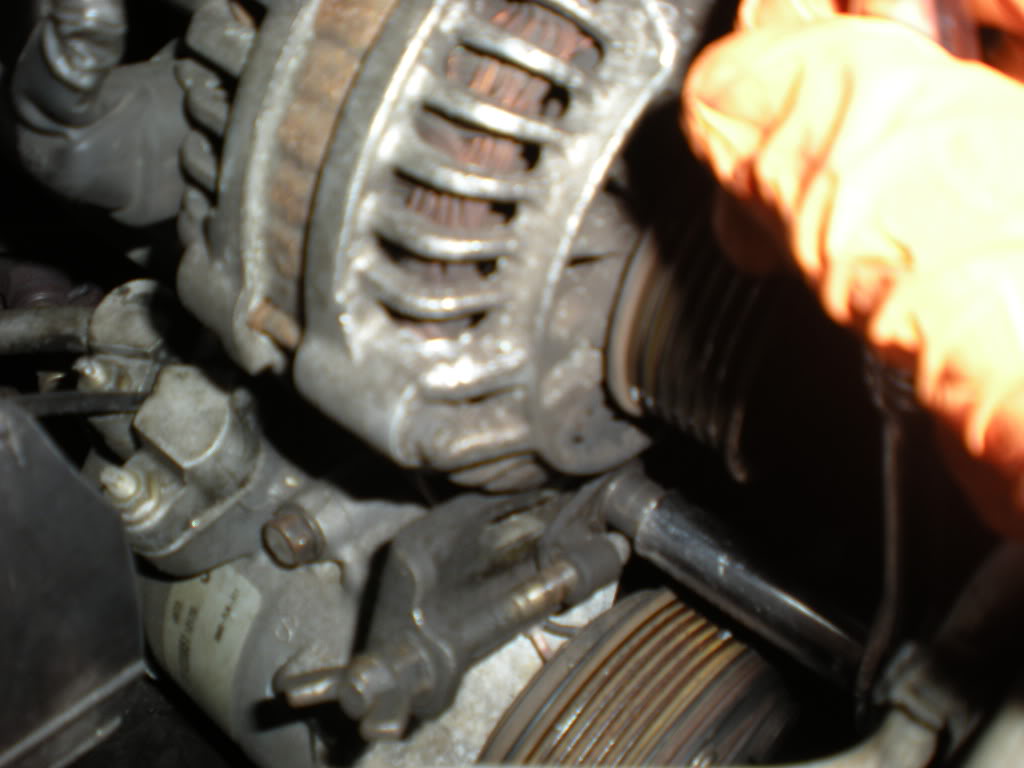
Remove this bolt as well
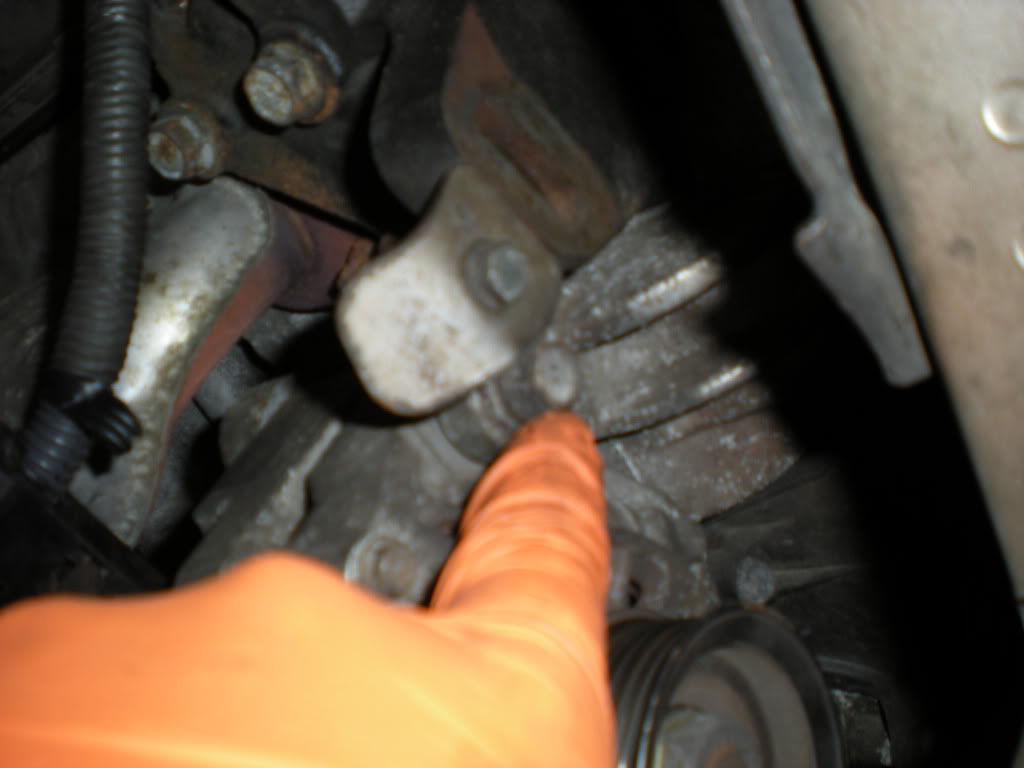
Then remove the Alternator as well
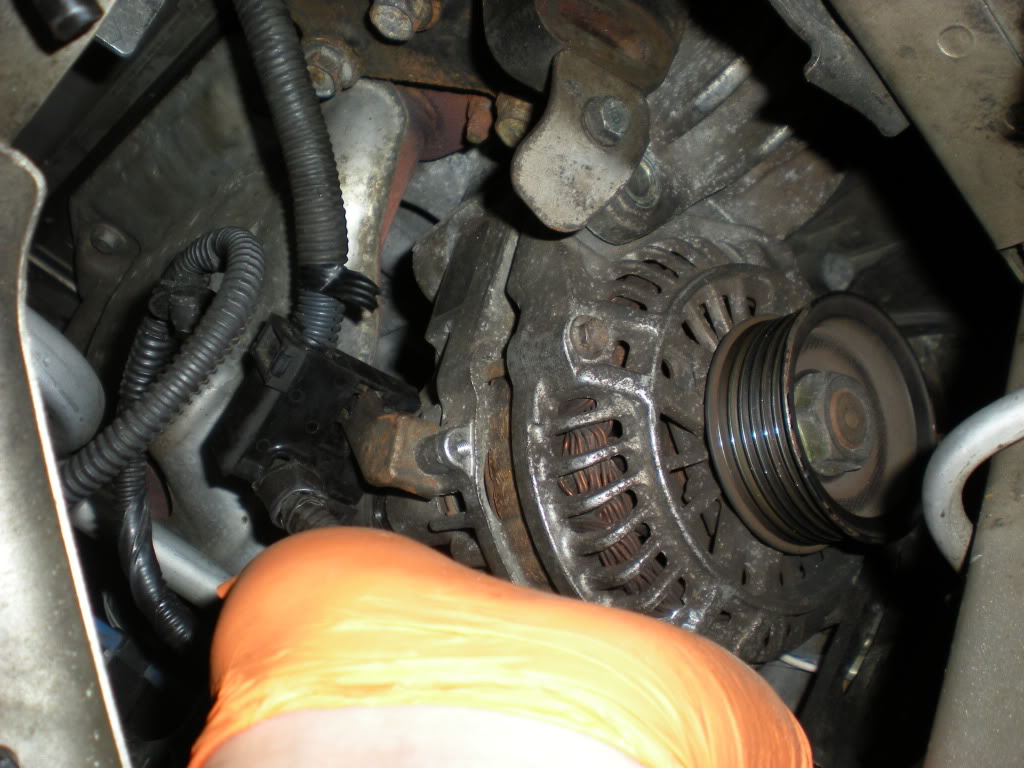
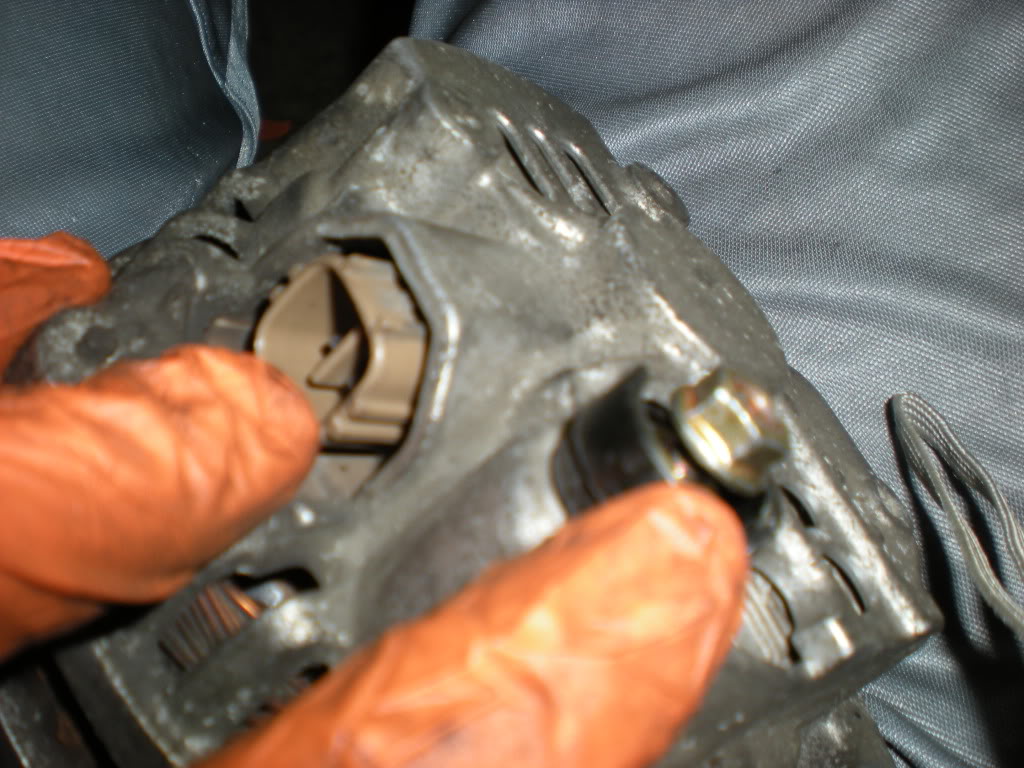
Dont forget to remove these plugs
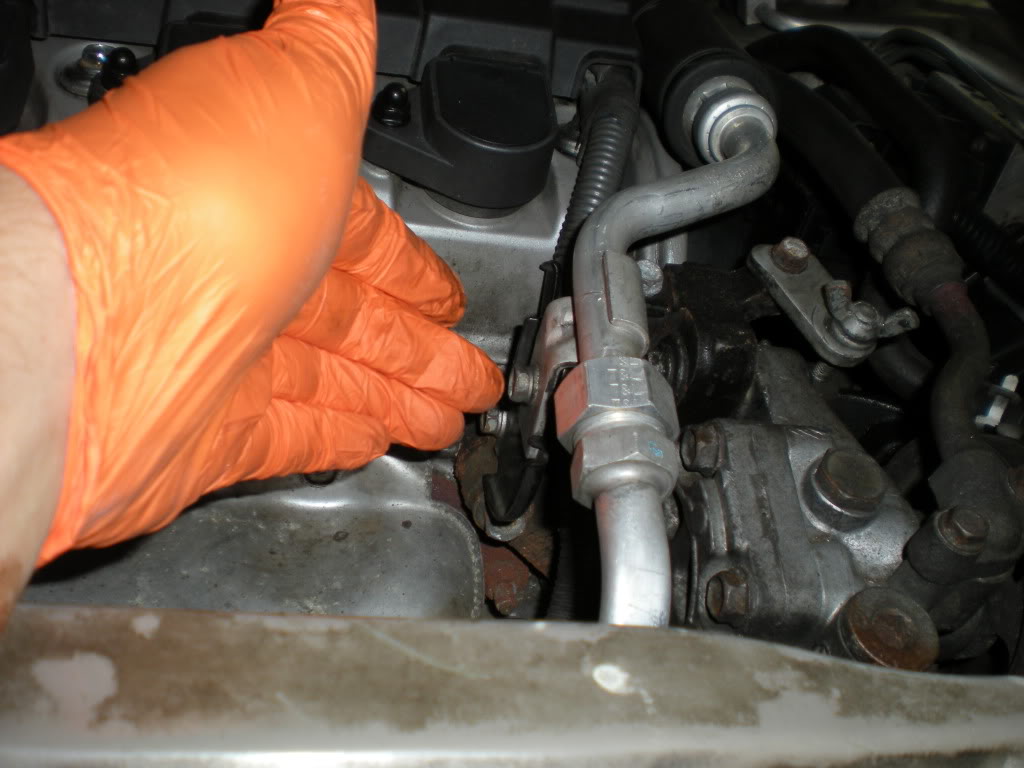
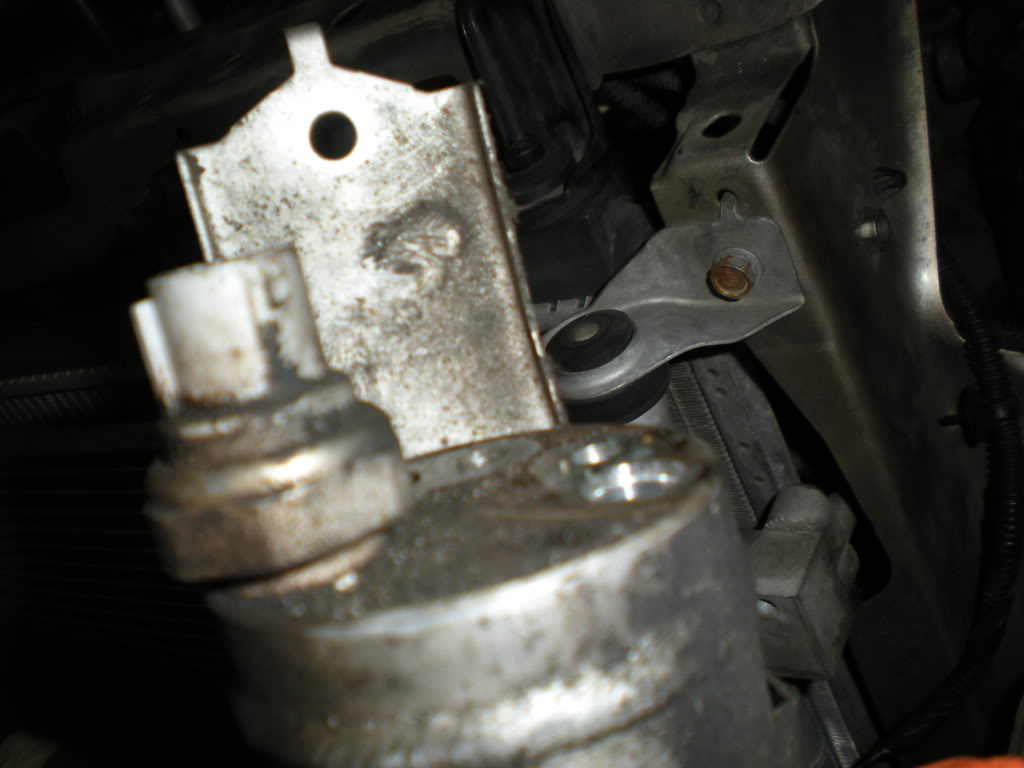
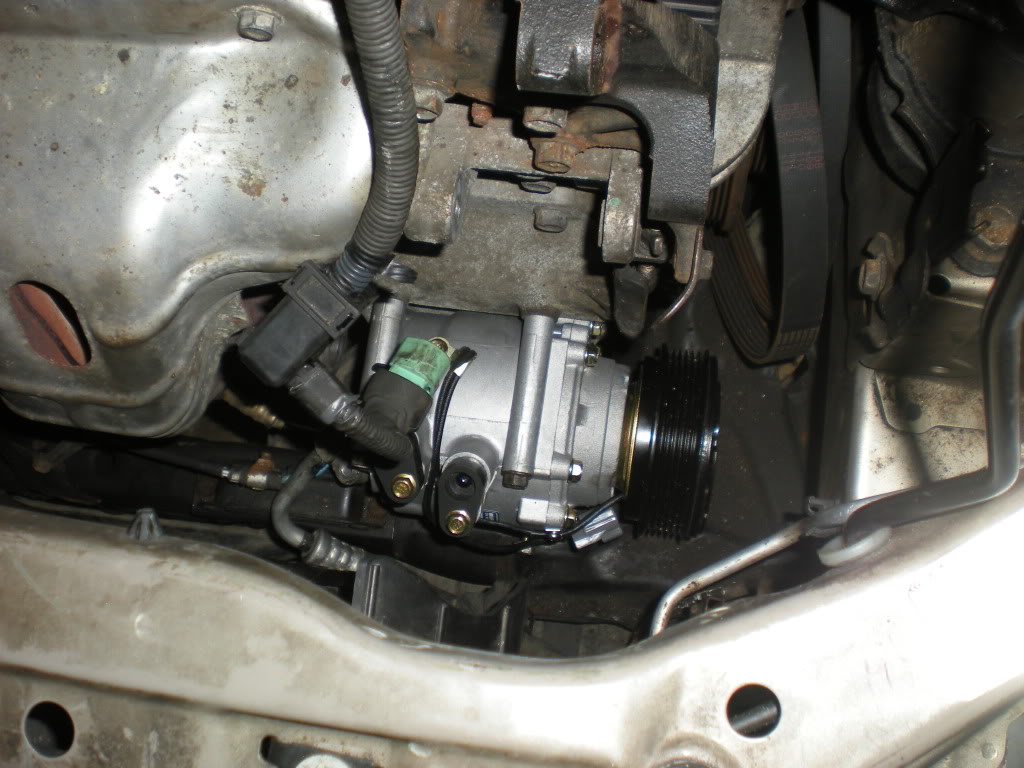
Then your here
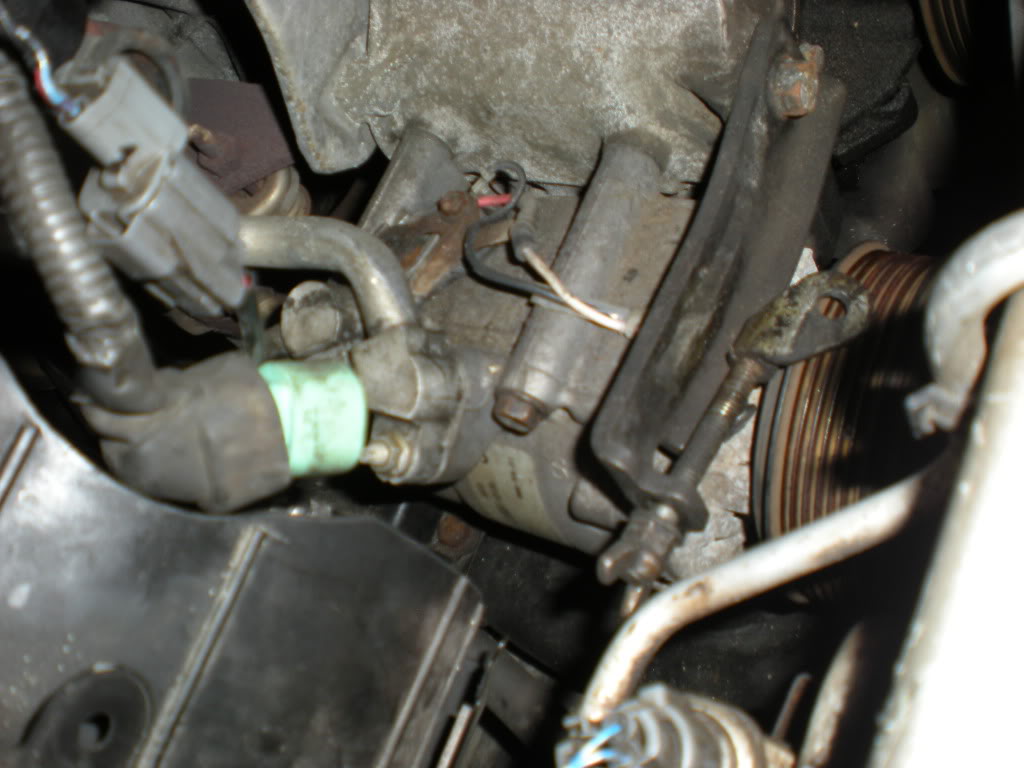
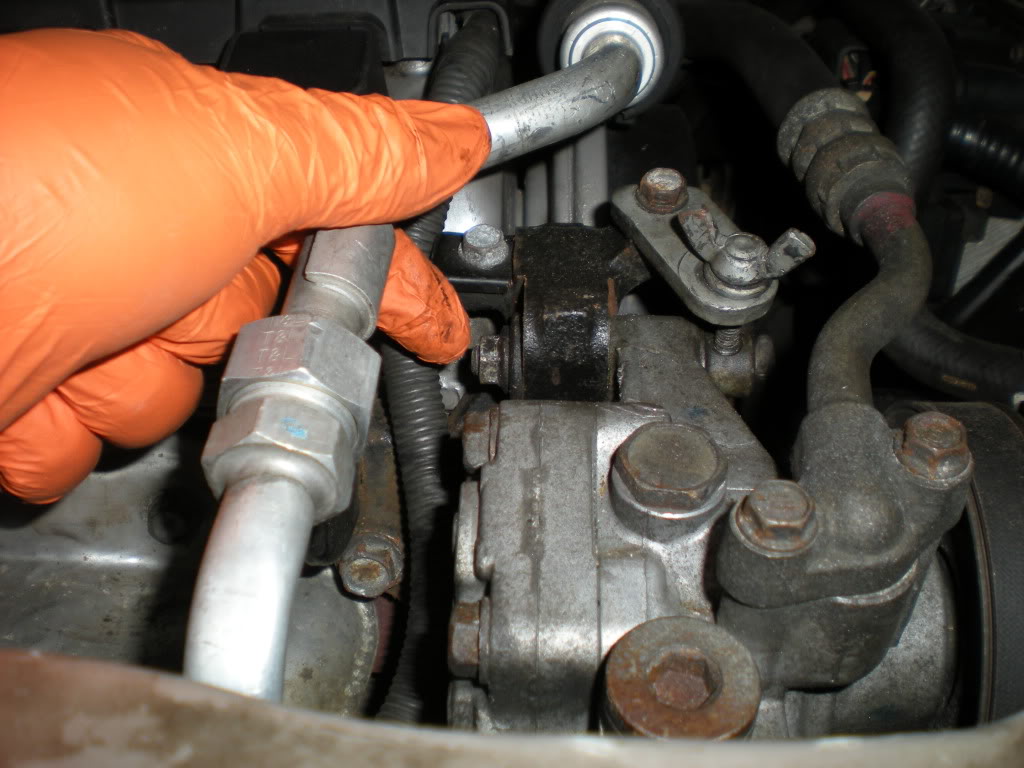
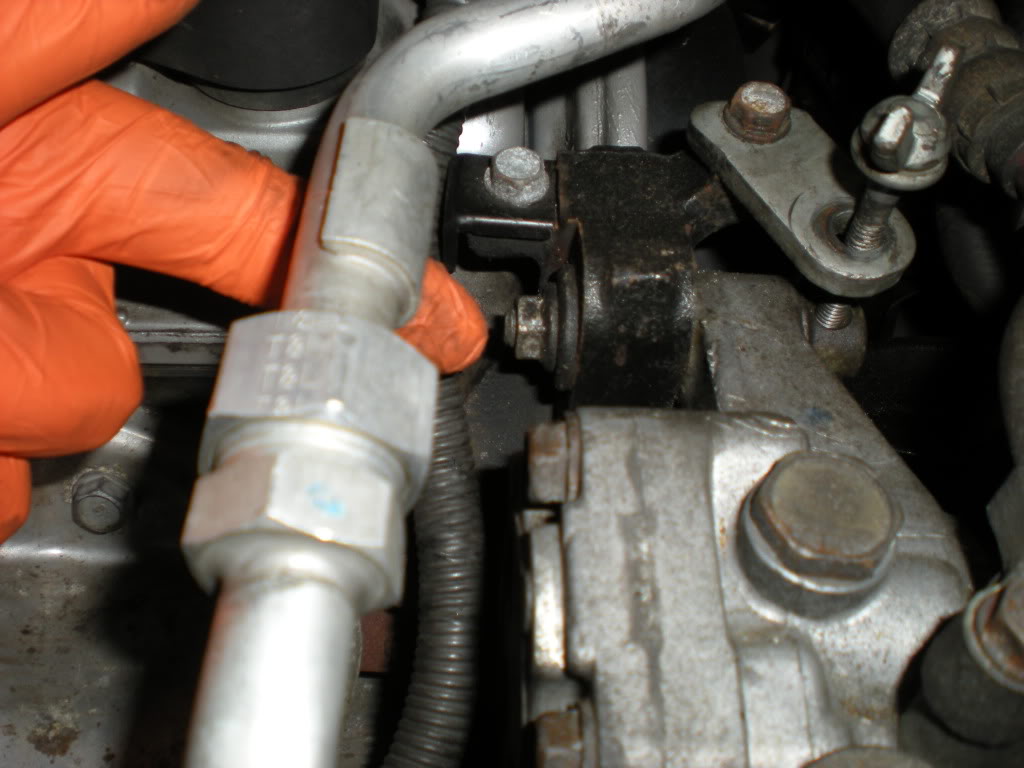
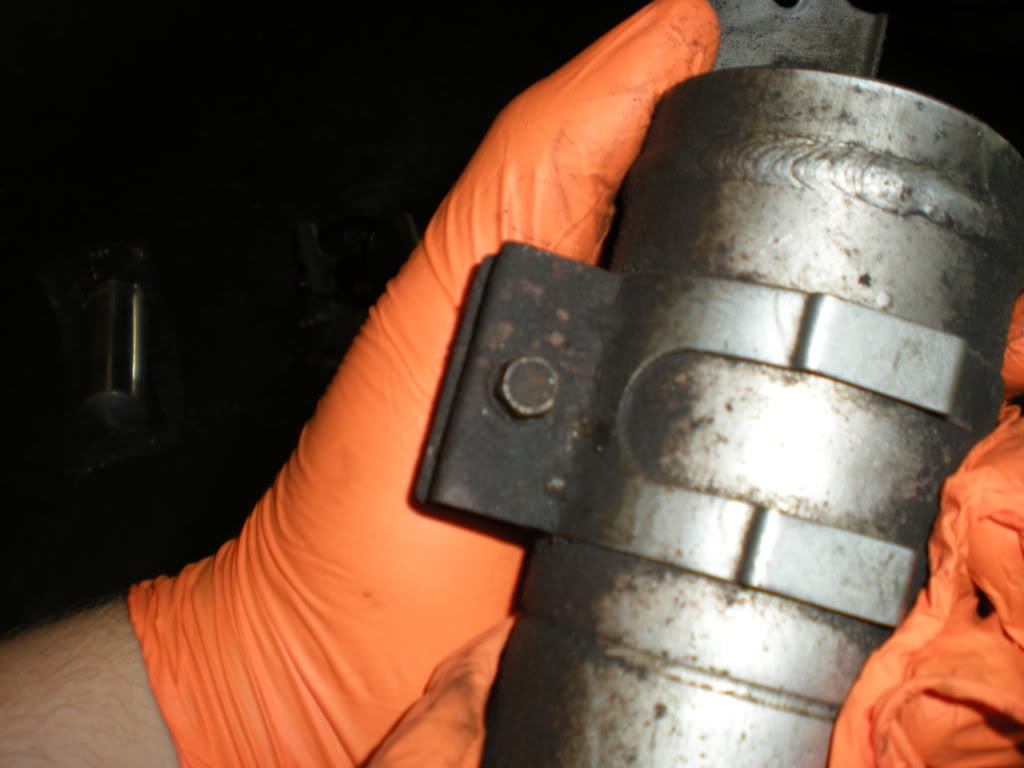
Remove the 2 lines
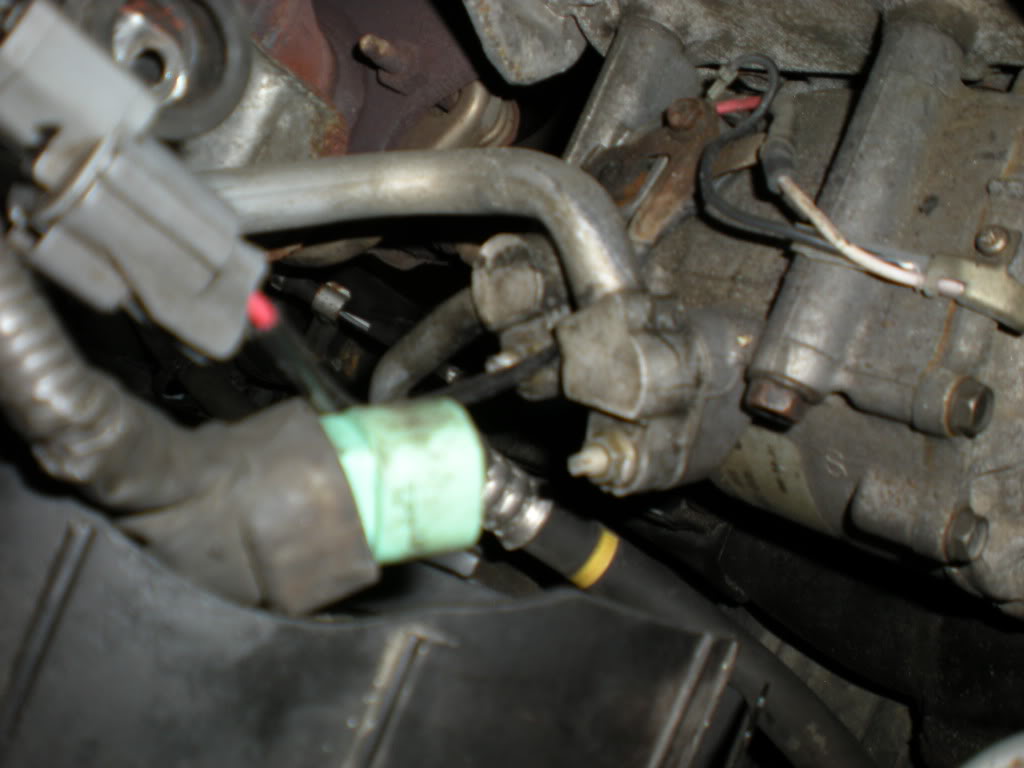

Put the line aside like this
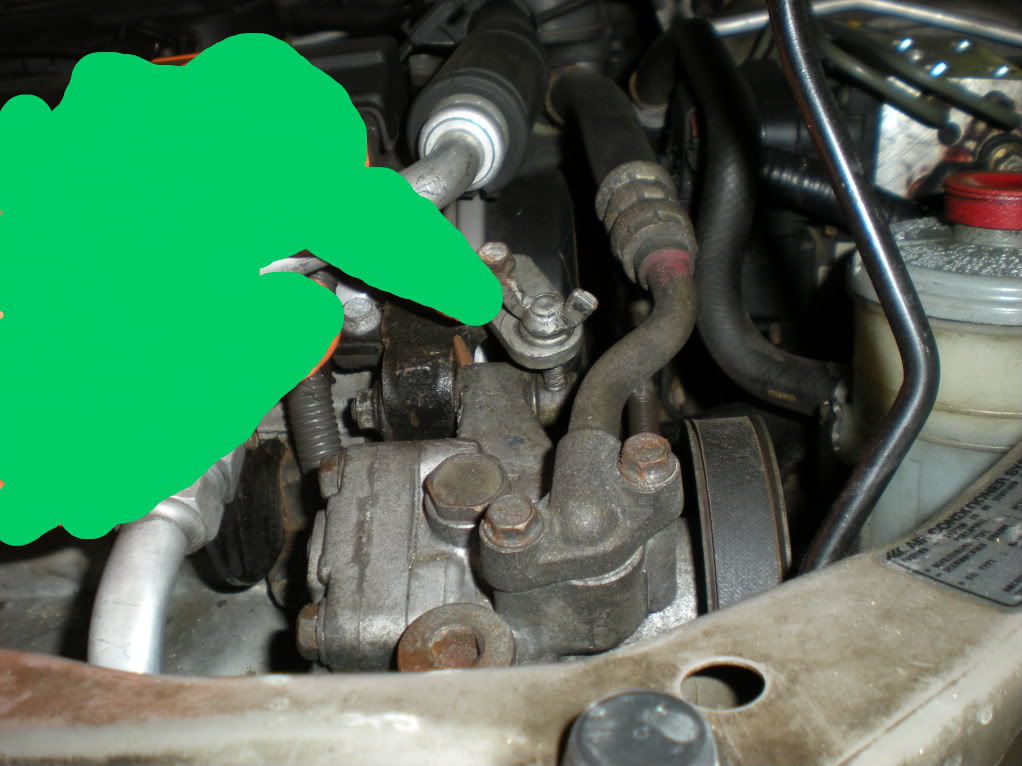
Then remove the 4 bolt hanging onto the Compressor
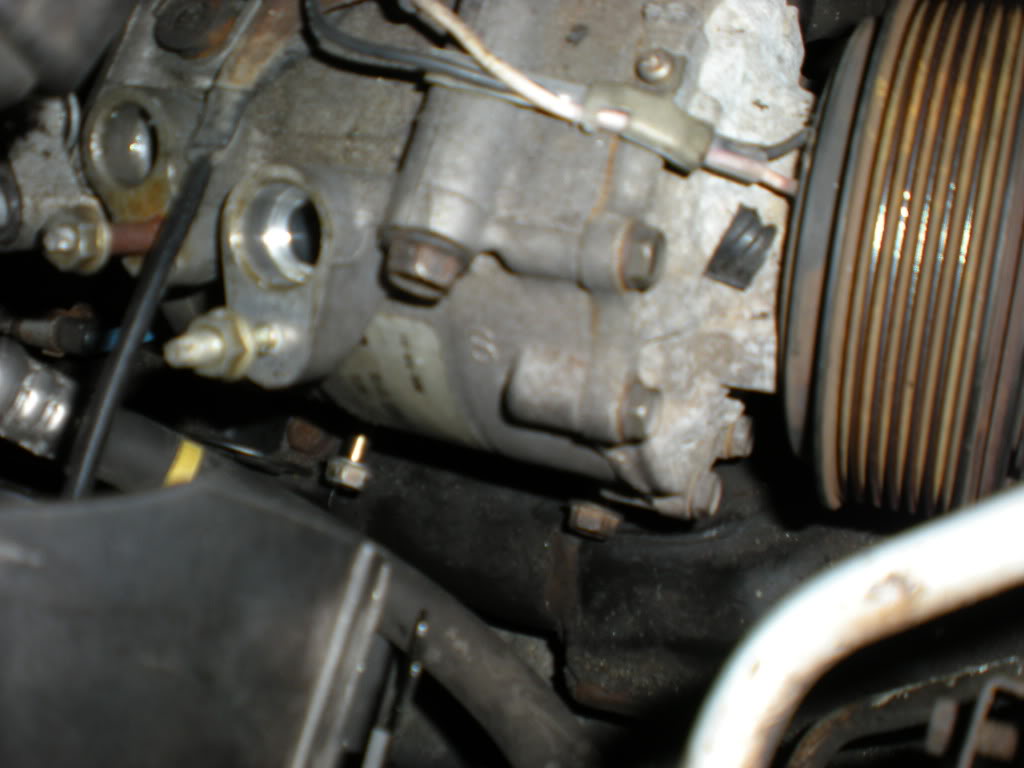
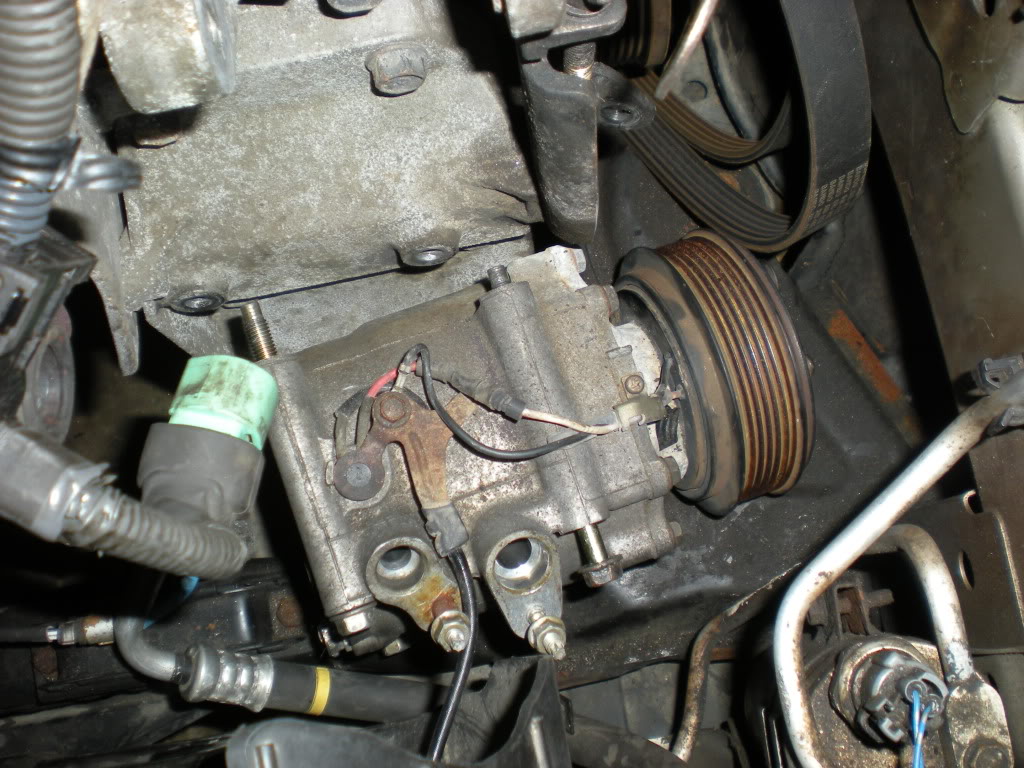
Then slide the compressor out
ONTO The drier
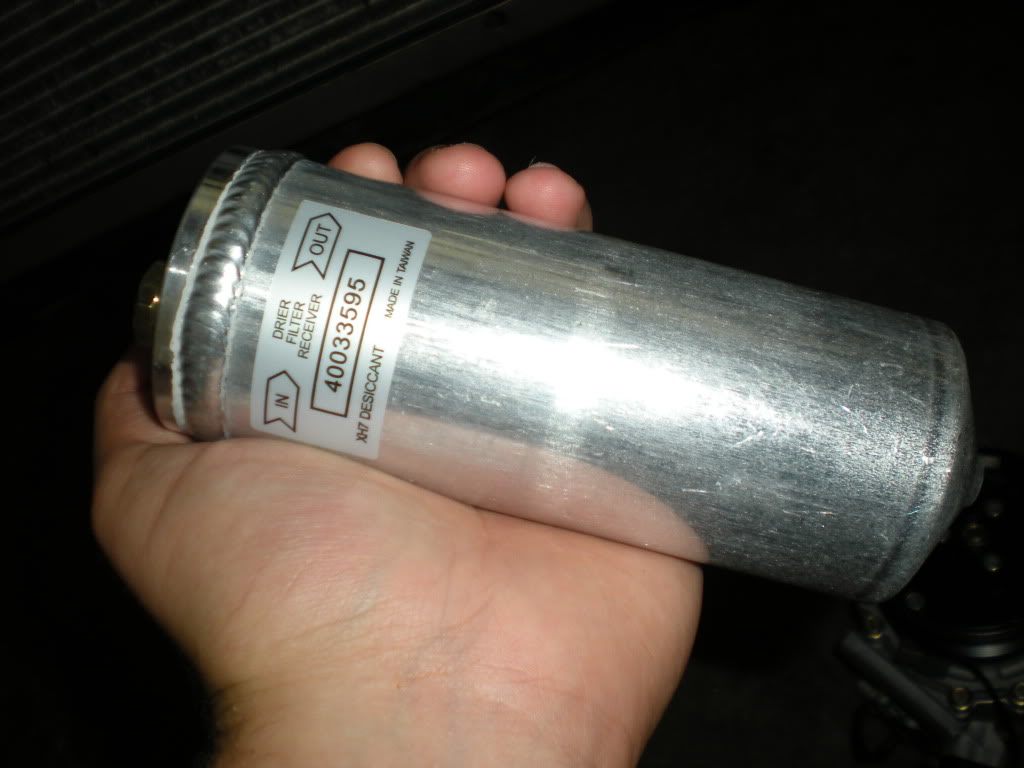
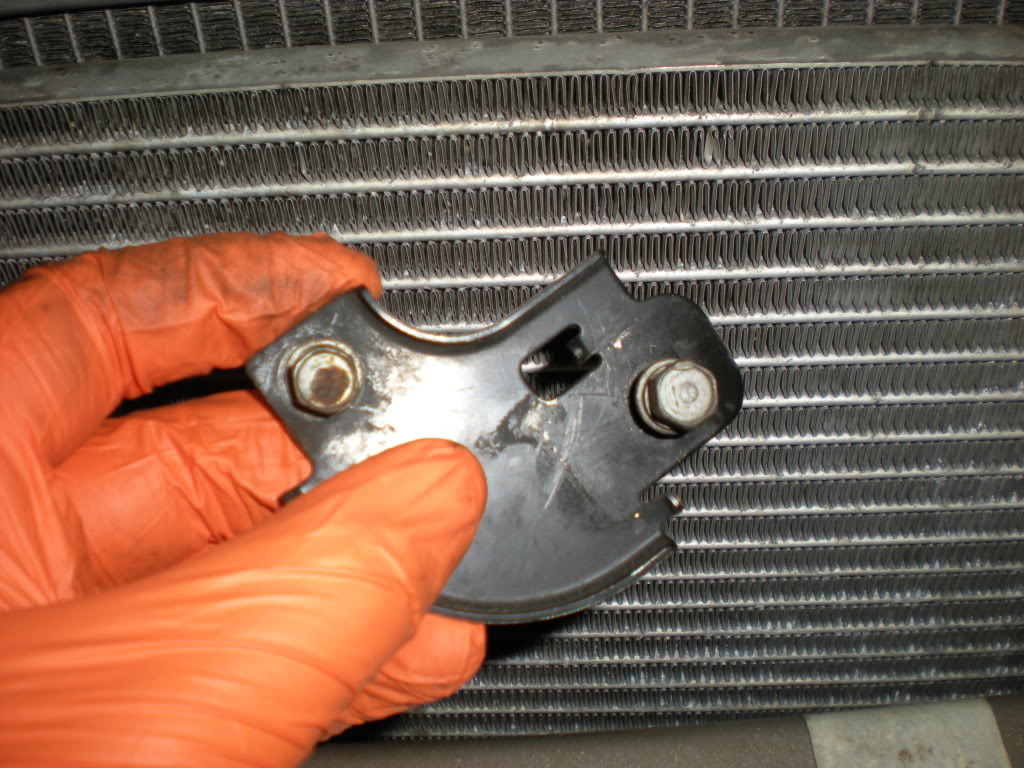
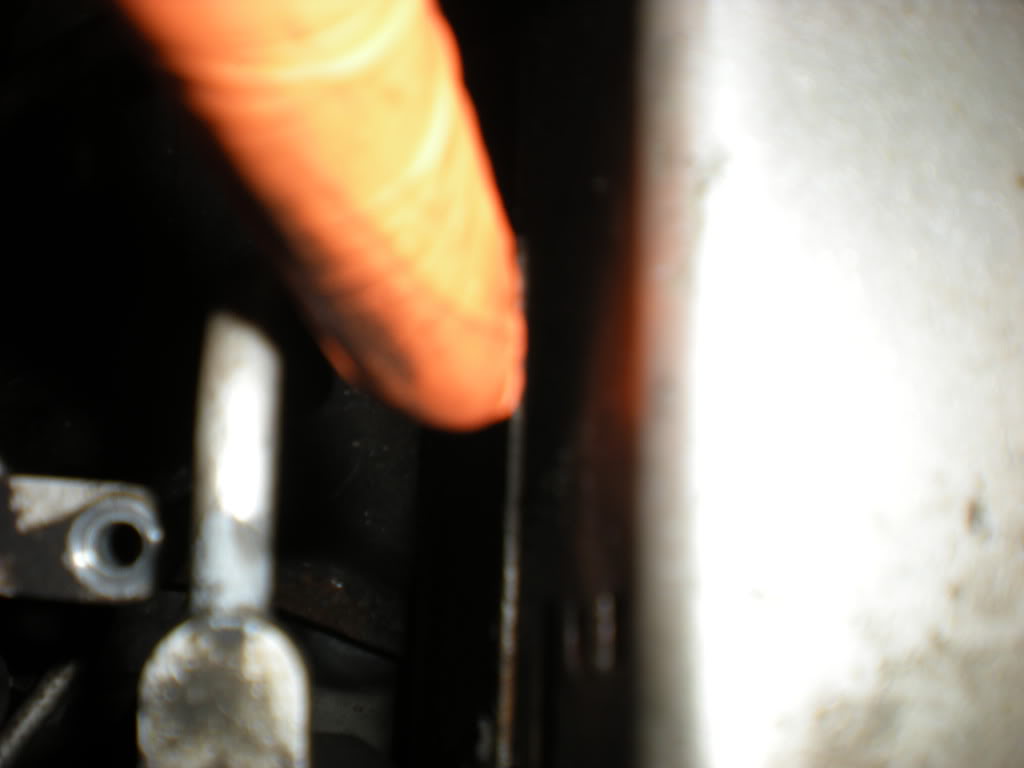
There should be a bolt here
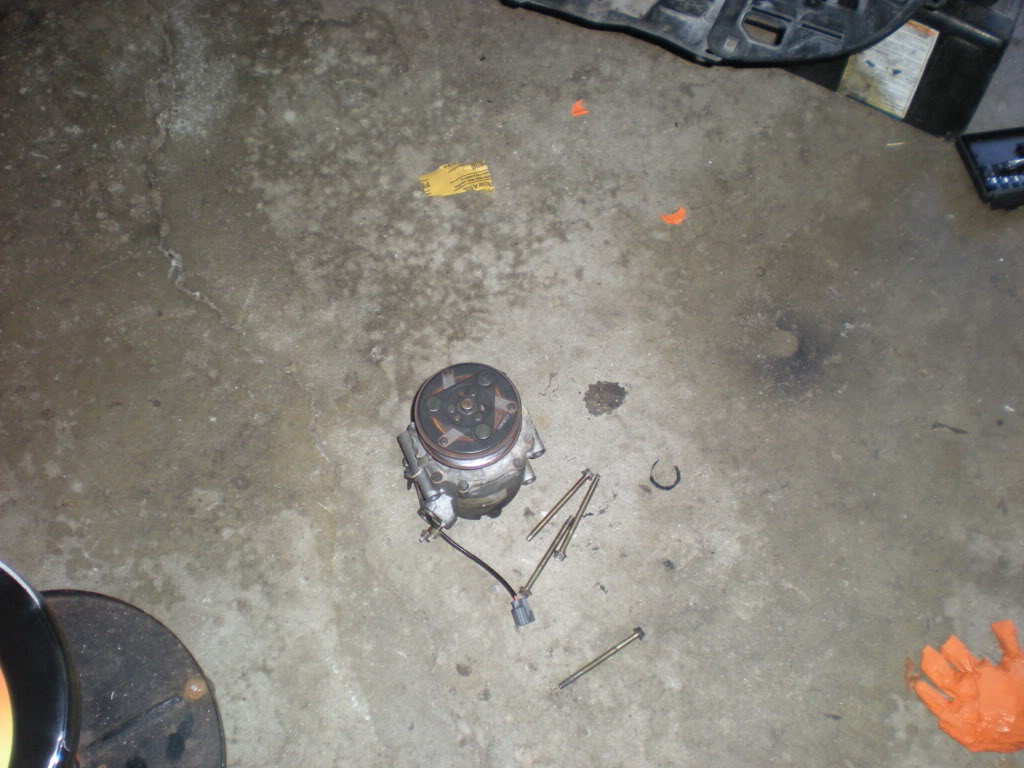
Once out swap everything out
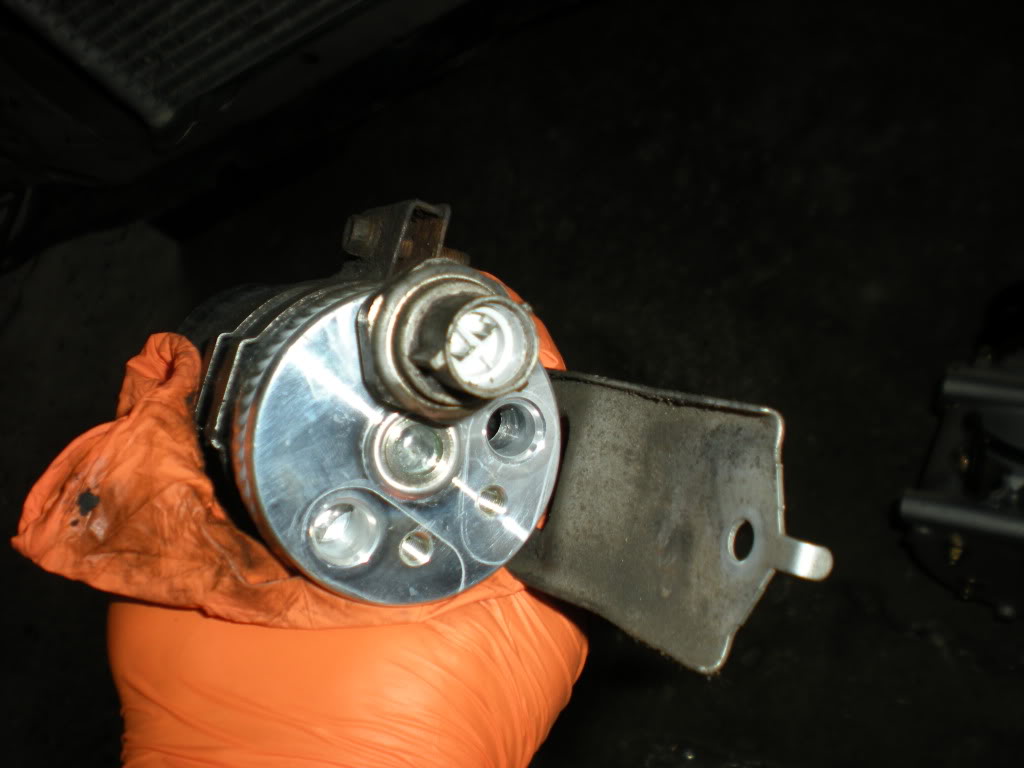
Now for new Compressor
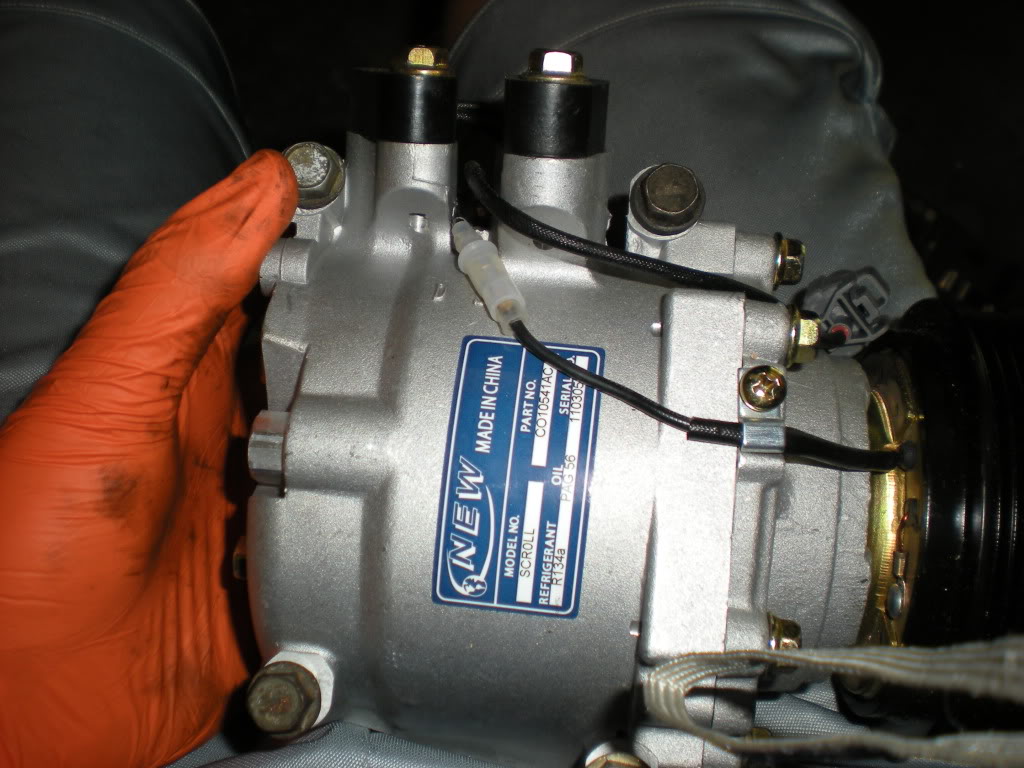
Install and there ya go
reassemble the parts and refill the freon .
If it still doesnt work like mine
check the fuses
then its probably the under dash fuse box
luckily i have a spare
Thanks
First you lift the car on somekind of stands.
Then you should have someone discharge the freon. FYI IT IS ILLEGAL TO RELEASE INTO THE AIR.
Then remove these clips.
Then remove the screw under bumper on this side and other.
Then goto driver side headlight and remove these bolts.
Then your here
Then remove the 10mm bolts
Untighten this bolt
Remove this 12mm bolt
And this one
Like this
Then the bottom ones
Remove the belt
Then put pump like this
Then untighten this
Also undo this bolt
Once the belt is loose remove it
Then remove the bolt
Remove this bolt as well
Then remove the Alternator as well
Dont forget to remove these plugs
Then your here
Remove the 2 lines
Put the line aside like this
Then remove the 4 bolt hanging onto the Compressor
Then slide the compressor out
ONTO The drier
There should be a bolt here
Once out swap everything out
Now for new Compressor
Install and there ya go
reassemble the parts and refill the freon .
If it still doesnt work like mine
check the fuses
then its probably the under dash fuse box
luckily i have a spare
Thanks

The following users liked this post:
fuzi0nt3ch (04-16-2021)
07-13-2011
#2
Registered!!
Thread Starter
Join Date: Aug 2010
Location: Cleveland, Ohio
Posts: 199
Likes: 0
Received 1 Like
on
1 Post
Rep Power: 168 Re: A/c Compressor DIY
i also got the gloves here if anyone is wondering
http://www.amazon.com/High-Five-Blaz.../dp/B0028K30HA
http://www.amazon.com/High-Five-Blaz.../dp/B0028K30HA
 03-22-2012
#4
Registered!!

Join Date: Jan 2012
Posts: 7
Likes: 0
Received 0 Likes
on
0 Posts
Rep Power: 0 
Re: A/c Compressor DIY
Realize this is an old post but here goes...
"If it still doesnt work like mine
check the fuses
then its probably the under dash fuse box
luckily i have a spare"

Freaking classic! Love it. Did you ever get it working? You are a warrior and we salute you.
Anyone know of a sticky/DIY write-up for a 6th Gen Vic DX? Have searched in vain and cannot find one. I think my sleuthing skills me as I used to be able to find anything.
"If it still doesnt work like mine
check the fuses
then its probably the under dash fuse box
luckily i have a spare"
Freaking classic! Love it. Did you ever get it working? You are a warrior and we salute you.
Anyone know of a sticky/DIY write-up for a 6th Gen Vic DX? Have searched in vain and cannot find one. I think my sleuthing skills me as I used to be able to find anything.
Last edited by soundquest; 03-22-2012 at 08:51 PM.
03-24-2012
#5
Registered!!
Thread Starter
Join Date: Aug 2010
Location: Cleveland, Ohio
Posts: 199
Likes: 0
Received 1 Like
on
1 Post
Rep Power: 168 Re: A/c Compressor DIY
yea i got it and ty . this is very very similar to a 6th gen
Realize this is an old post but here goes...
"If it still doesnt work like mine
check the fuses
then its probably the under dash fuse box
luckily i have a spare"
Freaking classic! Love it. Did you ever get it working? You are a warrior and we salute you.
Anyone know of a sticky/DIY write-up for a 6th Gen Vic DX? Have searched in vain and cannot find one. I think my sleuthing skills me as I used to be able to find anything.
03-25-2012
#6
Registered!!
Join Date: Jan 2012
Posts: 7
Likes: 0
Received 0 Likes
on
0 Posts
Rep Power: 0 Re: A/c Compressor DIY
Fantastic! I just read that and said "he did so much work I hope it all worked out in the end... I want him to come back and tell us he was ultimately successful... you know... for closure purposes. And yes, you are absolutey right, I finally tore this 2000 and this is indeed very very similar so hanks for that confirmation there.
I do have a question for you all though. If the compressor blew and sent shards into the system, those shards end up in the condenser as I understand it. Would you recommend replacing the whole condenser in this situation? WhenI blow through mine, it seems like there is some resistance in there. THanks.
I do have a question for you all though. If the compressor blew and sent shards into the system, those shards end up in the condenser as I understand it. Would you recommend replacing the whole condenser in this situation? WhenI blow through mine, it seems like there is some resistance in there. THanks.
03-25-2012
#7
Registered!!
Thread Starter
Join Date: Aug 2010
Location: Cleveland, Ohio
Posts: 199
Likes: 0
Received 1 Like
on
1 Post
Rep Power: 168 Re: A/c Compressor DIY
Fantastic! I just read that and said "he did so much work I hope it all worked out in the end... I want him to come back and tell us he was ultimately successful... you know... for closure purposes. And yes, you are absolutey right, I finally tore this 2000 and this is indeed very very similar so hanks for that confirmation there.
I do have a question for you all though. If the compressor blew and sent shards into the system, those shards end up in the condenser as I understand it. Would you recommend replacing the whole condenser in this situation? WhenI blow through mine, it seems like there is some resistance in there. THanks.
I do have a question for you all though. If the compressor blew and sent shards into the system, those shards end up in the condenser as I understand it. Would you recommend replacing the whole condenser in this situation? WhenI blow through mine, it seems like there is some resistance in there. THanks.
03-26-2012
#8
Registered!!
Join Date: Jan 2012
Posts: 7
Likes: 0
Received 0 Likes
on
0 Posts
Rep Power: 0 Re: A/c Compressor DIY
point well taken... the condenser has been ordered. 65 bucks, AMAZON PRIME.
Also, do you recommend I dump the PAG oil that the compressor came with and replacing it with new? I will have to add PAG oil to the new dryer and the new condenser. What about the expansion valve? Anyone know how many ounces of refrigerant our system takes?
Also, do you recommend I dump the PAG oil that the compressor came with and replacing it with new? I will have to add PAG oil to the new dryer and the new condenser. What about the expansion valve? Anyone know how many ounces of refrigerant our system takes?
 05-23-2012
#10
Registered!!

Join Date: May 2009
Location: Lindenwold, NJ
Posts: 297
Likes: 0
Received 3 Likes
on
3 Posts
Rep Power: 0 Re: A/c Compressor DIY
I think its possible to replace the compressor and dryer with out removing the bumper, headlight, or alternator.
I looked vary carefully at mine and I could reach every single bolt by using combinations of a 12" extension, universal swivel joint and 12mm deep socket.
I think there is enough room to slide the compressor out from the driver side wheel well with the fender liner pulled back a little and the windshield washer bottle pushed aside.
The alternator can be loosened through the driver side wheel well to get the belt off the AC pulley. I've easily done this before. No need to disturb the PS pump.
I'll attempt this soon and post here. It could save a lot of time.
05-26-2012
#11
Registered!!
Join Date: May 2009
Location: Lindenwold, NJ
Posts: 297
Likes: 0
Received 3 Likes
on
3 Posts
Rep Power: 0 Re: A/c Compressor DIY
Yes it's possible to replace the compressor without removing the power steering pump, alternator, bumper cover or driver side head light. I managed this just today.
You'll need a 12" extension, swivel joint, and a 12MM offset wrench.
Access the lower 2 compressor mounting bolts from under the car. jack up from the center of the radiator support and place 2 jack stands behind the each front wheel. Use the swivel socket and 12" extension and or the 12mm offset wrench to get to the bolts from under the car.
Loosen up the power steering pump to remove its belt. loosen the large 14MM alternator pivot bolt.
Remove driver side wheel, pull away fender liner just from the front part of the fender to gain access to the bolt and screw tensioner mechanism for the alternator. Loosen it and push the alternator towards the motor so its belt can come off. Remove the bracket that the alternator slides back and forth along. Its a single 14 mm bolt. This will make room to pull the compressor out from the wheel well.
Remove ac lines and wiring connector from compressor. The top 2 compressor mounting bolts can be accessed from under the hood. Remove them and there you have it! No need to mess around with the bumper or head light.
The drier can be removed from under the hood as well with the 12" extension.
Last edited by scooty; 06-29-2012 at 11:45 PM.
The following users liked this post:
fuzi0nt3ch (04-16-2021)
07-17-2012
#12
Registered!!

Join Date: May 2012
Posts: 1
Likes: 0
Received 0 Likes
on
0 Posts
Rep Power: 0 Re: A/c Compressor DIY
Hey guys,
I'm trying to replace the thermal protector on my compressor by getting access to the compressor using the photos that brobo put up as a guide. The problem is, I'm pretty new to this and don't know exactly what to do in these situations. I am able to remove the bumper and driver's headlight no problem, and can get the adjusting wingnut and the mounting bold attached to it off as well. But when it comes to getting the second mounting bolt off (the one right under the belt) I am stuck.
It seems that the socket I have is too big to fit in there, but even when I went and purchased a smaller socket that can get in there, I can't seem to get the socket to fit right. I used a slightly larger size (13mm) to see if I could get it but also no luck.
It's probably something simple or a different tool that I need to buy but I'm really hoping you guys will be able to help me out. Thanks in advance!
-Trevor
07-17-2012
#13
If you think a good mechanic is expensive, try hiring a bad one

Re: A/c Compressor DIY
Everything is 10, 12, and 14mm wrench sizes. And a few 17 and 19.
I can't think of anything (stock) on these cars that use a 13mm.
Using wrong size tools leads to rounding off the bolt head and causing more problems.
Bottom nut of the power steering pump, I use a wrench like this

I can't think of anything (stock) on these cars that use a 13mm.
Using wrong size tools leads to rounding off the bolt head and causing more problems.
Bottom nut of the power steering pump, I use a wrench like this
 10-06-2012
#15
Registered!!

Join Date: Aug 2011
Posts: 314
Likes: 0
Received 0 Likes
on
0 Posts
Rep Power: 158 Re: A/c Compressor DIY
Hi guys.
I'm about to do an Engine swap, do I actually have to remove the AC Compressor and the lines from it? Then I would have to empty the freon out of the system?
Strangely, it isn't really mentioned in the Engine removal guide that I have in a PDF manual, dunno if it's a Honda one or not though.
I'm about to do an Engine swap, do I actually have to remove the AC Compressor and the lines from it? Then I would have to empty the freon out of the system?
Strangely, it isn't really mentioned in the Engine removal guide that I have in a PDF manual, dunno if it's a Honda one or not though.
10-06-2012
#16
If you think a good mechanic is expensive, try hiring a bad one
Re: A/c Compressor DIY
Unbolt the compressor from the side of the block and tie it over out of the way like with coathangers or bungee cords..
So the engine will drop out, clear of the compressor.
Sometimes an engine job takes more than one person anyway, to hold lines and wires out of the way.
Do not disconnect any lines unless you absolutely have to. Have the system recovered (emptied by real/professional machine) if you have to disconnect any lines.
Save and reuse the freon that way. Plus save the environment, EPA, hug a tree, bla bla bla.
10-06-2012
#17
Registered!!
Join Date: Aug 2011
Posts: 314
Likes: 0
Received 0 Likes
on
0 Posts
Rep Power: 158 Re: A/c Compressor DIY
Thanks ezone (Stop me if I'm thanking too much XD)
That's what I thought too.
I thought it was too much trouble to disconnect the AC lines.
One thing I know is AC lines are hard lines so I guess I have to be careful when hanging the compressor not to bend or damage any of the lines.
That's what I thought too.
I thought it was too much trouble to disconnect the AC lines.
One thing I know is AC lines are hard lines so I guess I have to be careful when hanging the compressor not to bend or damage any of the lines.
Last edited by Thaik; 10-06-2012 at 04:06 PM.
10-06-2012
#18
If you think a good mechanic is expensive, try hiring a bad one
Re: A/c Compressor DIY
Look around, both of the AC lines going to the compressor have rubber sections on them too, because the engine has to move around. Hard lines would snap off in short order.
10-28-2012
#19
Registered!!

Join Date: Oct 2012
Posts: 2
Likes: 0
Received 0 Likes
on
0 Posts
Rep Power: 0 Re: A/c Compressor DIY
I'll be repairing/replacing my AC system next weekend. I got the compressor, condensor, expansion valve and accumulator on order. My question is, after I flush the lines and put it back together, how much oil and refrigerant are required?
10-28-2012
#20
If you think a good mechanic is expensive, try hiring a bad one
Re: A/c Compressor DIY
EDIT: Added it up, looks like 8 ounces total for a completely empty system.
Last edited by ezone; 10-28-2012 at 12:57 PM. Reason: I love to edit!
07-10-2014
#21
Registered!!

Join Date: Dec 2013
Location: Point B
Posts: 7
Likes: 0
Received 0 Likes
on
0 Posts
Rep Power: 0 Re: A/c Compressor DIY
I know this is four years old but I have got a question. On that universal compressor you got there, that has a one pin socket on it compared to the three pin socket on your old compressor. How did you manage to get it working? I'm asking cause I order the same compressor as yours based on your DIY only to realize this problem. Can you help me out on how to rig it to get it working?
09-13-2014
#22
Registered!!
Re: A/c Compressor DIY
Hey hey, I'm doing this job right now - I have an OEM condenser and an after market drier. My kit came with "refrigerant oil" what do I do?
09-13-2014
#23
If you think a good mechanic is expensive, try hiring a bad one
Re: A/c Compressor DIY
The correct oil for Civics 1993�2014 is SP-10 according to my info.
Total system oil level is critical for proper operation and life of the compressor, and for system operation. Too little can ruin the compressor, too much can reduce refrigerant capacity.
------------
Assuming the AC had the correct amount of oil before you opened the system,
the condenser replacement would require 5/6 oz oil and
the receiver/drier would get another 1/3 oz.
HTH
09-13-2014
#24
Registered!!
Re: A/c Compressor DIY
The condensor was pretty loaded the dryer was empty. Just adding oil to the dryer.
If I leave the a/c off... Can I drive the car without charging the system?
If I leave the a/c off... Can I drive the car without charging the system?
09-13-2014
#25
If you think a good mechanic is expensive, try hiring a bad one
Re: A/c Compressor DIY
If the condenser contained more oil than the recommended 5/6 oz, then it probably should be measured and that same amount should be reinstalled so the rest of the system doesn't suffer a loss.
The complete system holds about 8 oz of oil, and the oil can accumulate anywhere within the system that gravity pulls it. Some areas may contain more than others.
The 5/6 oz will not stay inside the condenser, it mixes and circulates throughout the system.
------
You can add the oil wherever it is most convenient, just make sure to add the correct amount as it is critical for proper operation.
The oil will get circulated throughout, once the system is charged and is operating.
If I leave the a/c off... Can I drive the car without charging the system?
The system cannot operate (compressor cannot engage) until it has sufficient pressure inside it anyway (safety pressure switches), that won't hurt it.
HTH
09-13-2014
#26
If you think a good mechanic is expensive, try hiring a bad one
Re: A/c Compressor DIY
I know this is four years old but I have got a question. On that universal compressor you got there, that has a one pin socket on it compared to the three pin socket on your old compressor. How did you manage to get it working? I'm asking cause I order the same compressor as yours based on your DIY only to realize this problem. Can you help me out on how to rig it to get it working?
09-15-2014
#27
Registered!!

Join Date: May 2013
Location: OKC
Posts: 17
Likes: 0
Received 0 Likes
on
0 Posts
Rep Power: 0 Re: A/c Compressor DIY
I just replaced my compressor with a salvage pull. Based on what I'm reading, I should have added oil to the system. Now that the compressor and drier (generic from eBay), is there an acceptable easy way to do this? I haven't discharged or charged yet. I thought about charging with some r134a that comes with oil. Would that be enough? Also, if I directly add oil, where do I I introduce it physically? Do I just pour it in the compressor where the lines connect? Thanks for any help in advance.
09-15-2014
#28
If you think a good mechanic is expensive, try hiring a bad one
Re: A/c Compressor DIY
I just replaced my compressor with a salvage pull. Based on what I'm reading, I should have added oil to the system. Now that the compressor and drier (generic from eBay), is there an acceptable easy way to do this? I haven't discharged or charged yet. I thought about charging with some r134a that comes with oil. Would that be enough? Also, if I directly add oil, where do I I introduce it physically? Do I just pour it in the compressor where the lines connect? Thanks for any help in advance.
I use oil by itself, never with freon. (I only use a real charging station, I never use DIY cans or anything like that.)
I measure and add whatever I need directly to the system while I have it open.
You are supposed to drain and measure how much oil was in the original compressor.
You don't know how much is in the new (used) one, so you may have to empty it out and start fresh.
Then you are supposed to calculate how much oil to remove from the new unit (brand new OE unit comes prefilled with 130ml or 4-1/3oz oil) but never remove more than 50ml oil, which comes to a minimum of 2-2/3 oz in the compressor....
So...If I read this correctly......IF you can't get anything at all to drain from your old compressor then your new one should get 4-1/3 oz. If you get a bunch out of the old one, then the new needs to have at least 2-2/3 oz.
Plus 1/3 oz for the new drier.
Kind of a vague answer, because every case can be different.
Or you could flush the entire system to remove all the old oil (including drain the new compressor), then add 8oz fresh oil for the complete system???
The following users liked this post:
fuzi0nt3ch (04-16-2021)
09-16-2014
#29
Registered!!
Join Date: May 2013
Location: OKC
Posts: 17
Likes: 0
Received 0 Likes
on
0 Posts
Rep Power: 0 Re: A/c Compressor DIY
I think all the measurements I have posted in here have been for 01-05 Civics unless otherwise noted.
I use oil by itself, never with freon. (I only use a real charging station, I never use DIY cans or anything like that.)
I measure and add whatever I need directly to the system while I have it open.
You are supposed to drain and measure how much oil was in the original compressor.
You don't know how much is in the new (used) one, so you may have to empty it out and start fresh.
Then you are supposed to calculate how much oil to remove from the new unit (brand new OE unit comes prefilled with 130ml or 4-1/3oz oil) but never remove more than 50ml oil, which comes to a minimum of 2-2/3 oz in the compressor....
So...If I read this correctly......IF you can't get anything at all to drain from your old compressor then your new one should get 4-1/3 oz. If you get a bunch out of the old one, then the new needs to have at least 2-2/3 oz.
Plus 1/3 oz for the new drier.
Kind of a vague answer, because every case can be different.
Or you could flush the entire system to remove all the old oil (including drain the new compressor), then add 8oz fresh oil for the complete system???
09-16-2014
#30
Registered!!
Join Date: May 2013
Location: OKC
Posts: 17
Likes: 0
Received 0 Likes
on
0 Posts
Rep Power: 0 Re: A/c Compressor DIY
Ok, so tonight did not go terribly well.
So, I evacuated the system for an hour. Got it to about -27psi. I close the valves to the high and low pressure ports on the manifold and disconnect the vacuum. I then connect a pressurized oil can to add oil to the system. I open the release valve on the can. Then I clear the line by opening the release valve on the middle yellow line on the manifold. Close it. I then start the car with AC all the way up. I open the low pressure port.
For some reason, it won't charge at that point. It seems to creep to zero and hold. It could totally be operator error. I'm just kind of stumped. Is it a leak? The lines look fine to me, and I didn't think I'd be able to pull a vacuum with a leak. I was thinking it may be a relay because the condenser fan and compressor never engage. DTC returns nothing. Do you guys have any ideas? Any input is greatly appreciated.

